

Your product page already holds every frame the video needs â you just have no way of knowing which six of them the generator will read. A clothing reference photo shot list for AI video is exactly six images of one garment: front, back, side, flat lay, on-body, and fabric detail. Most apparel teams upload a different six â usually five variations of the front and one styling shot â and then wonder why the motion looks like a different product.
That isn't a photography failure. Catalog shoots are built to sell a garment to a shopper, not to describe it to a model. The frames a generator consumes are chosen for coverage: every angle that proves construction, drape, and color. Which slots you prioritize shifts by garment type â and one of them is routinely missing from ecommerce sets altogether.
Below, each upload slot is mapped to what its frame has to show, then ranked by garment type, then held to the sharpness and lighting thresholds that separate a usable reference from a wasted upload. Keep the six-image ceiling of the clothing video generator in mind as you read, because the slot a frame fills matters as much as the frame itself.
What Goes in Each of the Six Upload Slots?
Each of the six upload slots carries one distinct piece of garment information, and the generator can only render what at least one frame shows. A reference slot is a named upload position defined by the construction detail it must prove, not by camera angle alone.
| Slot | What the frame must show | What the generator loses if the slot is empty |
|---|---|---|
| Front | Full silhouette, neckline shape, closure type and placket direction | It invents a neckline and guesses whether the garment buttons left or right |
| Back | Yoke seam, vent, pocket placement, hem finish | It mirrors the front, producing a garment that is not in your catalog |
| Side | Garment length, sleeve drop, shoulder-to-hem line | Depth flattens, so sleeves read short and hems read high |
| Flat lay | Seam alignment, symmetry, true color on a neutral ground | Seams drift during motion and the color picks up a cast from the background |
| On-body | Drape, fit at shoulder and hip, how the fabric hangs when worn | Fabric behaves like cardboard and the fit looks nothing like a person wearing it |
| Fabric detail | Print repeat scale, weave, stitch density, hardware finish | Pattern smears at close range and zippers or buttons blur into the cloth |
Six is the ingest ceiling, so every slot has to earn its place. Uploading three near-identical front angles costs you the back slot and the detail slot â the two that carry information no other frame repeats.
Think of the set like a passport application: one photo per required angle, and a missing angle gets the document rejected rather than improvised. A generator does the same thing, except instead of rejecting the upload it quietly fills the gap with a guess drawn from similar garments.
The slot most often missing from a real catalog is the side profile, because ecommerce sets rarely show it and it is the only frame that fixes sleeve drop and hem length. If that is your situation, one side shot of a hanger will convert more cleanly than a fourth front angle.
If you only have a front photo: a single frame will produce a video, but the generator fills every unseen area with a plausible inference â a neckline it has seen on similar garments, a hem it assumes, a back that mirrors the front. For a plain crew-neck tee that inference lands close enough. For a garment with a distinctive back, an asymmetric hem, or a print repeating at a specific scale, it is the difference between your product and a similar one. The fix is not more front angles; it is one honest detail frame. The no back photo for AI video route covers how to choose it.
The platform accepts one to six photos per item and returns a video file a person reviews before it goes anywhere, so a weak slot costs you an upload rather than a reshoot. Run your set against the product photos for an AI fashion video checklist before you batch a catalog.
Which Shot List Slots Matter Most by Garment Type?
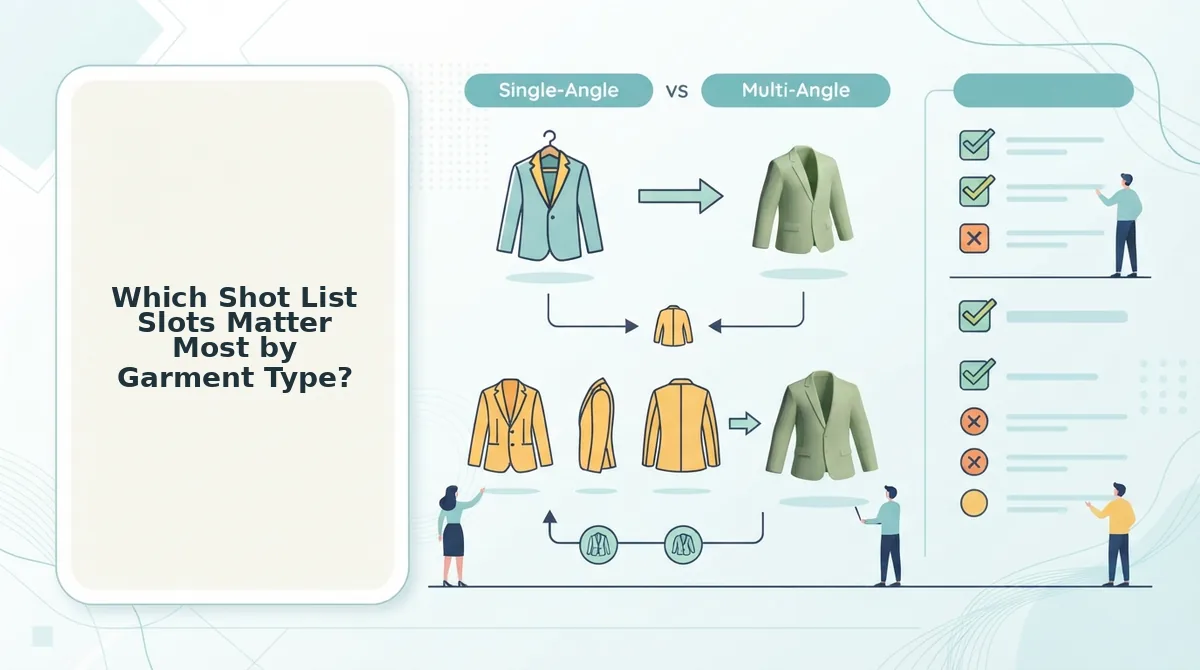
Slot priority is not fixed. Across seven garment types the must-have slots move: structure-led pieces lean on the flat lay, drape-led pieces lean on the on-body shot, and anything with a distinctive back cannot ship without the back slot.
- Pleated skirt â back and fabric detail are non-negotiable. Pleat depth and hem finish only read from behind and at close range, while a front frame collapses the pleats into a flat panel. Shoot the back on a hanger, then a detail frame at the hem.
- Denim â back and fabric detail carry the identity. The back slot holds yoke shape and pocket placement, which is most of what makes a jean recognizable; the detail slot holds wash variation and hardware. Front-only denim reads as generic trousers.
- Knitwear â on-body is the product. A flat lay removes the gravity that makes a knit look like a knit, so drape and stitch behavior disappear. One worn frame outworks four flat angles.
- Bias-cut dress â on-body plus side. The cut only behaves when gravity acts on it, and the side profile is what proves length and how the hem falls. Flat frames make bias fabric look symmetrical, which it is not.
- Tailored jacket â flat lay leads. Alignment and symmetry are the product, and a flat lay on neutral ground holds shoulder line and lapel roll where an on-body frame distorts both. Add front for closure and back for the vent.
- Print-heavy pieces â flat lay plus fabric detail. The flat lay shows repeat scale across the whole garment, and the detail frame confirms that repeat at close range. Skip either and the pattern gets redrawn at the wrong scale.
- T-shirt â front plus fabric detail is genuinely enough. Plain jersey with a standard crew neck has few unseen surfaces, so extra angles add weight rather than information. Spend the remaining slots on a cleaner detail shot.
A seller holding only a front shot and a flat lay of a pleated midi skirt should shoot the back and one hem detail before uploading â those are the two slots the current set cannot cover, and neither is recoverable from what already sits on the product page. The pleated skirt photos for AI video walkthrough covers that specific pair.
With priority settled, the next decision is whether your reference set should be shot flat or worn.
Flat Lay or On-Body for a Reference Photo Set?
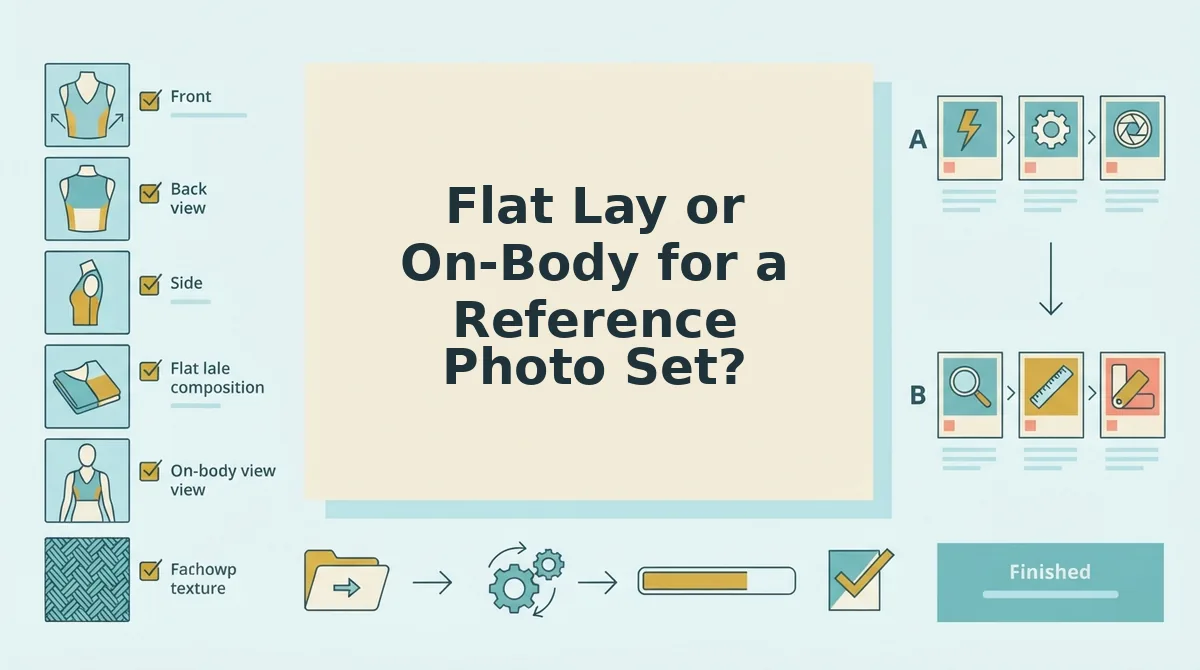
Use both. Flat lay is the stronger reference for construction, trims, and print repeat because nothing is under tension; on-body is the stronger reference for drape, proportion, and how the garment actually falls. The slot should go to whichever quality the product is sold on.
| Reference type | What it proves | What it hides | Best for |
|---|---|---|---|
| Flat lay | Seam alignment, print repeat scale, hardware, edge finish | Drape, stretch, and how fabric behaves under gravity | Print-led, tailored, and hardware-heavy pieces â best for catalog merchandisers shooting on a table |
| On-body | Hang, proportion, movement, fit on a real frame | Construction detail the body occludes; anything under tension reads distorted | Knitwear, bias cuts, and fluid fabrics â best for social teams building UGC-style motion |
| Ghost mannequin | Garment shape without a model, front opening held clean | Sleeve fall and cuff shape when clamps or hangers stay in frame | Mid-weight wovens â best for brands shooting without a model on set |
Ghost mannequin sits between the two and is acceptable when hardware is fully hidden and cuffs are shaped rather than flattened. It is the weakest of the three for knitwear, where a hollow form removes the very weight cues the generator needs.
The decision rule is narrow on purpose: if the product is sold on how it moves or falls, on-body wins the slot; if it is sold on pattern, finish, or hardware, flat lay wins. That is why a bias-cut slip and a printed poplin shirt should not share a shot list.
If you are converting an existing catalog, see how to take a flat lay to fashion video, and for catalogs that already hold both plate types, this breakdown of mixing flat lay and on-body photos shows how the two sets combine in one upload. Upload a pair of contrasting SKUs side by side to see which reference type your own catalog is short on.
How to Shoot, Check, and Upload Your Six Frames
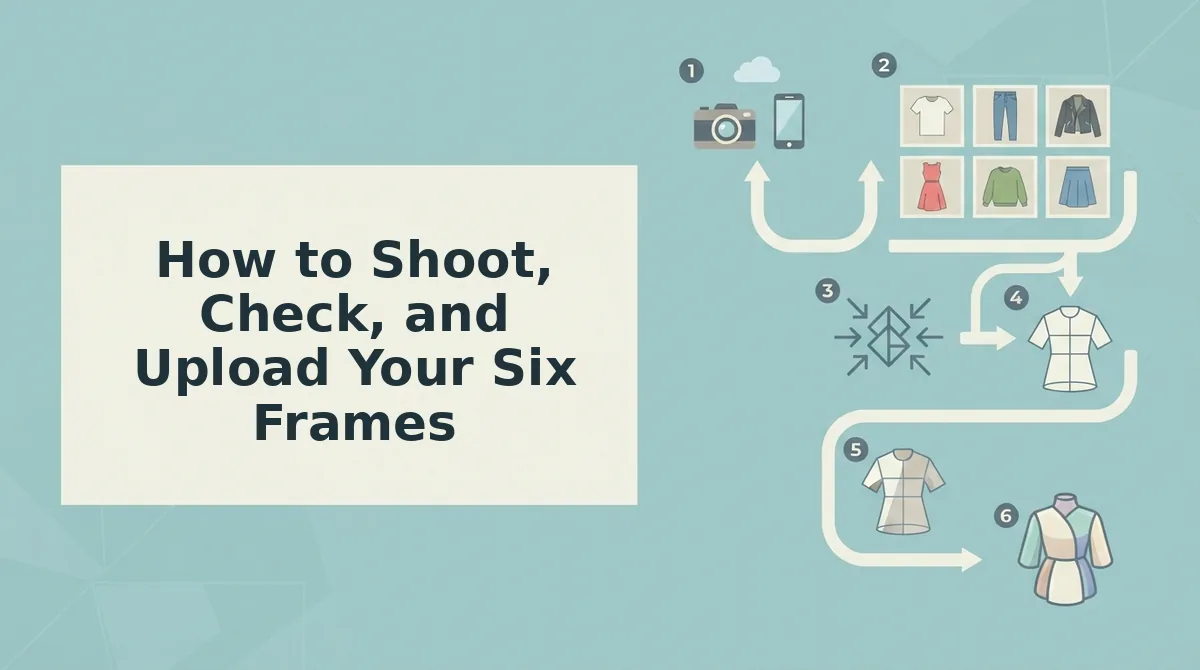
Gather four things before you start: a phone or camera that shoots at least 2000px on the long edge, one window or softbox as the only light, a plain seamless background, and the finished files sized with the photo file size calculator so nothing compresses on upload.
- Set white balance once and leave it. Lock it before the first frame and shoot the whole set in under one session â roughly 10 minutes. You should get six plates that match on colour when viewed side by side.
- Shoot front and back first. Fill 80â90% of the frame, keep the hem and shoulder seams inside the edges, and shoot at chest height. Expected result: two edge-to-edge plates with no cropped hem.
- Add the side profile and fabric close-up. Hold the close-up flat and square to the lens so weave and print repeat scale stay legible. You should be able to read the stitch line at 100% zoom.
- Check every frame at 100% zoom. The hem stitch line, buttonhole, and care-label edge must be readable, not merely visible. If any one fails, reshoot that slot now rather than after upload.
- Upload the two must-have slots and generate once. Open the generator, select the upload panel, add only front and back, and review motion and silhouette. Success looks like a silhouette that holds shape for the full clip.
- Add the four boosters and regenerate. Upload the remaining plates, confirm all six sit in the same colour family, and regenerate. Expect finer trim, hardware, and surface detail than pass one.
Before uploading, run the rejection list: no cropped hems, no mixed white balance between angles, no visible mannequin clamps or hangers, no hard shadows across the garment face, and no ultra-wide phone shots that bow the seams. One warm frame beside five neutral ones hands the generator conflicting colour information, and it will average them.
Anything absent from every plate becomes a guess. This is the unseen-detail rule, and it explains most "wrong" outputs: if the video invents a hem treatment, a seam, or a print direction you never shot, the fix is the missing slot, not a new prompt. Audit the six frames against hem, cuff, placket, lining, print repeat scale, and hardware before you touch the wording. Then turn clothing photos into video and re-read the output against the plate set.
What to Do With the Six Frames Once They Pass
The finding worth keeping is that two slots carry the result and four improve it. Front and back stop the generator inventing unseen detail; the remaining four sharpen trim, surface, and motion but rarely rescue a set that was missing coverage.
Pass your six frames through the fashion UGC generator as the next concrete step. What comes back is a video file, not a published post â a person reviews it before it goes to a product page or an ad account, so the sign-off stays yours.
Then repeat the same checklist on the next SKU. The slot structure does not change between a pleated skirt and a heavyweight tee, which means a catalog scales on the photos you already own rather than on a second shoot.
