


Most apparel catalogs have a flat lay for every SKU but on-body shots for only some, which raises a practical question: can you mix flat lay and on-body photos in one AI video upload? Search results mostly show tools that turn a flat lay into an on-model still image. They offer little guidance on preparing video inputs.
Short answer: Yes. You can mix flat lay and on-body photos of the same garment within FashionUGC's one-to-six photo upload, as long as every photo shows the same garment, the same colorway, and the same styling state. Each photo type supplies different information the generator uses to build motion.
A partial catalog is normal. Picture a Shopify seller with a flat lay and one on-body front shot of a shirt. They upload both as references for a single video instead of waiting for a full model shoot.
A single mismatched photo can undermine the rest of the upload. The problem is often a detail that looks harmless at thumbnail size.
This guide covers three things:
- What each photo type tells the generator
- How to allocate slots across 2, 4, and 6 photos
- A pre-upload consistency audit that catches the photo most likely to cause problems
What Does Each Photo Type Tell the Generator?
Each photo type gives the generator one kind of evidence. Flat lays show shape and print, on-body shots show fit and drape, and back angles, detail closeups, and ghost mannequin shots fill in what the others miss.
A shot role is the single job a photo performs in a multi-image upload. Think of the upload like a tailor's measurement sheet. Each line records one dimension, and no single line describes the whole garment.
| Photo type | What it supplies | What it cannot show |
|---|---|---|
| Flat lay | Proportions, print geometry, construction | Fit, drape, movement on a body |
| On-body | Fit and drape | Undistorted print layout, full construction |
| Back angle | Rear construction (yokes, seams, closures) | Front details |
| Detail closeup | Fabric texture, stitching, trims | Overall silhouette |
| Ghost mannequin | Volume and 3D shape | How the garment sits on a body |
Flat Lay
A flat lay is the garment's blueprint. It shows true proportions and print placement without a body stretching or folding the fabric. For more on this input, see the guide on flat lay to fashion video.
On-Body
An on-body shot shows drape, meaning how fabric falls and folds under gravity on a real frame. It is the clearest fit reference you can give the generator.
Ghost Mannequin and Detail Closeups
Is a ghost mannequin photo a substitute for an on-body shot? No. A ghost mannequin photo is shot on a mannequin that is later edited out, so it shows the garment's three-dimensional volume, including how a collar stands or how a skirt flares. It cannot show how the garment sits on a person's shoulders, waist, or hips, because no body was in the frame. Treat it as a volume reference that sits between a flat lay and an on-body shot. When you have both, upload both. When you have only a ghost mannequin shot, expect it to support shape rather than fit.
Detail closeups handle fabric texture. Across every type, clear lighting, visible hems, and sharp garment plates determine output quality more than the number of photos you upload. FashionUGC accepts front, back, side, flat lay, on-body, and fabric detail images in one upload, so each role can have its own slot.
How to Mix Flat Lay and On-Body Photos Step by Step
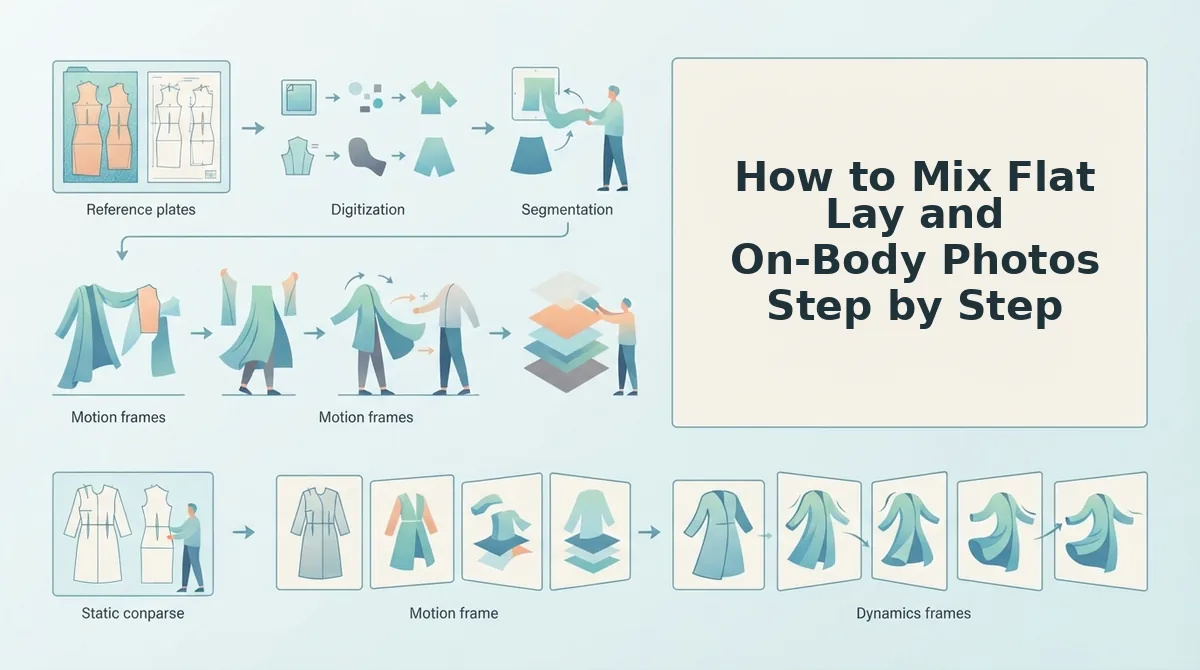
To mix flat lay and on-body photos, follow five steps: confirm the SKU and colorway match, choose one garment state, allocate slots, audit for consistency, then upload one to six photos. Most catalog sets take roughly 10 to 15 minutes to prepare.
- Confirm every photo shows the same SKU and colorway. Compare product codes and check colors side by side (about 2 minutes). You should end up with a single folder containing only one garment in one color.
- Choose one garment state. Decide whether the garment is buttoned or open and whether the sleeves are down or rolled (about 1 minute). Every remaining photo should match that state.
- Allocate slots using the table below. Treat it as guidance, not a rule (about 2 minutes). You should have a shortlist with one clear role for each photo.
- Run the pre-upload consistency audit. Check each photo against the checklist below (about 5 minutes). Any photo that fails gets swapped or removed.
- Upload the set. Add between one and six photos to the upload area. You should see every selected image listed before you generate.
| Photos | Suggested allocation |
|---|---|
| 2 | Flat lay + on-body front |
| 4 | Adds back angle + detail closeup |
| 6 | Adds ghost mannequin or a second on-body angle |
Consider a boutique with an on-body shot where the sleeves are rolled and a flat lay where the sleeves are down. The fix is to pick one garment state and then either reshoot the flat lay or swap in an on-body photo that matches it.
What should a pre-upload consistency audit check? A pre-upload consistency audit confirms that every photo in a mixed upload describes the same garment under comparable conditions. Check four things. Lighting temperature should match, so a warm-lit on-body shot does not suggest a different color than a cool-lit flat lay. Hems and seams should be visible rather than cropped or hidden in shadow. Focus should be sharp on the garment at full zoom. The styling state should be identical in every frame. Any photo that fails one check should be swapped or dropped.
- Same SKU and colorway
- Matching lighting temperature
- Visible hems and seams
- Sharp focus at 100% zoom
- One garment state across all photos
Once your set passes, the clothing video generator turns those catalog photos into short-form motion. Review the output before it goes anywhere.
Next, confirm the mixed upload actually worked.
How to Check the Mixed Upload Worked
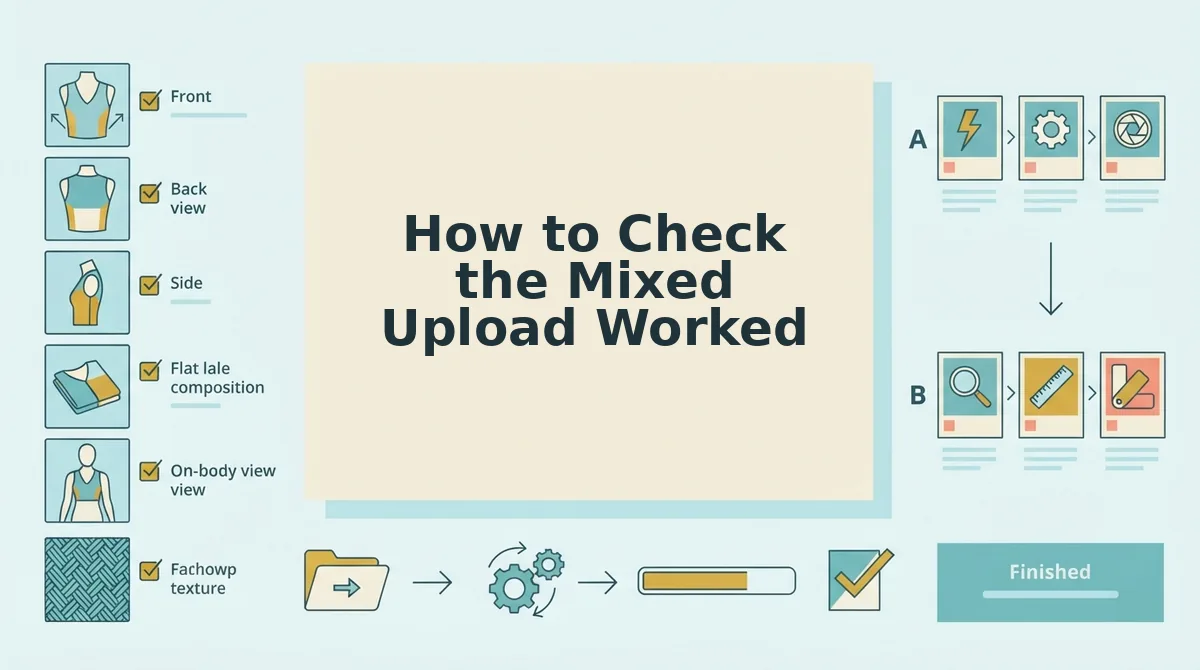
Check a mixed upload twice. Before generating, confirm every photo shows the same garment in the same state. After generating, compare the video file against those source photos. A mixed upload is a single set of one to six photos that combines flat lay, on-body, and detail shots of one garment.
Start with a simple check. Place the photos side by side and confirm that the colorway, button state, sleeve length, and lighting match.
More photos are not automatically better. Think of the generator like a sketch artist working from witnesses. Five witnesses who agree produce a clear face, but one witness who describes a different jacket muddies the drawing. One on-body shot in a different colorway, with rolled sleeves, or under a warmer color cast gives the generator contradictory references, which means two competing versions of the same garment.
Two quieter problems also hurt output. Low-resolution on-body crops carry too few pixels to show fabric clearly. Heavy styling, such as a long coat layered over a dress, can hide the hem. If a photo raises doubt, cut it.
After you generate with the AI fashion UGC video generator, review the file before it goes anywhere. FashionUGC creates the video. It does not post to social platforms. Check these four points:
- Hem position: The hem sits where it does in the on-body reference.
- Print alignment: Stripes, logos, and repeats match the flat lay's geometry.
- Colorway match: The color reads the same as in every source photo.
- Drape: The fabric falls the way it does in the on-body shot.
For example, a social team generates a video for a printed midi skirt. They pause on the frames where the hem and print are most visible and compare those frames to the source photos. Only after that check do they schedule the file in their own tools.
Frequently Asked Questions
These answers cover the input questions the guide above leaves open.
Is a ghost mannequin photo enough without on-body shots?
No. A ghost mannequin shows the garment's 3D volume, such as how a collar stands or a skirt flares. No body is inside it, though, so it cannot show fit, stretch, or how fabric falls at the hips and shoulders. Pair it with at least one on-body shot.
Can I mix photos of different colorways in one upload?
No. Use one colorway per upload. Mixing navy and black versions of the same dress gives the generator two conflicting color references, which can make the color inconsistent across the video. Create a separate upload for each colorway SKU.
Can on-body photos come from different models?
Using one model per upload is the safer choice. The same garment can drape and sit differently on different bodies, which adds conflicting fit references. If your catalog only has shots of different models, choose the ones where hem length and fit look most alike.
Does photo order matter when I upload?
Treat a consistent order as a working habit, not a confirmed setting. A predictable sequence, such as flat lay, on-body front, back angle, then detail closeup, makes your pre-upload audit and post-generation review faster across every SKU.
Build Your Mixed Upload and Generate the Video
A strong mixed upload depends on a consistent set of photos, not a large one. Every photo should describe the same garment in the same state. That is the answer to the question this guide opened with: one conflicting photo can hurt the video more than a missing one.
The Shot Role Matrix, the slot plan, and the audit together form a repeatable SKU-level workflow that uses catalog photos you already have, with no reshoot. Use these three steps:
- Give each photo one job, and use one garment state and one colorway.
- Audit the set and cut any photo that contradicts the others.
- Review the video file for hem, print, color, and drape before it goes anywhere.
When your set is ready, turn clothing photos into video and apply the same workflow to each SKU in your catalog.
