


Your packshots look crisp on the product page, then the generated 9:16 clip turns a ribbed knit into soft, smeared texture. The photos are good, but they were shot for a different job. A packshot, the clean studio image of a garment made for your catalog, is built for a zoomable product page. Getting packshot resolution for AI fashion video right means planning for a vertical crop and motion, not only a sharp thumbnail.
This guide gives you a spec you can hand to your studio or retoucher, the crop math behind it, and a nine-step prep checklist ordered by which mistake costs the most detail. One point surprises most teams: the setting that ruins fabric texture usually isn't resolution. Before you send images into a product-photo-to-video workflow, check them against this baseline:
Export packshots at about 2,000px on the long edge as a minimum, and 3,000px or more where possible. The garment should fill most of the frame, the fabric should be in sharp focus, compression should be light (high-quality JPEG or lossless), and the color profile should be sRGB. These figures are practitioner guidance, not an official FashionUGC specification.
What Resolution Do Packshots Need for AI Fashion Video?
Packshots for AI fashion video need roughly 2,000px on the long edge at minimum, and 3,000px or more works better. The figure that matters most, though, is how many pixels land on the garment after the image is cropped to vertical.
The long edge is the longer side of an image in pixels, such as 3,000 in a 3000x2000 photo. The table below shows practitioner estimates, not platform requirements.
| Tier | Long edge (estimate) | What to expect |
|---|---|---|
| Minimum | ~2,000px | Clears a 1080x1920 frame only if the garment fills the shot |
| Recommended | ~3,000px+ | Leaves room for vertical crops and preserves weave detail |
| Diminishing returns | Well beyond 3,000px | Extra pixels add little if heavy compression or sharpening has already degraded the file |
The crop budget
Crop budget is the number of usable pixels left after you trim a source image to the output aspect ratio. Think of it like fabric yardage: the bolt can be wide, but only the piece you cut out becomes the garment.
Will a square or landscape packshot work for a 9:16 video? Take a 2000x2000 square catalog packshot and crop it to 9:16 while keeping the full height. The width becomes 2000 Ã 9/16, which is 1,125px, so the usable area is about 1125x2000. That barely clears a 1080x1920 output frame, with only 45px to spare across the width. Landscape sources fare worse: a 3000x2000 image cropped to vertical still yields only about 1,125px of width and discards most of the frame.
The rule is to count pixels on the garment, not in the file. Our guide to fashion video aspect ratios covers how each format crops. Because FashionUGC accepts up to six angles per item, you can add a tighter detail shot instead of stretching one wide image.
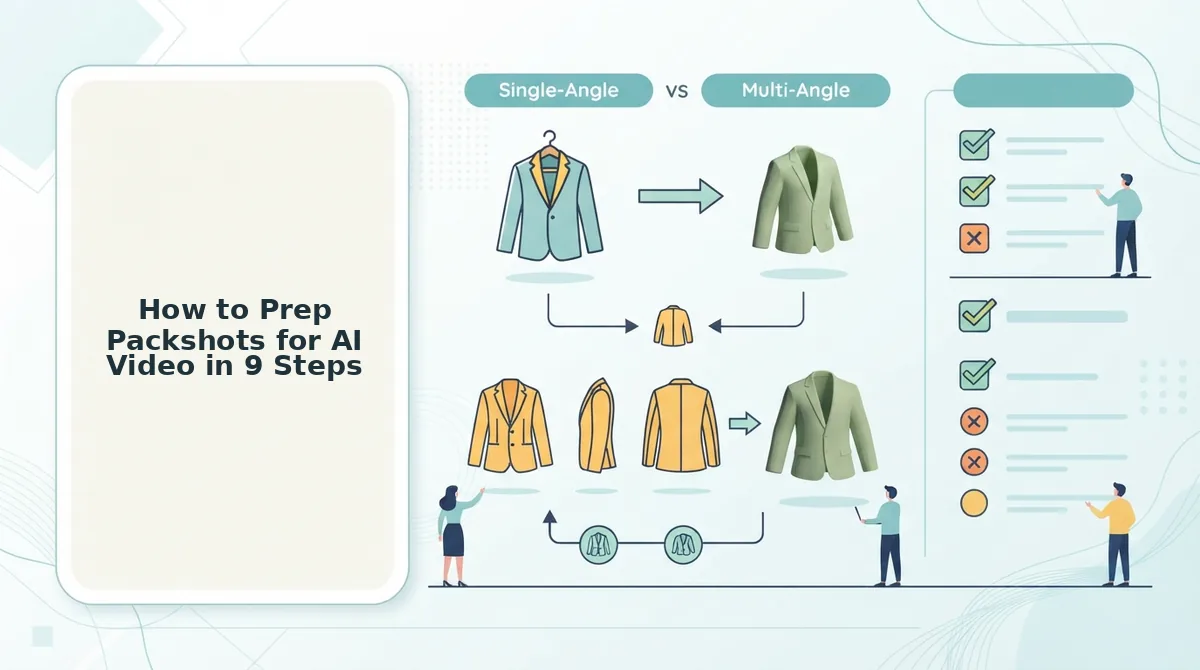
How to Prep Packshots for AI Video in 9 Steps
Prep packshots by fixing the mistakes that destroy the most detail first: pixel count, garment fill, focus, and compression come before color profile. Plan on 10 to 20 minutes per SKU if you are re-exporting from existing masters.
Before you start: you need the original high-resolution files or RAW captures, an editor that shows pixel dimensions and export quality (Photoshop, Lightroom, or Capture One), and one to six stills of each item.
Check the long-edge pixel count
Open each file's image size panel and confirm the long edge is at least about 2,000px, ideally 3,000px or more. Files below that go back to the master or get reshot.
Confirm garment fill and visible construction
Crop so the garment fills most of the frame, with hems, plackets, and cuffs fully visible. Success looks like a frame with no empty sweep around the product.
Verify focus and depth of field
A shallow depth of field that blurs the sleeves will look like smearing once the clip is in motion.
Restrain sharpening
Lower output sharpening to avoid a sharpening halo, the bright outline that forms along edges when contrast is pushed too far.
Export with light compression
Save as JPEG at quality 10 to 12 or as a lossless PNG or TIFF. Compression artifacts are the blocky patches heavy JPEG saving leaves behind, and they flatten fine weave into the mush most teams blame on resolution.
Convert to sRGB with consistent white balance
Choose sRGB in the export dialog and match white balance across every angle. The garment's color should hold steady from one still to the next.
Skip AI upscaling on soft originals
Reshoot instead of upscaling. An upscaler invents or smears weave, and the video model then animates those artifacts as if they were real texture.
Light fabric evenly
Use soft, even light that shows texture without blown highlights. Knit ribs and twill lines should stay readable in both shadow and highlight areas.
Build an angle set of 1 to 6 stills
Include front, back, and side views and one fabric closeup, plus a ghost mannequin shot, an image where the form is edited out so the garment appears hollow and shaped. Our guide to turning flat lays into fashion video covers flat-lay angles.
Why does fabric look mushy in AI video even when the source is high resolution? The cause is usually processing, not pixel count. Heavy JPEG compression turns fine weave into soft blocks, and aggressive sharpening adds halos along edges. AI upscaling invents texture that was never captured. A video model treats all of these artifacts as real fabric and moves them frame by frame, which makes the damage more visible than it was in the still image. Export lightly compressed, unsharpened, sRGB files from the original master, and texture holds up far better.
Once your set is clean, you can turn clothing photos into video by uploading all six angles together, and then review the output before it goes live.
Next, run a quick quality check before you upload.
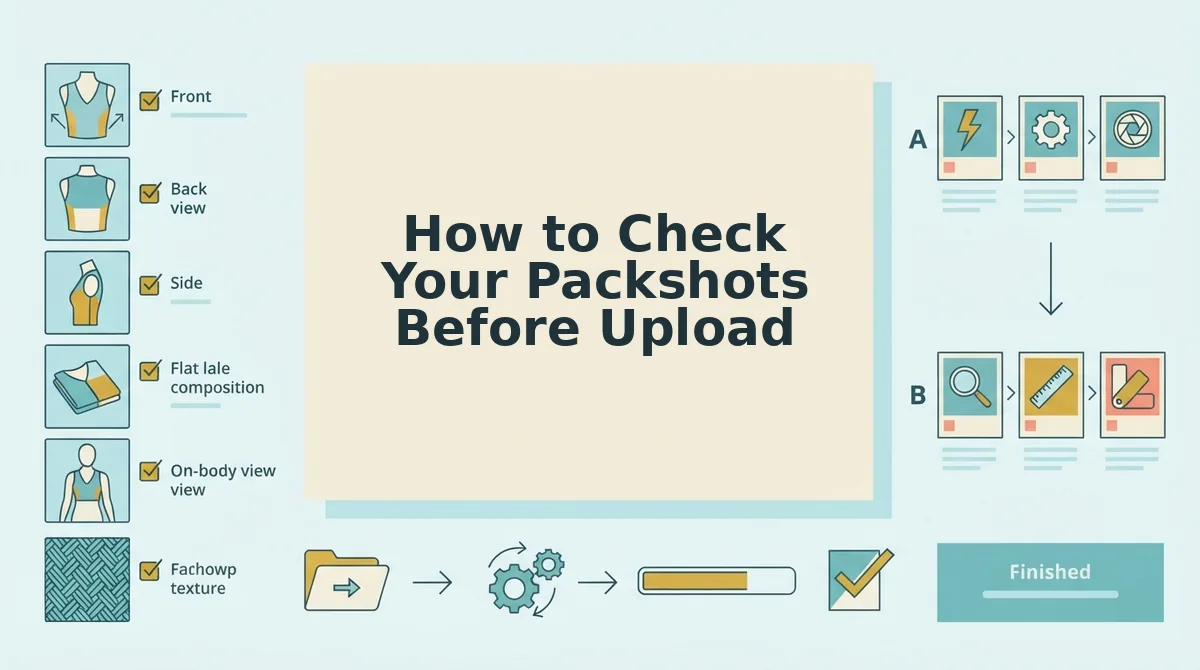
How to Check Your Packshots Before Upload
The values below are working estimates, not hard platform limits.
| Setting | Target (estimate) |
|---|---|
| Format | JPEG at high quality, or PNG |
| Color profile | sRGB |
| Dimensions | Long edge around 3,000px |
| Crop | Garment fills most of the frame |
- Zoom to 100% on stitching and hems. Seams, topstitching, and hem edges are where compression blocks and sharpening halos appear first. If they smear when the image is still, they will smear in motion.
- Re-export from the original masters. Web JPEGs are usually resized and compressed for page speed. Export the master files from an existing shoot at full quality instead of reshooting, which is how teams reuse past-season catalog photos.
- Reject motion blur. Extra pixels cannot recover detail lost to camera shake or a slow shutter. Replace any soft frame with a sharper alternate from the same set.
- Confirm the angle set. Resolution cannot invent a back or side view that was never photographed. Include every angle the video should show.
- Plan the human review. The clothing video generator creates the file but does not publish it. A person should check color, fabric, and fit accuracy before anything goes live.
Packshot Resolution FAQ
These answers cover the source-file questions that usually come up after the resolution basics.
Should I upload PNG or JPEG packshots?
Either format works. A high-quality JPEG exported from the master file is usually enough. PNG is lossless, but it only helps if the source was never heavily compressed. Converting a compressed web JPEG to PNG keeps the existing artifacts and adds file size.
Is ghost mannequin or flat lay better as a source?
Both formats work, but they change how drape is interpreted. A ghost mannequin shows the garment's three-dimensional shape and fall. A flat lay shows construction and print clearly but gives less information about volume. See ghost mannequin vs flat lay for a full comparison.
Do phone photos work as packshots?
Yes, if they are sharp, evenly lit, and the garment fills the frame. Modern phone sensors capture enough pixels for this use. Blur, mixed lighting, and loose crops are the more common problems, so shoot in steady light and check fabric texture at full zoom before uploading.
What should I do with a low-res legacy catalog?
Re-export the original masters at full quality instead of upscaling the web files. Upscaling adds pixels, but it cannot restore texture that compression already removed. If the masters are gone, upload the sharpest surviving files and reshoot only the hero SKUs.
Upload Packshots That Keep Their Texture
Texture holds up in motion when the garment fills the frame and the file avoids heavy compression. Raw pixel count matters less than either of those. That is why a well-cropped 3,000px export can beat a larger file that is mostly backdrop.
Work through the fixes in order of failure cost:
- Check the crop budget first. Wasted backdrop is the most expensive loss, because it shrinks the pixels available for the garment.
- Fix compression and sharpening next. Re-export from the masters at full quality.
- Upload one to six clean stills last. Cover every angle the video needs to show.
Then upload your packshots to the AI fashion UGC video generator. You get a video file to review before publishing, not guaranteed performance. Your existing catalog may already contain the footage you need.
