

Your best-selling hoodie already has a ghost mannequin set sitting in a SKU folder â front, back, a clean hollow silhouette that took an afternoon to light and retouch. It just doesn't move, and the alternative is a model, a studio day, and a budget line nobody signed off on.
A ghost mannequin photo is a garment photographed empty, with its interior visible at the neckline. UGC-style video means creator-native vertical framing â handheld energy, 9:16, real light â rather than studio polish. A ghost mannequin hoodie video is those two things joined, built from packshots you already own.
Short answer: use sharp ghost mannequin stills that show hood crown height, the neckline interior, and tight cuffs. Upload one to six angles, leading with front, back, and a cuff or hem closeup. Generate a 9:16 clip, review the hood shape and fleece texture at full size, then approve the plate or reshoot it.
What follows is the capture criteria that decide whether the output reads as heavy fleece or a T-shirt with extra fabric, the still-to-motion steps in order, and the inspection pass to run before the clip reaches an ad account.
One warning first: a hoodie can deflate in motion even when the source still looks flawless, and the video tutorials ranking for this topic all stop at the still image. The cause sits upstream â Section 2 shows where.
Picture a boutique hoodie that exists as exactly two frames, front and back. The operator has to decide which angles deserve the one-to-six budget, and whether that front frame proves the hood holds height off the chest or merely lies flat against it.
What does a ghost mannequin hoodie still need before it becomes video?
A ghost mannequin still needs three things before it can carry motion: a hood crown that holds height above the neckline, a neckline opening where the interior is visible, and a cuff edge sharp enough to survive as an edge in the finished clip.
Call that the Hood Volume Triangle. Each point tells the generator something different â the crown sets how much the hood weighs, the neckline opening establishes that the garment is hollow, and cuff tension defines where the fabric ends. On a T-shirt, one crisp shoulder seam carries most of that information; on a hoodie, the load is split three ways, which is why hoodie plates fail more often.
Think of the source image as a plaster mold. The output can only reproduce shape the mold already contains, so a hood folded flat against the chest produces a hood that never rises.
Counterintuitive but consistent: an empty ghost mannequin plate usually beats an on-body photo as input. Body creases and elbow folds get read as garment structure and baked into the drape, while a hollow-body shot hands over a clean silhouette with nothing to misinterpret.
Why an AI hoodie video looks flat. When a generated hoodie reads as paper-thin, the plate is missing shadow gradation across the fleece. Flat frontal light erases the nap â the direction the fleece fibres lie â so the model has no texture cue and renders a smooth surface. The fix is capture, not prompting: relight at a raking angle so shadow falls across the chest and the hood's side panel, keep the cuff edge razor-sharp, and confirm the neckline interior is visible. A frame with real tonal range gives the generator something to reproduce.
If your input is a flat lay rather than a hollow-body shot, start with turning a flat lay into a fashion video first, then come back to the triangle. And if the collar is reading as a dark void, fixing a hollow ghost mannequin neck is a five-minute correction to the plate that changes the whole result.
The uploader accepts one to six frames per garment, so the triangle is the filter for what earns a slot.
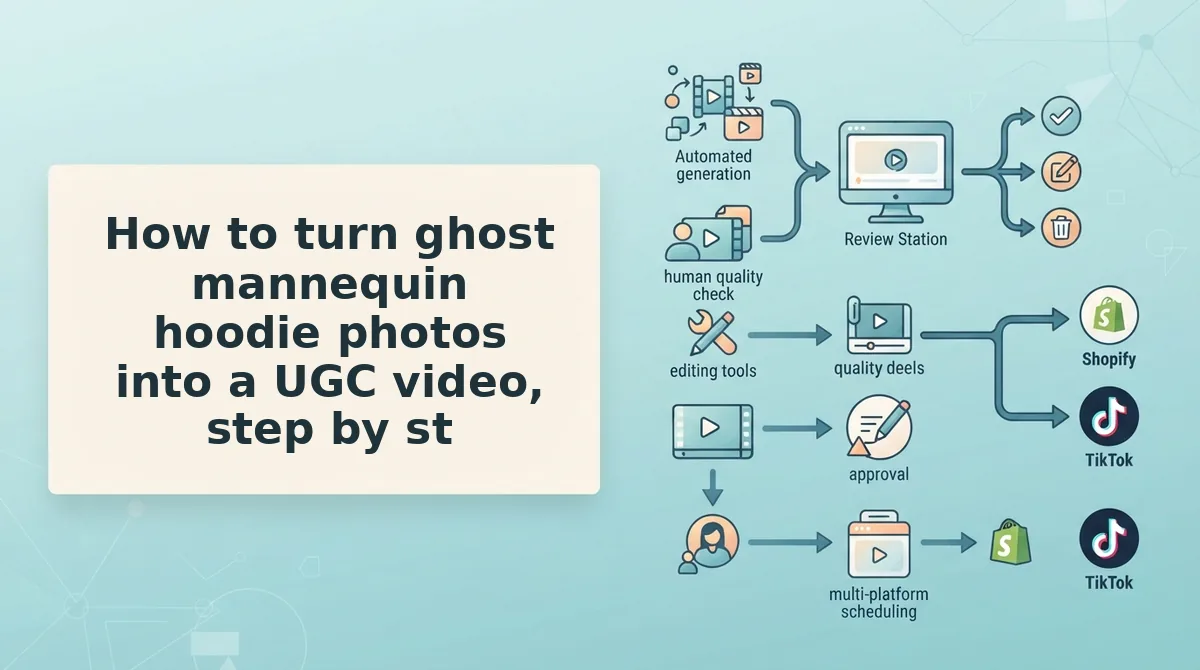
How to turn ghost mannequin hoodie photos into a UGC video, step by step
Run this pipeline in order. You need one hoodie, one to six stills of it, and a browser tab on the generator â the capture fixes below happen before upload, and skipping them is what produces a sagging crown later.
- Audit the SKU folder and rename the packshots (5 minutes). Open the hoodie's folder, delete duplicates and near-identical frames, and rename each file by angle â hoodie-front.jpg, hoodie-back.jpg, hoodie-cuff.jpg. Zoom to 100% and check that the hood seam and cuff edge are genuinely sharp. You should end with four to six named, in-focus frames.
- Fix the three capture points on the plate (20â30 minutes if you reshoot). Stuff the hood so the crown holds height off the neckline, pin the cuffs taut so the rib-knit edge stays straight, and keep the drawcords symmetrical â asymmetry becomes visible motion. Then relight at an angle so the light rakes across the fleece nap rather than hitting it head-on. Success looks like visible shadow gradation across the chest and hood side panel; ghost mannequin lighting for video covers the setup in detail.
- Spend the angle budget in priority order. You have one to six upload slots, and for a hoodie they are not equal. Use this ranking, and drop the hood interior first if you only have three frames.
| Upload order | Job on a hoodie | Job on a tee |
|---|---|---|
| 1. Front | Hood crown height, shoulder drop, chest print | Neckline shape, chest print |
| 2. Back | Hood back panel, yoke seam, hem line | Back print, hem line |
| 3. Cuff or hem closeup | Rib-knit tension, cuff edge definition | Sleeve hem, side seam |
| 4. Hood interior | Lining, drawcord path, neckline opening | Not applicable |
On the same boutique hoodie, a second pass that adds a cuff closeup changes one observable thing in the source plate: the rib-knit edge now reads as a defined line with individual ribs visible, where the original front frame showed a soft, blurred edge. Nothing else about the garment changes â only what the plate proves.
That is the input side of the product photo to video workflow, and it is worth finishing before you touch settings.
- Set the aspect ratio to 9:16. Select vertical output, then check safe zones: keep the hood crown and any chest print inside the central area that app overlays don't cover. You should see the full hood and print sitting clear of the top and bottom margins in the preview frame.
- Upload the frames and generate the clip. Add the stills in the order you ranked them, confirm the front frame is first, and start the generation. Review the output at full size on a phone-shaped preview â not a desktop window â and check hood silhouette, fleece texture, and cuff edges before anything ships.
Next: how to check the clip actually carries fabric weight.
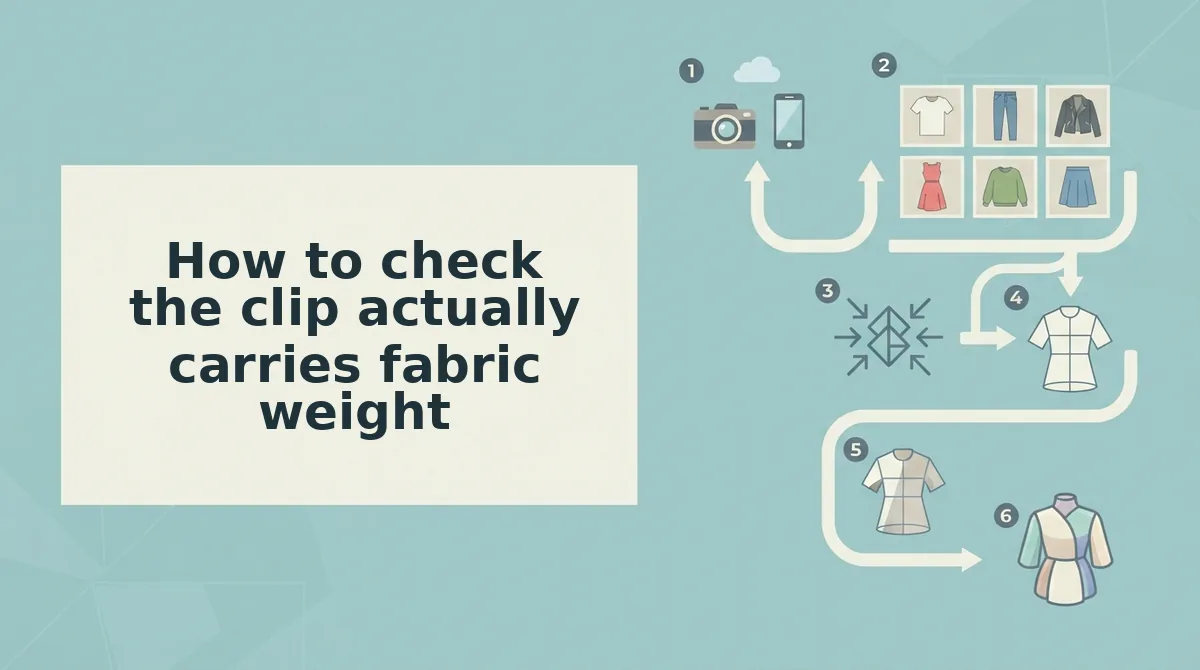
How to check the clip actually carries fabric weight
Fabric weight is verifiable in about a minute: test the still before you generate, then run four checks on the output. When a check fails, the fix is usually a reshoot rather than a re-prompt.
In color, a warm rust hoodie and its shadow can read as depth when the file is actually flat. Grayscale removes that crutch, so lost nap direction appears as a smooth, plasticky field in roughly 20 seconds â the same defect motion will exaggerate into nylon.
- Hood crown holds height through the motion. The crown is the clearest read on whether the garment carries fleece weight or reads as a T-shirt with extra panels. Watch the first two seconds, when most drift happens: a crown sinking toward the neckline has collapsed rather than settled, and a still that already sat flat cannot be prompted back.
- Neckline stays open. An open neckline proves the garment has interior volume, which is the entire visual premise of the ghost mannequin effect. Confirm the hood interior stays visible and the collar does not seal shut as the clip moves; a closing neckline reads as a printed flat.
- Cuff edges stay crisp. Razor-sharp cuff and hem edges in the source predict a crisp video edge, while soft or feathered edges predict mush. Pause at full size on the wrist ribbing â if it blurs into the background, the resolution is not there.
- Fleece reads as fleece, not plastic or nylon. Plasticky output traces back to flat lighting and lost nap direction in the capture, not to the model. Compare the output's chest panel against the source at matching zoom; if sheen has replaced texture, the lighting that flattened the nap is the cause.
- Reshoot beats generation in three cases. Crushed highlights with no recoverable texture, a hood collapsed across every angle you own, and files too small to hold a cuff edge are capture failures that generation only amplifies. Reshoot the crown and cuff closeups first â one short tabletop session costs less than re-running dead stills.
Every 9:16 output is then watched by a person before it goes anywhere; the clothing video generator returns a file, and a human decides whether it ships.

Ghost mannequin hoodie video FAQ
These are the questions that surface once brands already own hoodie stills and want motion from them.
Do I still need a physical mannequin?
Not for the video. Generation needs one to six still photos of the garment â front, back, side profile, flat lay, or fabric detail â so a ghost mannequin set covering crown, neckline and cuff is enough. A mannequin only matters if you are shooting new stills.
What is the difference between ghost mannequin and invisible mannequin?
They describe the same empty-garment result reached by different routes. Ghost mannequin typically means compositing an interior shot into an on-body frame during retouching; invisible mannequin usually means capture with a hidden form or rig. Brands and search results use the terms interchangeably.
Can free AI ghost mannequin tools make the video?
No. Free AI ghost mannequin tools produce a still â a composited empty-garment image â and stop there, with no motion, no SKU-level output and no 9:16 file. They can clean up a capture, but turning that still into a clip takes a video generator.
From hoodie packshots to a reviewed 9:16 clip
Hoodie motion holds together when the still is checked before generation and the clip is checked after it; no model recovers a hood that was already flat in the photo. The workflow is three moves: verify the Hood Volume Triangle on your source angles, spend your upload budget on crown, neckline and cuff instead of four near-identical fronts, then run the Grayscale Nap Test plus a human review on the output.
Keep the boundary in view. What the clothing video generator returns is a file, not a publish button â nothing reaches a feed or an ad account until a person has watched it.
Start with the hoodie you shoot most: upload its crown, interior and cuff angles to the fashion UGC generator and judge the result against the four checks. If the fleece holds, that clip becomes your template for the rest of the drop, and the AI clothing ad generator carries the same file into paid placements.
