

You notice it at the worst moment: the packshot is approved, the SKU is queued for video, and the neckline is a black hole. Where the inner collar and back neck plate should be there is nothing â an empty dark that reads as a cutout error to a human and as an unresolved edge to a video model.
That hollow ghost mannequin neck is fixable inside the still file, in minutes, with no reshoot.
Below: how to diagnose which of the four neck failures you actually have, how to restore the opening with or without a second inside-out exposure, and how to confirm the file is legible before generation.
The neck opening is the highest-contrast edge in most packshots, which is why video models break there first â and why one of the four failures cannot be fixed by drawing a collar at all.
Get the neckline right and turning clothing photos into video stays a single upload of one to six angles per item.
What Makes a Hollow Ghost Mannequin Neck a Video Problem?
A hollow ghost mannequin neck is a packshot defect in which the neck opening has no inner collar or back neck plate behind it, so the garment reads as an empty shell. In a still it looks slightly wrong; in generated video it becomes the least stable edge in the frame.
A ghost mannequin â also called the invisible mannequin effect â is a packshot technique where the garment is shot on a form that is later removed, leaving the clothing apparently holding its own shape. The hollow man effect is what happens when that removal is incomplete: the outside convinces, the inside is missing.
The neck joint is the composite seam where the front collar meets the back neck plate. Those two surfaces â inner collar and back neck plate â sit inside the opening and tell a viewer the garment has depth.
Think of a photo of a doorway with the room behind it painted flat black. Your eye accepts the frame and rejects the space.
That is the structural problem: video models re-synthesize every frame, and where the neckline has no interior there is nothing to hold constant. The collar drifts closed, fuses to itself, or flickers as the highest-contrast edge gets rebuilt frame by frame. Refining the existing selection cannot fix it, because the void is a missing depth cue rather than a bad cutout.
A legible neckline hands the generator three things: a depth cue it can preserve, a symmetry axis for the collar band, and a stable edge. Studio stills and flat lays both work as source plates, so this is an asset repair, not a reason to rebook the set â see flat lay to fashion video.
How Do You Fix the Neck Without Booking a Reshoot?
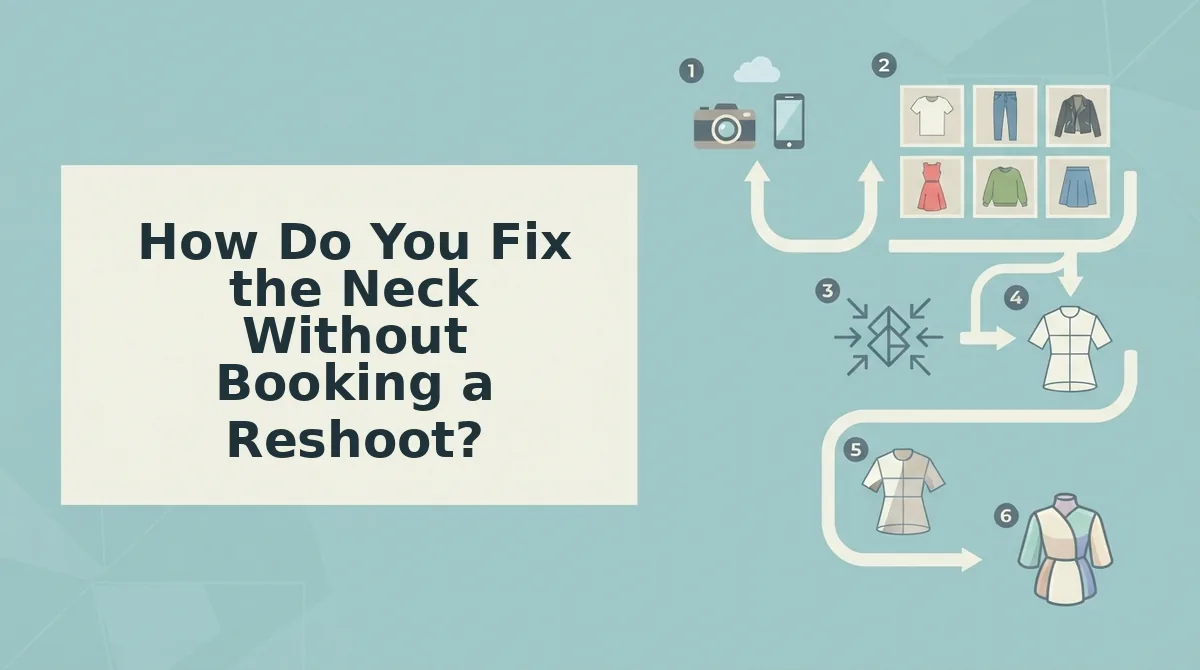
Fix the neck in the still file before generation: classify the defect, reuse an inside-out plate if one exists, and ambient the void when it does not. Budget roughly 15 minutes per SKU in Photoshop or any editor with layers, a soft brush and an eyedropper.
| Failure | Symptom | Cause | Fix | Severity for video |
|---|---|---|---|---|
| Void | Neck opening is pure black or flat grey | No inner collar, no plate | Ambient the opening with sampled shadow | High â collar drifts and flickers |
| Seam | Visible edge line across the neck joint | Two plates lit differently | Match light direction, feather the mask | Medium â seam shimmers each frame |
| Collapse | Collar pinches shut or folds inward | Garment form removed with no support | Rebuild the band with a plate or warp | High â shape changes between frames |
| Crush | Collar crushed at one shoulder, asymmetric | Form pressure during capture | Crop tighter or replace the frame | Low if cropped, high if kept |
- Classify the defect (2 min). Zoom to 200% on the neck opening and match what you see to one row of the table. You should land on one failure, not two.
- Check for an inside-out plate (1 min). Open the shoot folder. If a second exposure was taken inside-out from the same camera position and focal length, use it. If it was shot at a different angle, skip it â mismatched perspective costs more to fix than ambienting.
- Place the plate (4 min). Paste it as a new layer, drop opacity to 50%, then scale and rotate until the shoulder seams on both layers sit on top of each other. Return opacity to 100% and mask the plate into the opening.
- Match the light (3 min). Sample the brighter side of the front collar. The inner collar receives light from the same side, so its highlight belongs on that half.
- Ambient the void when no plate exists (3 min). Select the opening, fill it with a colour eyedropped from the shadow the front collar casts on the chest, and keep the fill a fifth to a third darker than the front collar edge. A workable floor is about RGB 30 of 255, with fold detail still visible at full zoom.
- Verify before upload (2 min). View at 100% and check the collar edge is continuous around the opening. No banding, no pure black. Then run one short test generation.
Why the floor matters: a white shirt inner collar filled at RGB 0 looks acceptable on a product page and ghosts visibly the moment the video model starts re-lighting the collar band. It has no shaded information to preserve, so it averages toward the surrounding white.
If the neckline is still ambiguous after these steps, the material rather than the repair is usually the constraint â the product photos for AI fashion video guide covers what the generator needs from the source plate, and uploading one to six angles per item lets a cleaner angle carry the shot.
Sometimes the right move is to stop repairing.

When Should You Stop Fixing and Crop or Swap Instead?
Stop repairing the moment the neckline stops changing what a buyer sees. Repair when the collar is in frame and carries the garment's identity, crop past it when the collar is not the selling point in that shot, and swap the hero image when the seam still reads at feed size.
| Option | What it solves | Where it fails | Best for |
|---|---|---|---|
| Repair the void | Restores the inner collar depth cue so the model has a plausible shadow to animate | Collar shape is asymmetric beyond readable repair, or the seam survives at thumbnail size | Brands whose collar is the product: structured blazers, collared shirts, hoodies with visible neck tape |
| Crop past the neckline | Removes the defect entirely, with zero retouch time | The collar or brand neck label is the reason the shot exists | Detail and waist-up frames: fabric close-ups, on-body shots where the neckline is incidental |
| Swap the hero image | Resets to a clean source plate with no reconstruction | No alternate angle in the catalog still shows the item honestly | High-volume SKU feeds where a back or side packshot is already sitting unused in the asset library |
The judgment call is made at feed size, not on a 4000px canvas. A seam that vanishes at full resolution can be the most visible thing in a 120-pixel thumbnail, so zoom out before you decide to keep repairing.
Cropping is legitimate, not lazy, when the collar carries no brand or fit information in that frame. Compare the outcomes side by side in the AI clothing video examples before committing a SKU to another retouch pass.
The Neckline Is the First Frame the Model Has to Trust
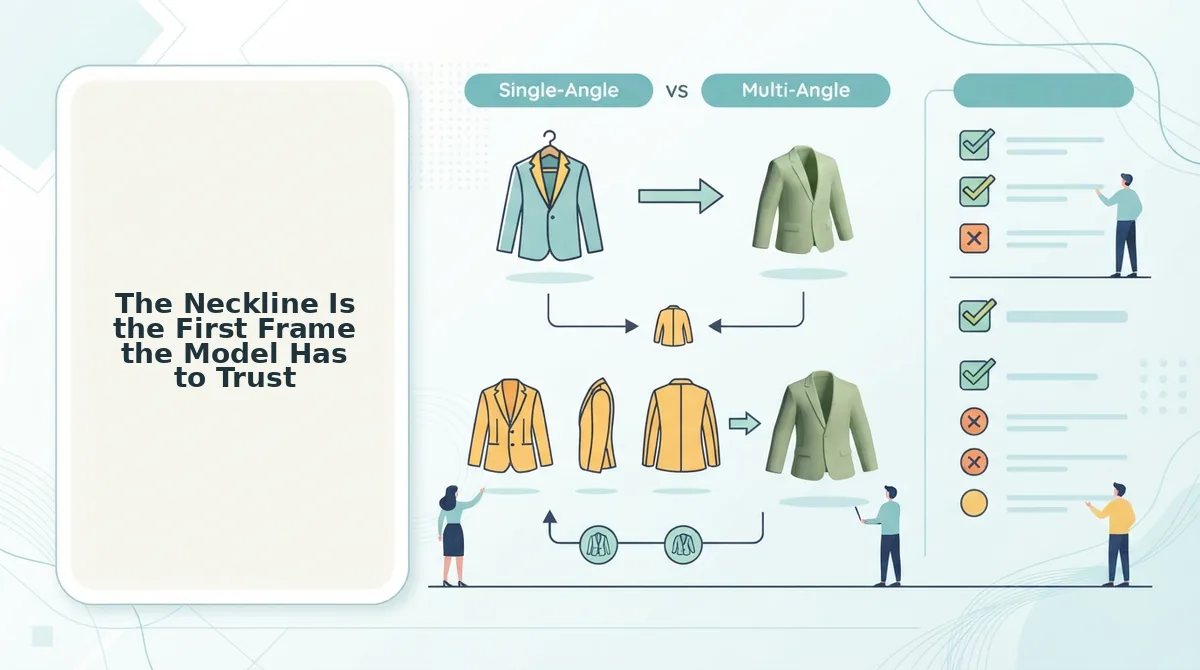
A hollow neck is a missing depth cue, not a photography failure, and the cheapest repair is the one judged at feed size. Run this pre-flight before the file leaves your desk: luminance floor respected, no pure-black fill, seam invisible at thumbnail size, shadow direction consistent with the rest of the garment, no mannequin stump, no clipping halo at the collar edge, flat 8-bit sRGB.
That check takes less time than a single regeneration pass, so it pays for itself on the first rejected clip. When the asset is actually ready, take it to the clothing video generator and upload the corrected packshot set.
