

Cropped head model shots work as AI video input when enough of the garment survives the crop for the generator to rebuild construction â not when the torso is merely sharp. If the best on-body frame in your lookbook stops at the chin, that file is not a write-off. It is a source plate with a solvable problem.
You probably did not crop the head by choice. A lapsed model release, a brand rule about anonymity, or a lookbook styled to keep eyes on the garment all produce the same file: a sharp three-quarter shot that ends mid-neck. A cropped head is a different problem from a deformed face, and it has a cheaper fix.
What follows is what a cropped plate must contain, which crop lines stay safe, and the exact preparation steps. Six garment landmarks decide the outcome, and losing two of them changes the plan from better cropping to an extra plate â the count gets spelled out in the steps.
The fashion UGC generator accepts between one and six stills per item, so how many plates you assemble matters as much as how you crop them.
What does a cropped-head photo need to work as AI video input?
A cropped-head photo works as AI video input when the frame still shows enough garment construction for the generator to rebuild cut, drape and closure without a face anchoring the silhouette.
A cropped-head photo is a source plate framed below the chin. It is usable when three things survive the crop: collar or neckline, closure or placket, and hem. Crop past the closure and the generator starts guessing construction â which is where garment fidelity breaks.
Can you use cropped-head photos for AI video? Yes, with conditions. Cropping the head is not the failure state; cropping the closure or the hem is. A plate that stops at the chin but keeps the placket, shoulder seams and hem gives a generator every landmark it needs. A waist crop deletes the collar, the neckline shape and most of the placket, so the model invents a garment you never photographed. Count survivors before upload.
A source plate is the still you upload; a crop line is where its frame starts â separate decisions people routinely collapse into one. A garment landmark is any point a tailor would name: collar, shoulder seam, sleeve hem, waist or dart, hem, closure or placket. A ghost mannequin keeps the garment's shape with no body inside â landmarks, but no drape.
Think of landmarks like a floor plan: rebuildable from the walls, unusable if the front door was erased.
Brands crop for model-release friction or anonymity. The upside is real â a faceless plate cannot produce a face-warp artifact, the most common image-to-video failure.
The plate itself needs four things:
- Sharp garment pixels, no motion blur
- One straight-on torso frame
- The hem fully in frame
- No heavy shadow across the placket
For the wider asset prep, see product photos for AI fashion video; the generator takes one to six angles per item.
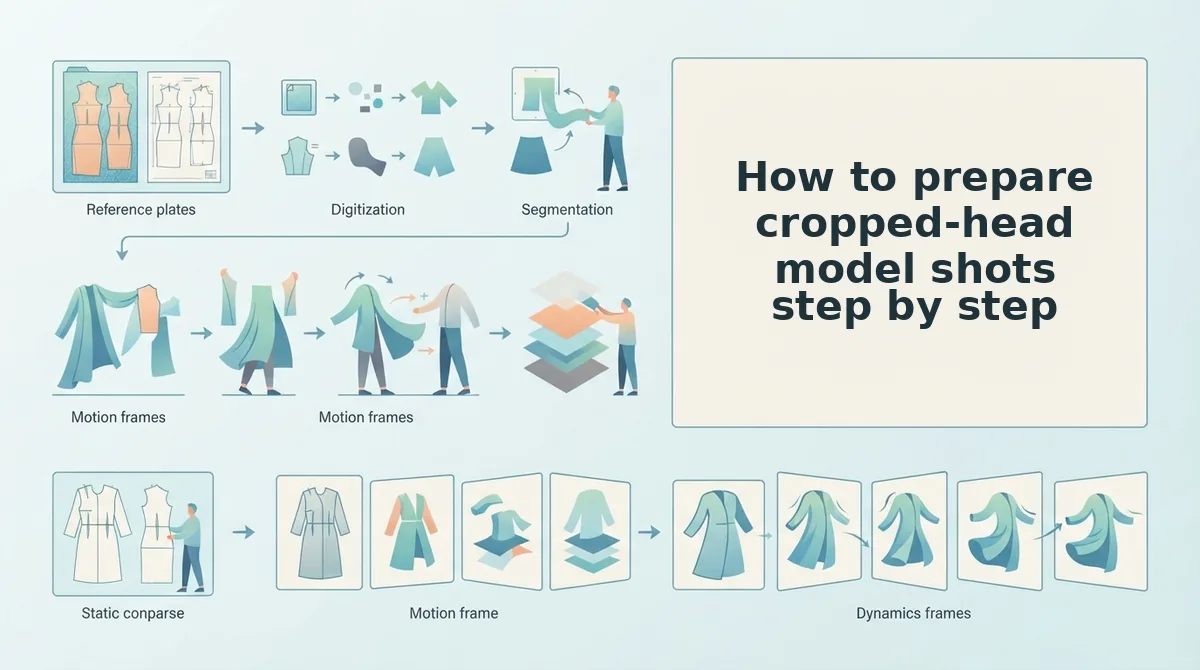
How to prepare cropped-head model shots step by step
Preparation runs in six steps: sort plates by angle, count surviving landmarks, pick a crop line from the chin/mid-chest/waist matrix, reframe for a straight-on torso, add plates until you have three, then upload silhouette-first.
You need your existing lookbook or packshot files and a browser â nothing to install. Budget about ten minutes per SKU.
- Open your lookbook folder and sort by angle. Make one folder per SKU and drop in the front or three-quarter shot, the back shot, and any detail crops. You should end with folders that show at a glance which angles are missing.
- Count the six landmarks against each crop â the Crop Budget. Check collar or neckline, shoulder seam, sleeve hem, waist or dart, garment hem, and closure or placket. If two or more are gone, flag the SKU for an added detail plate instead of a tighter crop. Success looks like a keep or add-plate label on every item.
- Choose the crop line with the table below. You should know the verdict before you touch the crop tool.
| Crop line | What survives | Verdict |
|---|---|---|
| Chin | All six landmarks, full neckline | Safe |
| Mid-chest | Collar and closure; neckline shape lost | Conditionally safe, pair with a back plate |
| Waist | Torso only; collar and placket deleted | Unusable alone |
- Reframe and check the pose. Set the garment to fill 70â80% of the frame on a straight-on torso, keep arms clear of the seams, keep the hem fully in frame, and remove heavy shadow falling across the placket. Leave 9:16-safe margins so nothing critical sits where a vertical crop will eat it. Success looks like a plate still readable as a garment with the top tenth removed.
- Add plates until you have three. Cropping removes information, so a cropped set needs more images, not fewer. The working minimum is a chin-cropped three-quarter body, a hem or placket closeup, and a straight-on back angle. Holding a chin-cropped three-quarter and a sleeve-hem detail from the same lookbook, you are one plate short â select or shoot the back before uploading.
- Upload in silhouette-first order. Put the straight-on torso first, the back second, detail plates last, so the first frame carries the silhouette the generator builds motion from. You should see all chosen plates listed per item before you start generation.
The flat lay to fashion video guide covers the same prep for flat-lay sources; here the workflow ends in a short vertical clip for Reels, TikTok, Shorts or a product page, reviewed by a person before it publishes anywhere.
Before the file leaves your hands, one more check is worth running.
How to check it worked before the file leaves your hands
Run five pass/fail checks on the source plate, not on the generated video. Each check is tied to a named garment landmark, so you can judge the set before you spend a generation.
The landmark test, in one paragraph: can you point to the placket, the garment hem and at least one seam inside the crop itself? Those three carry the highest information density on any garment â the placket holds closure detail, the hem holds length and drape, the seam holds construction. When all three are visible and clean, the crop still describes the garment well enough for an image-to-video model to hold its shape. When two are lost, the crop is under-informing and needs a detail plate, not a sharper upscale.
- Placket, hem and one seam are all visible. These are the three landmarks that survive cropping worst and matter most. If any one sits outside the frame, the model fills the gap by guessing, and the guess shows up as drifting fabric or a reshaped front.
- The collar shape reads without a neck above it. A neckline cut mid-collar becomes an ambiguous edge, and ambiguity is where garment drift starts. Crop at the chin and the collar still resolves as a collar.
- The garment fills 70â80% of the frame. Enough pixels land on fabric to resolve texture and stitch, with margin left for motion. Below that, seams soften; above it, the crop starts clipping the hem you just checked.
- The 9:16 safe margins are clear of the hem. Overlay a 9:16 frame on the export and confirm the hem sits inside the middle band. Anything the platform's UI will cover is information the viewer never receives.
- A detail plate exists for every landmark the crop cut. If two landmarks are missing and no detail plate exists, add the plate before uploading rather than upscaling the crop â upscaling adds pixels, never information. See crop clothing reference photos for the detail-angle set that fills these gaps.
Passing all five gets you a clean input, not a performance guarantee. The generator returns a video file that a person reviews before it goes anywhere.
Questions that come up before you upload a cropped-head set
The recurring questions are about plate count, front-plate choice, releases and where the output can legally go. Answers below are short by design.
How many photos does a cropped-head set need?
More than an uncropped set, not fewer. Three to five plates is typical within the one-to-six image range, because each crop removes landmarks that a detail shot has to restore. Build front, back and one construction detail at minimum.
Can a ghost mannequin shot replace the cropped on-body front plate?
No, they do different jobs. Ghost mannequin shows construction â interior, lining, stitch lines â while a cropped on-body shows fit and drape on a body. Use the on-body crop as the front plate and add the ghost shot as detail. Here is the single ghost mannequin shot workflow.
Do I still need a model release if the face is cropped out?
Yes. A release covers the identifiable body, tattoos, and distinctive styling, not just the face, and cropping does not remove that exposure. Treat the release as a condition of using the image at all.
Can I use the video in marketplace listings?
Possibly, but check the marketplace's own creative rules first. The tool exports a video file and does not publish anywhere, so placement and compliance stay a human decision made after review.
Where to start with your cropped-head set
The whole method compresses to one line: count the six landmarks, add a detail plate when two are lost, and keep the crop at the chin unless the collar and placket both survive. That is the check worth running on every SKU before anything is uploaded.
From there the path is tiered. Read the neighbouring flat-lay guide if your catalog is mostly top-down shots. Build the three-plate set â front crop, back, one construction detail â if you are starting from packshots. Or go straight to turn clothing photos into video and test one item end to end.
Keep the boundary in view: the platform builds the video file, and a person approves it before it goes anywhere. The rest of the apparel video guides cover what to do with that file once it clears review.
