


The front plate is already retouched and live on the product page. Now the channel wants motion â a Reel hook, a PDP loop, a paid variant â and there is no back shot, no model, no second angle anywhere in the folder.
A single ghost mannequin shot video is achievable from that one file. A front plate carries enough information to generate a short, front-locked clip with believable fabric movement, which is exactly what a product page loop or a Reel opener needs.
What the demos omit is where that clip stops. Every ranking asset on this topic is a video tutorial or a tool screen recording, so no written passage currently states the coverage limit plainly. This one does.
That limit is the surprise: the gap between a clip that holds and one that drifts is usually one extra photograph, not a better prompt. The plate-count ladder below maps each count to the camera arc it actually buys â and it is where the one-photo-to-360-degree framing popularized in Bonnie AI Lab's product video content needs qualifying rather than repeating.
Start by learning to turn product photos into video, then choose your plate count before you commit a SKU.
What Can One Ghost Mannequin Photo Actually Deliver as a Clothing Video?
One front ghost mannequin plate produces a front-locked clip, not a rotation. Expect a shallow orbit of roughly plus or minus 25 degrees around the front, with believable drape, hem break, and fabric sway; anything beyond that angle asks the generator to invent geometry it has never seen.
A ghost mannequin shot is a hollow-garment photograph â the piece is held in shape by an invisible form and the interior cavity is composited out, so it reads as worn by no one.
Think of a portrait photographer who has only ever seen a subject's face. Ask for a three-quarter turn and they will guess at the ear: plausibly, but not correctly.
That is why clips drift. A front plate encodes a single cavity solution â one depth cue set, one seam placement, one shoulder slope â and the generator extends that solution as the camera moves. Request a side view and it fabricates depth to keep the silhouette coherent; request the back and it invents a neckline. The artefact is not random noise. It is a confident, wrong answer to a question your photograph never answered.
What one plate infers versus what it cannot
| Inferable from one front plate | Must be supplied by another image |
|---|---|
| Proportion, drape, hem break | Back neckline and yoke seam |
| Neckline shape, colorway, placket spacing | Back print continuity, interior label |
| Fabric weight read from folds | Macro fabric weave |
Audit your existing catalog before uploading
- Resolution at the edge: confirm the hem and cuffs carry enough pixel detail to survive a moving crop.
- No clipped sleeves: check the garment sits fully inside the frame on every side.
- Neutral cast: remove color shifts from mixed lighting so motion does not amplify them.
Demand for the invisible-clothing effect that grapexels documents shows buyers are chasing the look itself, not a particular delivery format â which is why a front-locked clip still satisfies the brief. Prep the source properly with this guide to product photos for AI fashion video; the platform accepts one to six angles of the same item and returns a reviewable file for your team to approve.
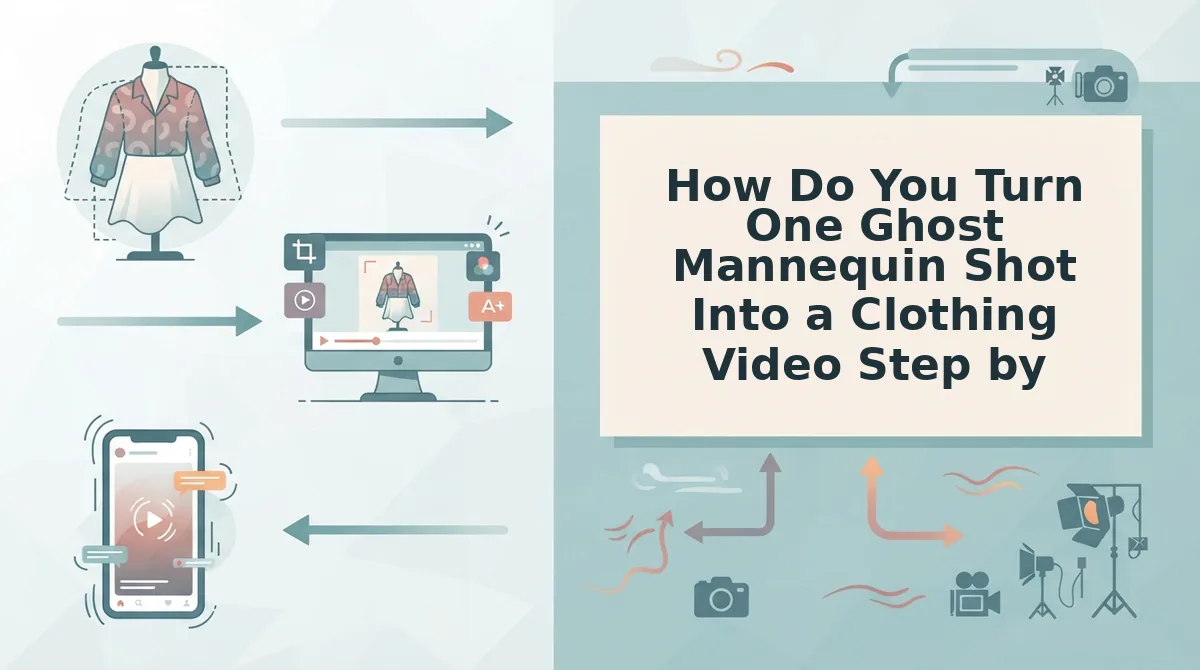
How Do You Turn One Ghost Mannequin Shot Into a Clothing Video Step by Step?
You upload the front plate, lock the camera to a front arc, and generate â roughly five minutes end to end for a single SKU. Before you start, have one to six JPEG or PNG angles of the same garment, the target aspect ratio for your channel, and a browser tab open on the generator.
- Open the upload panel and add your front plate (about 1 minute). Drop in the highest-resolution version of the PDP image, not a web-compressed thumbnail. You should see it render as a thumbnail with its dimensions listed.
- Check the crop and safe area at 9:16 (about 1 minute). Select the vertical aspect ratio, then confirm the hem, collar, and sleeves all sit inside the frame with margin for movement. Success looks like clear space above the collar and below the hem.
- Set the arc to a front-locked orbit (about 30 seconds). Choose the shallowest motion setting, the equivalent of plus or minus 25 degrees, and keep the camera height fixed. Anything wider is a request for invented geometry.
- Add plates only if the ladder calls for them (about 1 minute per image). Consult the table below and upload the back or side views you actually own. The preview should hold the same silhouette across angles rather than shifting shoulder width.
- Generate and export the file (a few minutes of processing). Watch the clip once at full speed, then scrub frame by frame through the collar and side seams. A clean pass looks like consistent seam placement and a hem that swings with the same rhythm throughout.
The coverage ladder: plate count to delivered arc
| Plates uploaded | Delivered camera arc | Recommended clip use |
|---|---|---|
| 1 | Front-locked orbit, plus or minus 25 degrees | Reel hook, PDP hero loop |
| 3 | Three-quarter turn | Reel body, ad creative variants |
| 4 to 6 | Near-full rotation with back yoke and side seam | PDP 360 loop, paid social |
How many photos you need is a decision about arc, not about quality. One plate is sufficient for a front-locked loop; three unlock a three-quarter turn; four to six get you near-full rotation with the back yoke and side seam intact.
The hollow-garment rule explains the drift. One front plate hands the generator one cavity solution, so a request for a side view forces it to fabricate interior depth â the visible symptom is a neckline that warps or a back that appears from nowhere. This is the mechanism behind most "the model invented a collar" complaints, and it is covered in more detail in this guide to making a clothing video when there is no back photo.
WearView's zero-retouch ghost mannequin workflow already showed the bottleneck moving from retouching to motion; the constraint now is how much angle your image set can honestly support. Once the file exists, run it through the fashion product video generator workflow again for a second angle if the first clip drifts.
A generated file is not yet a shipped asset, so the next check decides whether it goes live.
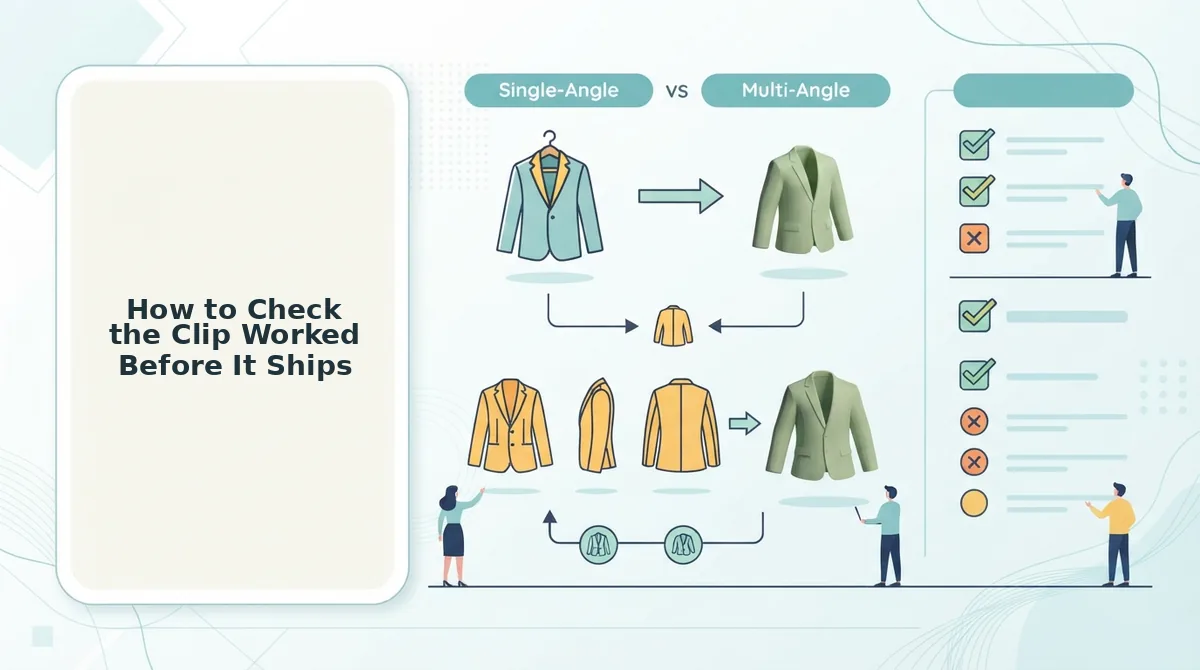
How to Check the Clip Worked Before It Ships
Run a frame-level review against a symptom list before the file leaves the browser. The generator renders the clip, and a person still has to approve it.
- Check the back neckline for drift. Watch the widest frame and track where the collar meets the yoke. Drift there means the camera arc travelled wider than a single front plate can defend, so re-render inside a front-locked orbit rather than re-rolling the same prompt.
- Watch the side seam for wobble. Play the clip at quarter speed and follow the seam line down the torso. Wobble signals one hollow-interior cavity solution being stretched across angles it was never solved for, which no amount of retrying fixes.
- Scan any back print or logo for tearing. Pause on every frame where the garment turns away. Torn graphics mean the source set carried no back print continuity reference, so the model interpolated letterforms it could not read.
- Inspect the hem for bloom or softening. Look at the bottom 10% of frame through the full clip. A hem that blurs or blooms outward points to thin hem-edge resolution in the source plate, an input problem a shorter arc only partly masks.
- Compare color against the product page swatch. Hold a phone frame beside the PDP image on a calibrated display. Small shifts read as a different dye lot in feeds, so catch them before a customer does.
- Verify the 9:16 safe areas. Overlay the platform UI zones on the export. Collars and cuffs that sit under captions or the shop icon lose the detail the clip was made to show.
- Confirm the file, not the post. The output is a video file, not a published asset. Check runtime and aspect ratio against the placement, then route it through your normal approval chain.
When a symptom repeats across three renders, stop re-rolling and fix the input. Upload a corrected plate set to the clothing video generator and regenerate inside the narrower arc the audit points to.
Questions the Steps Above Do Not Cover
These are the gaps left after plate count and prep: runtime, mixed asset types, difficult fabrics, and who publishes.
How long does a ghost mannequin clip take to generate?
Runtime depends on clip length, resolution, and how many angles you request, so the platform will not quote one number for every job. Check the runtime guidance for your specific channel before planning a batch, since a 9:16 ad cut and a PDP loop carry different length ceilings.
Can I mix a ghost mannequin front plate with an on-model back shot?
Yes, mixing asset types is allowed. The constraint is that the back reference must match the garment, not the model â same colorway, same construction, same trims. A back shot of a different sample produces a clip that morphs between two products.
Do sheer, sequined, or busy-print garments work from one plate?
They work, but need a tighter camera arc. Sheer fabrics, sequins, and dense prints carry less defensible detail per pixel, so the plate runs out of information sooner. Keep the orbit narrower than you would for a solid cotton tee and review the hem and seam closely.
Does the tool post to TikTok, Reels, or my product page?
No. The tool creates the video file; publishing to TikTok, Instagram Reels, or a product page stays with the operator. That separation is deliberate â a person reviews the output and decides where it goes, which keeps brand and platform compliance in human hands.
What to Do With Your Ghost Mannequin Catalog This Week
One plate is enough to start and rarely enough to finish a catalog. The review pass is what tells you which SKU sits on which rung.
Take a single hero SKU and run the three-item audit: does the plate show a clean hollow interior, is the hem edge sharp at full resolution, and is there a back print the front never reveals? That answer sets the plate count â one plate buys a front-locked plus-or-minus 25 degree orbit, three a three-quarter turn, four to six a near-full rotation with back yoke and side seam.
Caimera's on-model-to-ghost-mannequin workflow confirms it: most merchants already hold stills, not motion, and the audit typically shifts the count by a plate or two before you scale.
Send that hero SKU through the fashion UGC generator, generate inside the arc the audit allows, and hold the output against the symptom list before SKU two goes in. Working from flat lays instead? Start with flat lay to fashion video and run the same sequence.
