

The hoodie logo you paid to embroider ends up hidden behind the Like button. The dress hem disappears under the caption text. The file met every requirement, yet the garment still reads poorly on a phone.
The youtube shorts clothing video size is easy to look up, and you have probably seen it on several spec pages. Those pages count pixels. They rarely mention that Shorts interface elements sit on top of your frame, often where necklines, logos, and hems land.
This guide shows you how to keep the garment readable, not just correctly sized. You will get the core spec, a way to choose source photos that survive a vertical crop, step-by-step placement for a 9:16 frame, and a final check before upload.
Keep one scenario in mind throughout. A Shopify seller has only a landscape packshot of a jacket and needs a vertical Short. The framing steps later in this guide resolve it.
One warning up front: the costliest framing mistake happens when you pick the source photo, not in the editor.
What size should a clothing video be for YouTube Shorts?
A YouTube Shorts clothing video should be 1080x1920 pixels at a 9:16 vertical aspect ratio. Keep the garment centered and away from the top and bottom overlays, where the caption text, channel name, and on-screen controls appear. This keeps the logo, neckline, and hem visible on a phone.
The 9:16 aspect ratio is a frame shape that is 9 units wide for every 16 units tall. Picture a full-length mirror. A standing figure fills it naturally, but a wide flat-lay shot leaves empty space above and below.
| Spec | Value | Apparel note |
|---|---|---|
| Resolution | 1080x1920 pixels | Enough detail for knit texture and stitching |
| Aspect ratio | 9:16 (vertical) | Suits dresses, coats, and full outfits |
| Max length | Up to 3 minutes (since October 2024) | Most product Shorts need far less time |
| Square option | 1:1 accepted | Wastes vertical space for full-length garments |
Verify the 1080x1920 resolution, the 9:16 ratio, and the 3-minute limit against YouTube Help before you publish, because platform rules change.
Prerequisite before you edit
Start with sharp, evenly lit stills of the full garment, with hems, cuffs, and collar visible. You cannot recover a hem that the source photo cut off, and no reframing can fix it later.
To compare 9:16 with other formats, see our guide to fashion video aspect ratios. FashionUGC creates vertical UGC-style motion from photos you already own. You review each file before it goes anywhere.
Which product photos work best for vertical clothing videos?
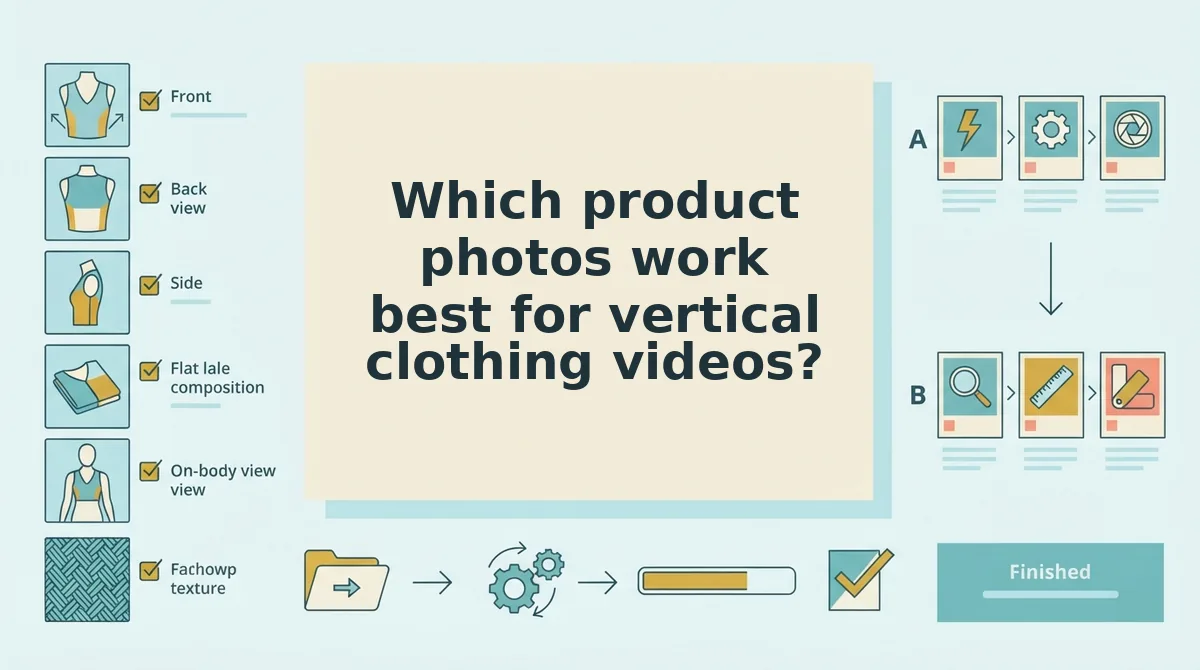
Tall, full-garment shots such as on-body and ghost mannequin photos work best for vertical clothing videos because they already match the 9:16 shape. Wide flat lays carry the highest crop risk, but they still work well for some uses.
A flat lay is a garment photographed lying flat from above. A ghost mannequin shot shows the garment's 3D shape with the mannequin removed.
| Flat lay | Ghost mannequin | On-body | Detail close-up | Back angle | |
|---|---|---|---|---|---|
| Vertical-crop risk | Highest: spread sleeves and wide shapes get trimmed | Low: upright silhouette fits the frame | Low for full-length framing | Low, but shows no full silhouette | Low to moderate, similar to the front |
| Best use in a Short | Color and full outline reveal | Clean hero shot of fit and shape | Drape, movement, and styling | Fabric texture and stitching | Back prints, yokes, and closures |
- Flat lay, best for boutique operators with only flat-lay catalogs. These shots give consistent color and a complete outline at low cost.
- Ghost mannequin, best for Shopify merchants with standardized catalog photography.
- On-body, best for performance creative teams who need UGC-style realism.
- Detail close-up, best for premium fabric brands who sell on texture.
- Back angle, best for streetwear brands with back graphics.
Can you make a vertical YouTube Short from a flat lay? Yes, but plan for the crop. A flat lay is usually wider than it is tall, so a 9:16 frame cuts off sleeves or leaves empty space above and below. Rotate the composition so the garment's longest edge runs vertically. For a T-shirt, that means framing from collar to hem rather than sleeve to sleeve. Then add a detail close-up or on-body still so the Short shows the fabric and fit, not just the outline.
For a full walkthrough, see how to turn a flat lay into a fashion video.
Worked example 2: upload front, back, and fabric close-up stills of one jacket as separate input angles. FashionUGC accepts 1 to 6 photos and keeps the garment consistent across them, so the motion can move from silhouette to back detail to texture. Start your own workflow when you turn clothing photos into video.
With the right photos chosen, the next job is placing the garment inside the frame.
How to frame a garment in a 9:16 Short step by step
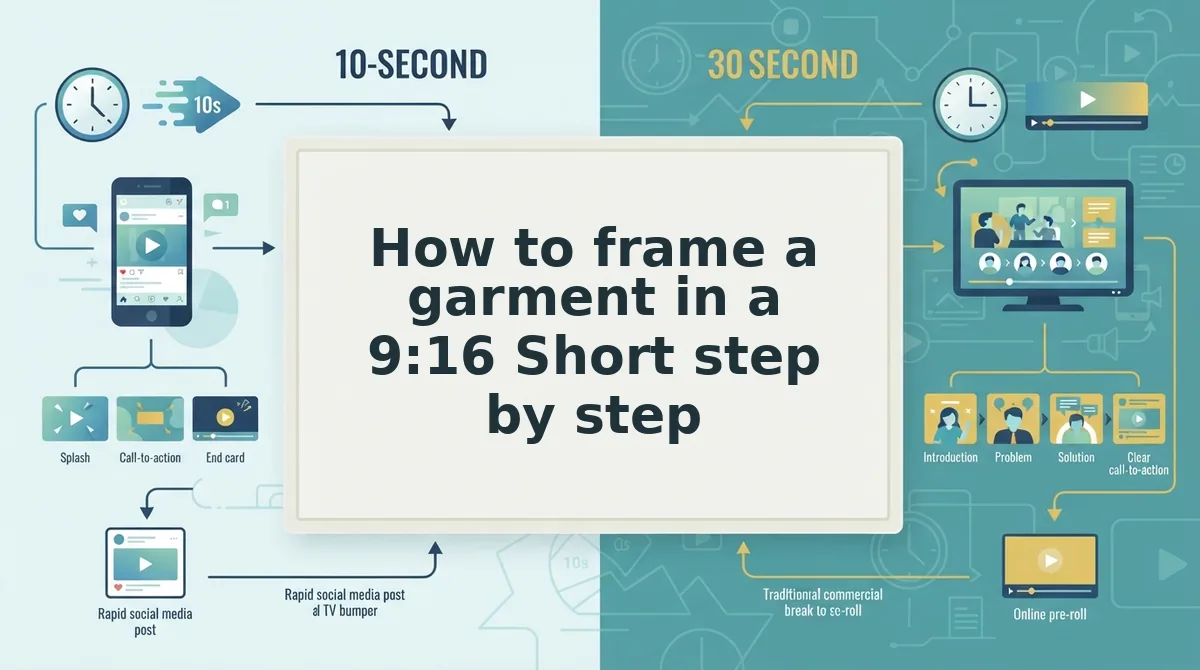
To frame a garment in a 9:16 Short, start from vertical-friendly stills, split the frame into three bands, place the neckline, logo, and texture in the central band, and keep the hem above the bottom interface band. Then render at 1080x1920 and review the file before posting.
Before you start: gather one to six stills of a single item, such as front, back, side, flat lay, and fabric detail shots. Open the aspect ratio calculator to confirm your 1080x1920 target.
- Select vertical-friendly stills instead of resizing a horizontal ad (about 5 minutes). A full-height center crop of a 1920x1080 frame keeps 1080 Ã 9/16 = 607.5 pixels of width. That is about 32 percent of the frame, so roughly 68 percent is lost, along with sleeves and silhouette. You should end up with stills that show the full garment from collar to hem with margin on every side.
- Divide the frame into three bands (about 2 minutes). Mark a top caption band, a central garment band, and a bottom UI band where the Like, comment, and channel overlays sit. The safe zone is the area of the frame that platform interface elements do not cover. You should be able to point to exactly where the overlays will land.
- Place key features in the central band (about 3 minutes). Position the neckline, logo, and fabric texture inside the middle band, and keep the hem clear of the bottom band. Every selling detail should now sit inside the safe zone.
- Upload, render, then review (about 5 to 10 minutes). Upload your stills, render at 1080x1920, and play the file back while picturing the overlays on top. You should see the full garment with no cropped sleeves or hidden hem.
This resolves the jacket seller's problem from the intro. Instead of center-cropping the landscape packshot, the seller swaps in front and detail stills, which keeps the full jacket silhouette and puts the zipper texture in the central band.
Most resize tutorials, including GuideRealm's, focus on changing dimensions rather than choosing the right source image. Source choice is the bigger lever.
Where should clothing sit in a YouTube Shorts frame? Place the garment in the central band of the 9:16 frame, between the top caption area and the bottom interface area. The neckline, logo, and fabric texture belong in that middle band because captions and titles can cover the top. The Like, comment, and channel overlays cover the bottom. Keep the hem visibly above the bottom band so the full length of the item reads clearly, and leave side margins so the sleeves are not clipped. Start from a vertical or full-length still rather than a landscape crop, because a center crop of a 1920x1080 image keeps only about 32 percent of its width.
How to check your clothing Short before you upload it
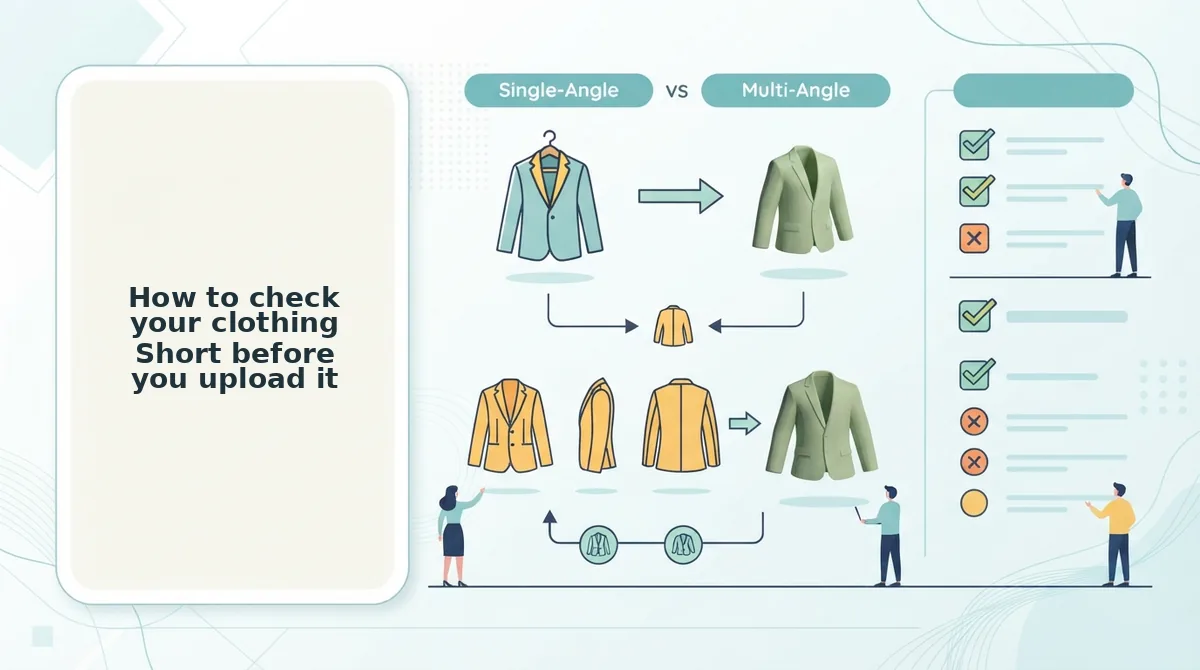
Check the rendered file against six apparel-specific points before upload. Most export guides stop at settings, but these points confirm that the garment itself reads correctly.
- Confirm 1080x1920 dimensions. Open the file properties and verify the width and height. Wrong dimensions add letterboxing or force a platform crop that you never approved.
- Inspect the hem. Scrub to the frames where the full garment is visible. The hem should be sharp and uncut, because a clipped hem hides length and fit.
- Verify overlay clearance. Check that the logo and neckline sit outside the top and bottom bands. Overlays covering these details remove the cues shoppers use to identify the item.
- Review the lighting. Look for even light across the garment with no blown highlights. Uneven light shifts the perceived color between frames.
- Check fabric texture. Pause on a close or detail frame. Knit, weave, or sheen should stay visible, since texture signals quality.
- Measure garment fill. As a rule of thumb, the garment should fill about 50 to 70 percent of frame height. Less fill looks distant, and more fill risks cutting the hem.
For example, a merchandiser exports a Short from the fashion product video generator and runs this list before anything goes live. FashionUGC creates the file only, does not post to YouTube, and does not promise performance, so a person makes the final call.
Build your first vertical clothing Short
Your first vertical clothing Short starts with the right source stills, not a resize. The 68 percent width loss from cropping a landscape packshot is avoidable once you shoot or choose for 9:16.
Turn the method into four actions:
- Choose one to six vertical-friendly stills of a single item.
- Place the neckline, logo, and texture in the central band, with the hem above the bottom band.
- Render at 1080x1920, then review the file against the checklist.
The generator produces the video file, and a person decides what gets published. For platform-specific context, see the guide to YouTube Shorts fashion videos.
To make your first Short, upload your stills to the clothing video generator. Every SKU you already photographed can become motion that shows the full garment.
