

You have a clean front packshot, a flat lay, and a launch date, and the clip still has to stop a thumb on TikTok. A UGC-style ad is a clip framed like creator content rather than a studio spot. The ugc style clothing ad runtime you choose decides whether it reads as native or as a commercial.
That concern is justified. A clothing clip that feels like an ad gets scrolled past, and padding it with creator-style filler, such as a random mirror pan or a long talking intro, usually makes it worse.
This guide treats runtime as its own decision, not a footnote inside a viral-ads tutorial. You will get a direct answer, a step-by-step method that keeps the real garment as the central subject, and a check to run before export.
The right length depends on something most guides never count, and step two of the method names it. First, gather the catalog shots you already own. Then turn clothing photos into video for SKU-level motion without a reshoot.
What Runtime Makes a UGC-Style Clothing Ad Feel Native?
Native runtime is the shortest clip length that still proves every garment detail a shopper needs to judge fit, fabric, and styling. Your photos set it by how many details they can show, not a fixed number of seconds or a trend template.
To make a UGC-style clothing ad feel native, keep it only as long as the garment needs to prove itself. The garment appears in frame 1 with no intro, each beat shows one detail such as the back seam, the drape in motion, or a fabric close-up, and the loop point lands back on the garment so a replay feels continuous. Anything that runs past the last proven detail, like an empty walk-in or a reaction shot with the product off screen, starts to read as a produced spot and invites a scroll.
Three terms carry the rest of this guide:
- Native feel: the sense that a clip belongs in the feed next to creator posts, without studio polish overpowering the garment.
- Proof shot: a single beat that confirms one buying detail, such as shoulder fit or how a hem falls.
- Hero detail: the one feature that makes this SKU worth buying, like a pleated waist.
Think of runtime like a fitting-room try-on. A friend needs to see the front, the turn, and the fabric, and extra spins add nothing.
Worked example: a merchant uploads a front packshot and a flat lay. That gives two proof shots, fit and construction, which points to a short clip. See how to turn a flat lay into a fashion video.
Prep sharp, 9:16-ready photos with clear lighting and visible hems and sleeves before you generate. FashionUGC builds motion from the stills you upload, so crisp detail in gives crisp detail out.
How to Set Runtime From the Garment Step by Step
Set runtime by counting the garment details your photos can prove, then giving each one a single beat. This editorial heuristic, the Proof-Shot Budget, caps the clip at your number of proven details.
Before you start, have 1 to 6 photos of one item ready: front, back, side, flat lay, on-body, or fabric detail, the range FashionUGC accepts. Plan about 15 minutes.
| Photos uploaded | Clip length | Why |
|---|---|---|
| 1 | Short | One proof shot; extra time can only be filler. |
| 2-3 | Mid | Shows fit plus one construction or fabric detail. |
| 4-6 | Longer | Each angle earns its own beat. |
- List the details to prove (3 minutes). Write front fit, back, drape in motion, fabric close-up, and styling context, then mark which your photos show. You should end with a short list of proven details.
- Map your photos to the matrix above (2 minutes). Match your photo count to a row. This is the number most guides never count: runtime follows proven details.
- Place the garment in frame 1 (2 minutes). Open on the front fit or hero detail, with the hook before any filler. Your first frame should work as a product screenshot.
- Assign one detail per beat (4 minutes). Give the back, side, or fabric close-up its own beat. Each beat answers one shopper question.
- Set the loop point on the garment (2 minutes). End on a frame that matches the opening. The replay should restart without a visible jump.
- Cut any beat that exists only to add runtime (2 minutes). Remove empty walk-ins and off-product reactions. Only proof shots should remain.
How many angles can a UGC-style clothing ad hold before it feels like a slideshow? It can hold as many angles as there are distinct details to prove, and no more. A clip built from front, back, side, and fabric-detail photos supports a longer runtime because each angle answers a different question, while two near-identical front shots stretched to the same length repeat themselves and read like a static carousel.
Both extremes hurt. Filler pushes the garment off center, while over-cutting hides the fit and drape shoppers need.
To apply this budget across a catalog, upload each SKU's angles to the AI fashion UGC video generator and review every output before it goes live.
Next, confirm the clip actually reads as native.
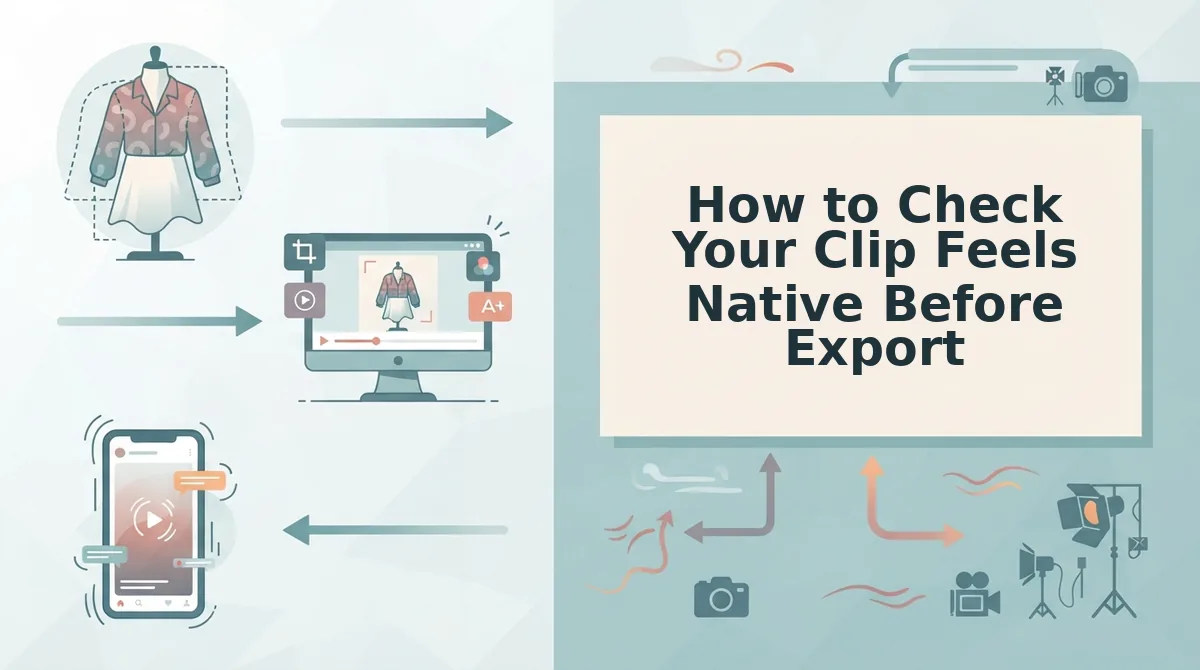
How to Check Your Clip Feels Native Before Export
A native-feeling clip passes seven yes/no checks. The garment is visible in frame one, and each beat shows one detail. The hook comes before any filler, and 9:16 framing keeps the hem and sleeves in view. The loop lands on the garment, no beat exists only for runtime, and a person approves the file.
Run this list on the exported file, not the draft. Any "no" sends the clip back for a recut.
- Is the garment visible in frame one? The first frame should show the product, not a background or an empty wall. Viewers decide in that first moment whether the clip is about clothing.
- Does each beat show one detail? Each beat should prove one thing, such as drape, a back seam, or a fabric close-up. Stacking two details in one beat blurs both, and the clip starts to read as a catalog sweep.
- Does the hook land before any filler? The strongest proof shot belongs at the open, ahead of any establishing motion. If the hook arrives after a pan or a pause, move it forward.
- Do the hem and sleeves stay inside the 9:16 frame? Vertical crops cut garment edges first. Scrub the full clip and confirm the hemline and cuffs stay visible, especially on dresses, coats, and wide-leg trousers.
- Does the loop point land on the garment? Short-form players repeat clips, so the final frame works like a second opening. End on the product so the repeat feels continuous.
- Does every beat earn its place? Delete any beat that does not show a specific detail. Padding a clip to reach a target length is what makes it feel like an ad.
- Has a person reviewed the file before export? FashionUGC produces the video file, and a person approves it. The reviewer checks color, fit, and accuracy against the real product before the clip goes anywhere.
Most failures trace back to garment clarity. Watch for filler beats, a garment that drifts off center, and a slideshow cadence where every beat runs the same length. Also watch for a hem cropped by the 9:16 frame and a loop that resets on an empty frame.
Clothing Ad Runtime FAQ
Most runtime questions come down to one rule. Set the length by the proof shots the garment needs, then confirm the current specs for the platform where the ad will run.
Does a shorter clothing ad always perform better?
No. A shorter clip only helps when it still shows every proof shot the garment needs. If you cut a linen shirt's drape beat to save two seconds, you remove the reason to buy. Runtime should follow what the product has to prove, not a fixed target.
How long should a TikTok clothing ad be?
A TikTok clothing ad should be long enough to show the hook and each proof shot once, with no filler. Count the details the garment must prove and give each one a beat. Then check TikTok's current ad specs, because accepted lengths and placements change over time.
Should runtime change between Reels, TikTok, and Shorts?
Usually not. Keep the same beat budget across all three, because the garment needs the same proof in every feed. Before each upload, adjust the framing if needed and check that platform's current ad specs instead of relying on limits you remember.
How do I handle ad fatigue across SKUs?
Rotate several cuts per SKU, each built around a different hero detail. For example, one dress can become three clips: one on drape, one on the back view, and one on a fabric close-up. A clothing video generator can build those variants from the same uploaded photos.
Generate the Clip, Then Review It Against the Checklist
A clip feels native when every second shows the garment, not when it hits a specific runtime. The proof sets the length.
Turn that into three steps:
- Count the proof shots your garment needs.
- Upload one to six photos that match those shots.
- Check the exported file against the seven-point list.
Start with the AI clothing ad generator. FashionUGC creates the video file, and you review and publish it. The tool does not post for you or promise results. Your catalog photos already hold the proof each clip needs.
