

Your shirt comes out of its shipping bag with hard fold lines across the chest and sleeves. You plan to shoot a flat lay and generate a 9:16 Reel from it, so the first step is the steamer, not the camera.
Do I need to steam clothes before flat lay photos for an AI video? Yes. Steam garments before flat lay photos because the generator interprets the garment's proportions from the flat image and applies natural fabric drape. Leftover folds can be read as part of the garment, so a crease you ignore in the still can carry into the motion.
A flat lay is a product photo of a garment laid on a flat surface and shot from directly above. A garment steamer is a tool that releases hot steam to relax wrinkles in fabric without pressing it under a hot plate.
Most prep advice stops at "remove the wrinkles." That works for stills, but motion raises the stakes. This guide covers which creases to remove, a six-step steaming routine, and when an iron beats a steamer. It also flags one type of crease you should leave alone.
Gather these before you start:
- A garment steamer, or an iron for crisp cotton and pressed creases
- A hanger or clothing rail
- A lint roller
- A clean, flat shooting surface
- The garment's care label
Which Creases Should You Steam Out Before a Flat Lay?
Steam out packaging folds and handling wrinkles, and keep construction lines such as pleats, darts, and pressed trouser creases. Construction lines are part of the design. The other two come from shipping and handling.
A packaging fold is a hard, straight crease left when a garment is folded around a card or board for shipping. It is the easiest crease to spot and the most important one to remove.
Handling wrinkles come next. These are the softer, random creases from try-ons, storage, and moving stock. They are less obvious, but they still change how the fabric appears to fall.
The advanced call is knowing what to keep. A pleat, a dart (a stitched fold that shapes fabric to the body), or a pressed trouser crease is part of the garment's construction. Steaming it flat changes the design.
Why a Crease That Looks Fine in a Still Can Show Up in the Video
A crease that seems harmless in a still photo matters more once that photo becomes motion. The video generator interprets garment proportions from the flat image and then applies natural fabric drape. It has no way to tell a shipping fold from a seam the designer intended. A sharp line across the chest can be read as structure, such as a yoke or panel edge, and that line may carry into every frame. Think of the flat image as a sewing pattern. A stray line on the pattern gets cut into the finished piece. Remove the folds that are not part of the garment so the generator works from the garment's true shape.
| Crease type | How to spot it | Action |
|---|---|---|
| Packaging folds | Hard, geometric lines, often at right angles or in a grid | Steam out |
| Handling wrinkles | Soft, random creases with no repeating pattern | Steam out |
| Construction lines (pleats, darts, pressed trouser creases) | Symmetrical, stitched, or deliberately pressed lines | Keep |
Once the garment is clean, add a back angle or a fabric detail close-up alongside it. FashionUGC accepts one to six photos of a single item. To take the next step, follow the guide on how to turn a flat lay into a fashion video.
How to Steam Garments Before Flat Lay Photos in 6 Steps
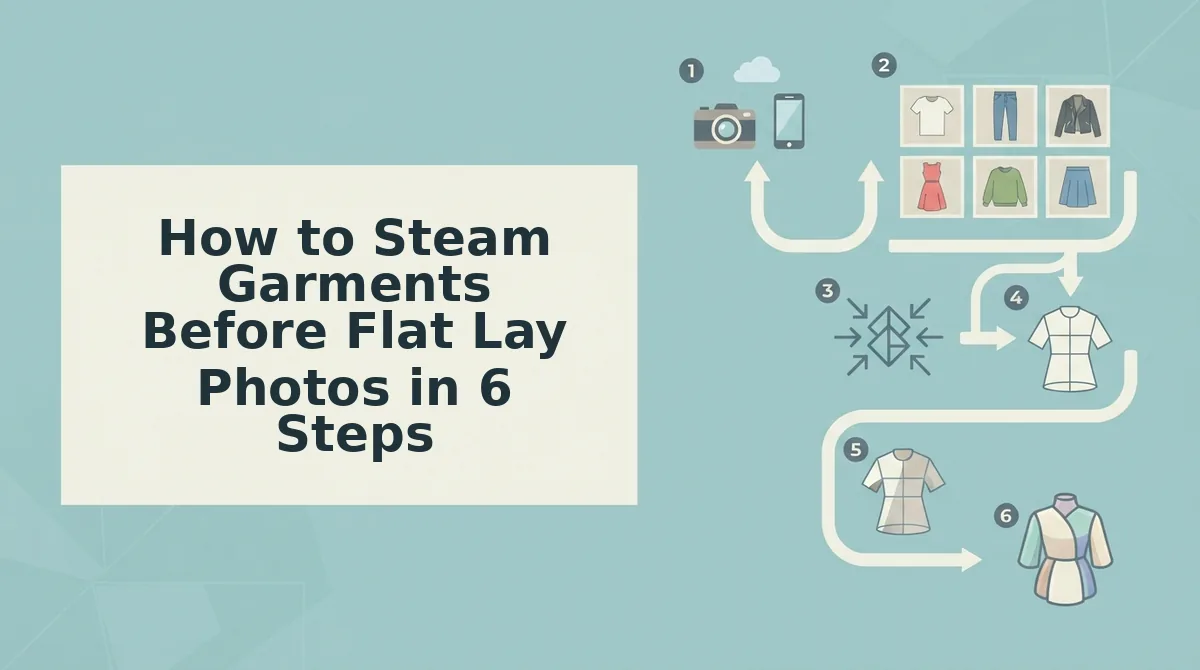
Hang the garment, check the care label, steam from the top down, work the details, let it dry, then lay it flat true to its shape. Most garments take a few minutes. Before you start, have your steamer, hanger or rail, lint roller, and a clean surface ready.
- Unpack and hang the garment. Take it out of the bag, remove any tissue or cardboard inserts, and hang it on a hanger or rail. Gravity starts loosening light wrinkles right away, and the full garment is now visible.
- Check the care label. Read the fiber content and any heat warnings before the steamer touches the fabric. You should know whether the piece calls for a steamer, a low-heat iron, or neither.
- Steam top-down, from the inside where possible. Start at the shoulders and move down in slow vertical passes. Keep the head just off the fabric and steam the inside face of delicate pieces. Packaging folds should soften and drop out.
- Work the seams, hems, collar, and placket. Give extra passes to these stiffer areas, since folds tend to hold there. The placket is the strip that holds the buttons. The collar should sit evenly, and the hem should hang straight.
- Let the garment cool and dry fully. Leave it hanging for a few minutes. Damp fabric creases again when you move it, and it can photograph darker. It should feel dry and room temperature.
- Lint-roll and lay it flat, true to its shape. Roll off lint and dust, then lay the garment on your surface with the sleeves and hem following its real outline. Avoid heavy tucking. The garment should look like itself, just smooth.
When you have several SKUs, borrow an idea from a Profoto e-commerce tutorial on YouTube. The tutorial groups products on a rail before the shoot to leave more time for styling. Adapt that by steaming the whole rail in one pass, so every piece is dry and ready when the camera is.
That last step goes against most styling instincts. A heavily tucked or pinched flat lay can look polished as a still, but it changes the garment's apparent proportions. Because the generator reads proportions from the flat image, a flat lay that stays true to the garment gives it better input than a styled one.
Steamer vs Iron by Fabric
| Fabric or detail | Better tool | Why |
|---|---|---|
| Crisp cotton collars and cuffs | Iron | Gives a sharp, structured edge |
| Pressed trouser creases | Iron | Restores the intended construction line |
| Knits and jersey | Steamer | An iron can flatten texture and leave press lines |
| Synthetics | Steamer | An iron risks shine or heat damage |
| Silk, chiffon, and other delicates | Steamer | Relaxes wrinkles without direct plate contact |
With clean photos in hand, you can turn clothing photos into video and review the output before it goes live.
First, though, confirm the garment is ready to shoot.
How to Check the Garment Is Ready to Shoot
Check the garment under your actual shoot lighting, then photograph every angle in the same session before it can crease again. Raking light shows wrinkles that room light hides.
Shoot all angles in one session so every reference image matches. A reference image is any still photo you upload for the generator to read the garment from. The clothing video generator accepts 1 to 6 reference images per item. If the front is freshly steamed but the back is shot an hour later after sitting folded, the two photos show different fabric states. Steam once, check under the lights, and capture the front, back, detail, and flat lay together.
Example: a ghost mannequin front shows a faint packaging fold across the chest. The seller re-steams the panel, reshoots it in the same session, and then follows the steps to edit ghost mannequin photos for video.
Post-Steam Troubleshooting
- Fold lines return: The fibers cooled before relaxing. Steam the line from the inside and let it hang before laying flat.
- Iron shine appears: Pressing flattened the surface. Steam without contact to lift the nap.
- Damp patches show: Moisture darkens fabric on camera. Air-dry fully before shooting.
- Collar or placket creases persist: Layered edges hold folds. Steam both sides, then smooth by hand.
Pre-Shoot Checklist
- Inspected under shoot lighting
- No folds at chest, sleeves, or hem
- Collar and placket flat
- Fabric dry, no shine
- All angles shot in one session
Garment Steaming FAQ for Flat Lay Shoots
Can I remove creases in editing instead of steaming?
You can, but steaming is usually the better choice. Retouching every angle consistently takes more work than steaming once. Retouching also changes pixels rather than fabric, so it may not fix the drape and silhouette the generator reads.
Is it safe to steam delicate or synthetic fabrics?
Usually yes, if you follow the care label first. Hold the steamer several inches from the fabric and keep it moving. Test on an inside seam before steaming visible panels, since some synthetics can pucker or turn glossy.
Should I pin the garment to keep it flat?
Light pinning to foam board is fine, as Christian Noel's flat lay tutorial on YouTube demonstrates. Pin only enough to stop the garment from shifting. Overpinning can distort shoulders, waist, or hem proportions, so the photo no longer matches the real fit.
Steam Once, Shoot Every Angle, Then Generate
Steaming is not a cosmetic step for video. A crease you could ignore in a still photo becomes part of the motion once a generator reads it as drape.
That shifts where quality control belongs. It belongs at the steamer and the lights, not in retouching afterward. Triage the creases, run the 6 steps, and shoot every angle in one session so your reference images agree.
Your next step: upload the prepped photos to the AI fashion UGC video generator to create the video file. The tool makes the file but does not post it or promise performance, so review the output before it goes anywhere. Prep the garment carefully once, and every SKU video built from those photos starts from a clean, consistent source.
