
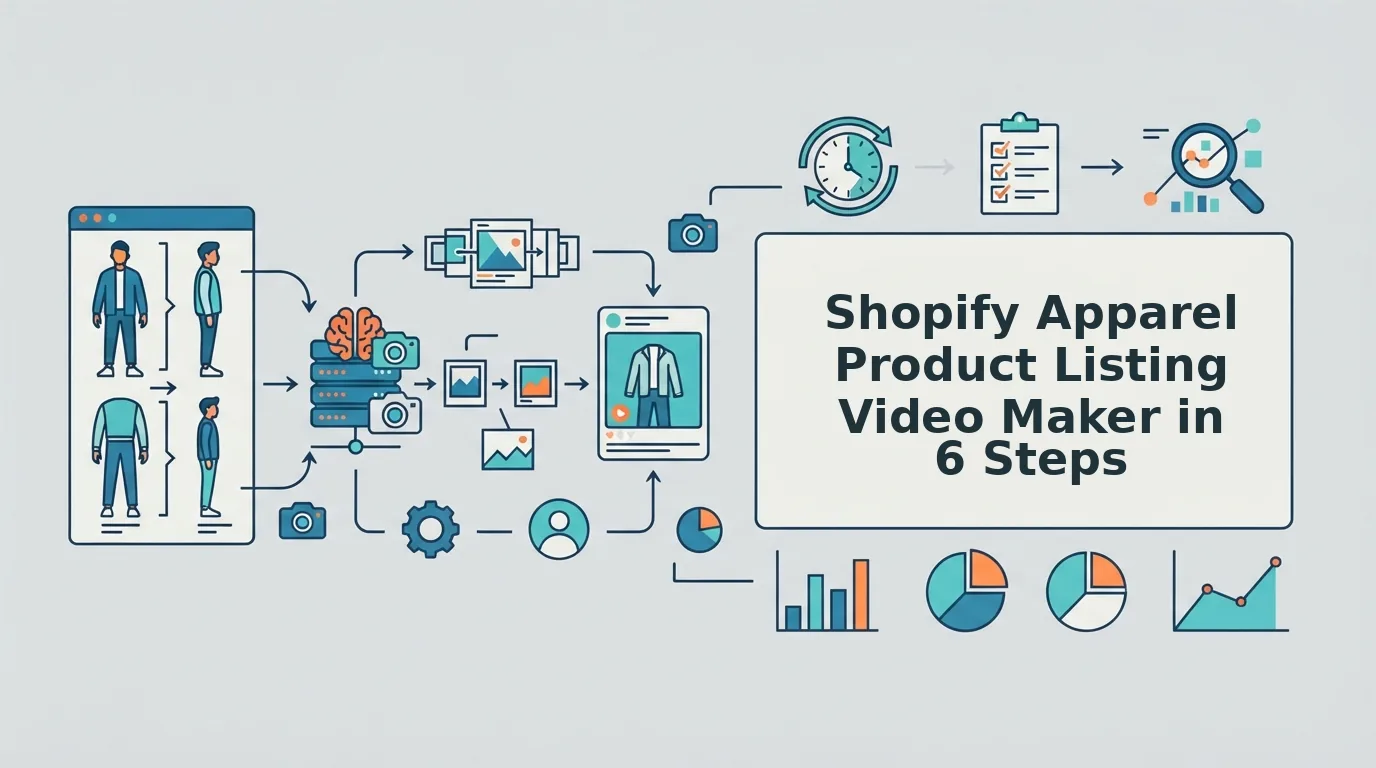

Your catalog photos are already sharp, color-correct, and paid for, yet your product detail pages (PDPs, the individual Shopify page for each item) still show nothing that moves. Reshooting every SKU on video costs budget most apparel teams would rather spend elsewhere.
A shopify apparel product listing video maker closes that gap using the stills you already own. Most tutorials assume the video already exists. This guide starts from your photos and covers four steps: inputs, frame, duration, and QA. The step merchants skip most often turns out not to be creation at all.
Quick answer: Upload one to six existing photos of the same garment and colorway, such as a packshot, flat lay, on-body shot, or fabric closeup. Choose a 1:1 square or 2:3 portrait frame to match your theme's product gallery. Set a duration between 10 and 30 seconds. Check the output against the real garment for color, hems, and trims. Then download the file and upload it to your Shopify product page manually. FashionUGC creates the video file only. It does not sync your catalog or publish anything.
Who Is This Product Listing Video Workflow For?
This workflow is for Shopify fashion sellers, boutiques, DTC apparel brands, and agencies that already have catalog photography and need SKU-level motion without a reshoot. If your photos are solid and your product pages are static, you are the target user.
A product listing video is a short clip of one garment made for the product page gallery, not for a paid ad. Ad-focused tools such as Creatify frame the job around ad creation: hooks, scripts, and campaign variants. A listing video does something quieter. It shows drape, movement, and detail to a shopper who is already on the page.
Think of it like a fitting-room mirror rather than a billboard. The billboard pulls people in. The mirror helps them decide once they are standing in front of the garment.
Clothing is the only live category today. Beauty and accessories are not available yet.
The workflow scales from simple to advanced:
- Simple: one hero packshot becomes one video for a single bestseller.
- Intermediate: a merchant has a flat lay and two on-body shots of one SKU. They upload all three plates together and get one video file for that SKU's page.
- Advanced: an agency repeats that same per-SKU process across a client's full catalog.
To see how multi-angle uploads fit a store's routine, review the Shopify fashion store video workflow.
Which Existing Product Photos Make the Best Listing Video?
The best inputs are one to six sharp, evenly lit plates of the same garment, all in the same SKU and colorway. Mixing colorways or products in one upload confuses the motion and the color.
Packshots and Ghost Mannequin
- Packshot: A packshot is a clean, isolated product photo, usually on a plain background. It anchors the garment's true shape and color. A busy background or soft focus weakens it.
- Ghost mannequin: A ghost mannequin shot is photographed on a form that is then edited out, so the garment looks worn but hollow. It shows fit and volume in three dimensions. A cropped hem or a missing back view limits it.
Flat Lays
- Flat lay: A flat lay is a garment laid flat and shot from directly above. It shows the full silhouette, seams, and print layout. Wrinkles, harsh shadows, or a sleeve folded out of frame break it.
On-Body and Fabric Closeups
- On-body shot: An on-body shot shows the garment worn by a model. It gives the motion a believable sense of drape and fit. Heavy styling layers that hide the hemline weaken it.
- Fabric closeup: A fabric closeup is a tight detail frame of texture, trims, or hardware. It keeps knit, weave, and buttons accurate in motion. Low resolution or motion blur breaks it.
Pro tip: Visible hems, even lighting, and sharp garment plates decide output quality more than any setting. Low-resolution stills will not produce production-ready motion. Start with this guide to prepare product photos for AI fashion video. For overhead shots, follow the flat lay to fashion video technique.
Once your plates are ready, the next decision is frame shape and length.
Should a Shopify Product Video Be 1:1 or 2:3, and How Long?
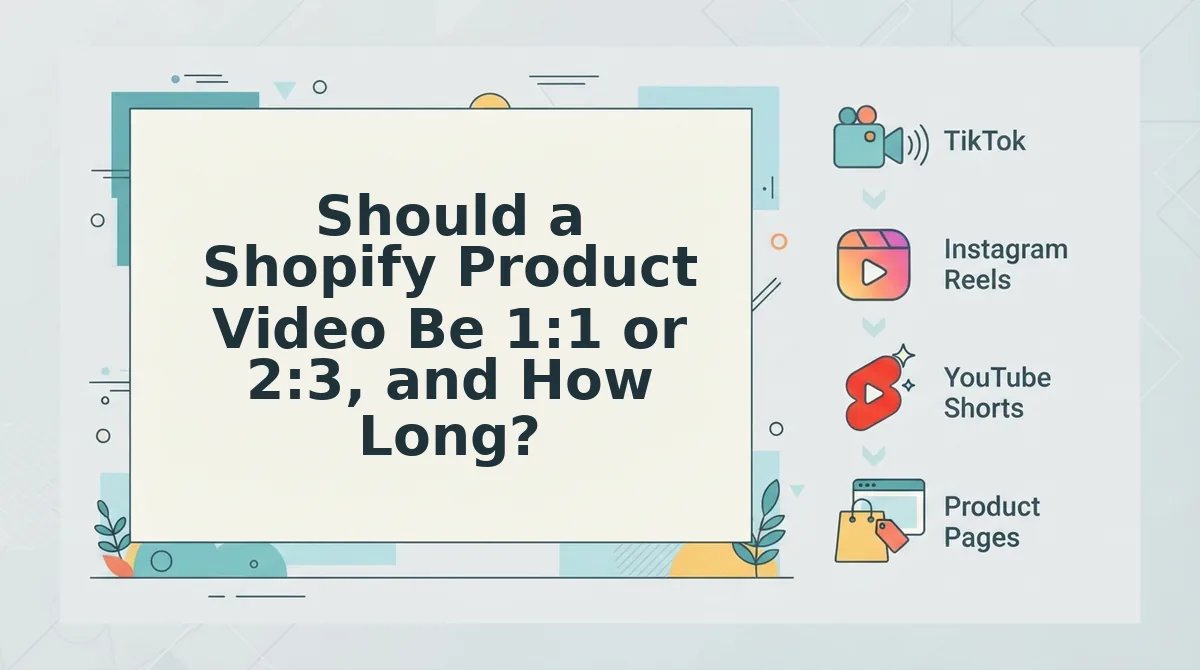
Match the video frame to the ratio of your existing product images. A square gallery gets a 1:1 video, and portrait apparel photography gets a 2:3 video. Keep the length between 10 and 30 seconds, scaled to how complex the garment is.
| Your existing image ratio | Recommended video frame | Reason | Best for |
|---|---|---|---|
| Square (1:1) gallery grid | 1:1 | The video sits in the same tile size as the photos, so the gallery does not resize between slides. | Stores with square packshots and flat lays |
| Portrait apparel photography (2:3) | 2:3 | A taller frame keeps full-length silhouettes and on-body shots consistent with the stills around them. | Brands that shoot dresses, outerwear, and on-model looks |
1:1 or 2:3 for product pages? Choose the ratio your product photos already use. Shopify themes show media in a gallery, and a video in a different ratio than its neighbors can make the gallery jump in height or add letterboxing when shoppers swipe. A square catalog calls for 1:1 video. A portrait catalog calls for 2:3. Confirm how your specific theme crops and displays mixed media on the Shopify Help Center before you finalize the frame.
Ad-first tools, such as Creatify, are built around social ad formats, and they handle that job well. A PDP video has a different constraint: it has to fit the gallery it sits in. Our guide to fashion video aspect ratios covers the social formats.
Set the duration by how much of the garment needs to be shown:
- Near 10 seconds: simple basics such as tees, tanks, and plain knits.
- Middle of the range: pieces with one standout detail, such as a collar or pocket.
- Near 30 seconds: prints, layered pieces, and hardware details that need time on screen.
Once you know your ratio, set frame and duration together in the fashion product video generator before you upload your plates.
What Does the Output Look Like, and How Do You Check It Against the Real Garment?
The output is one video file for one SKU, rendered in the frame and duration you chose. Nothing auto-publishes, so a person reviews the file against the real garment before it goes anywhere.
Before you start, have these ready: the generated video, your original packshot, and your fabric or print closeup plate. If you have the physical sample, keep it nearby. Plan on 3 to 5 minutes per SKU.
- Compare hue against the packshot. Pause the video on a well-lit frame and place it next to the packshot. If the color matches, you should see no visible shift toward warmer, cooler, or more saturated tones.
- Check print scale against the closeup. Count pattern repeats across a fixed area, such as a pocket or placket, in both the video and the closeup. If they match, motifs are the same size and spacing in both.
- Confirm hardware. Inspect buttons, zips, snaps, and buckles for count, color, and finish. If they match, every piece of hardware matches the plate.
- Inspect hem and cuff construction. Look at stitching lines, ribbing, raw or finished edges, and cuff depth. If they match, construction details look identical to the source photos.
- Confirm fabric texture. Check that knit, weave, sheen, or nap reads the same as it does in the closeup. If it matches, a denim twill looks like twill and a satin keeps its sheen.
- Decide: approve or reject. If any check drifts, reject the file. Then either regenerate it or swap in a sharper plate for the angle that failed.
Worked example: A reviewer is checking a printed button-front shirt. They pause the video on the placket and compare the print's scale and the button color against the closeup plate. The florals repeat at the same spacing and the buttons are the same tortoiseshell brown, so the reviewer approves the file. If the buttons had rendered black, the reviewer would reject it.
For a deeper walkthrough, see how to review AI clothing video before it goes on the PDP.
How to Add the Video to Your Shopify Product Page
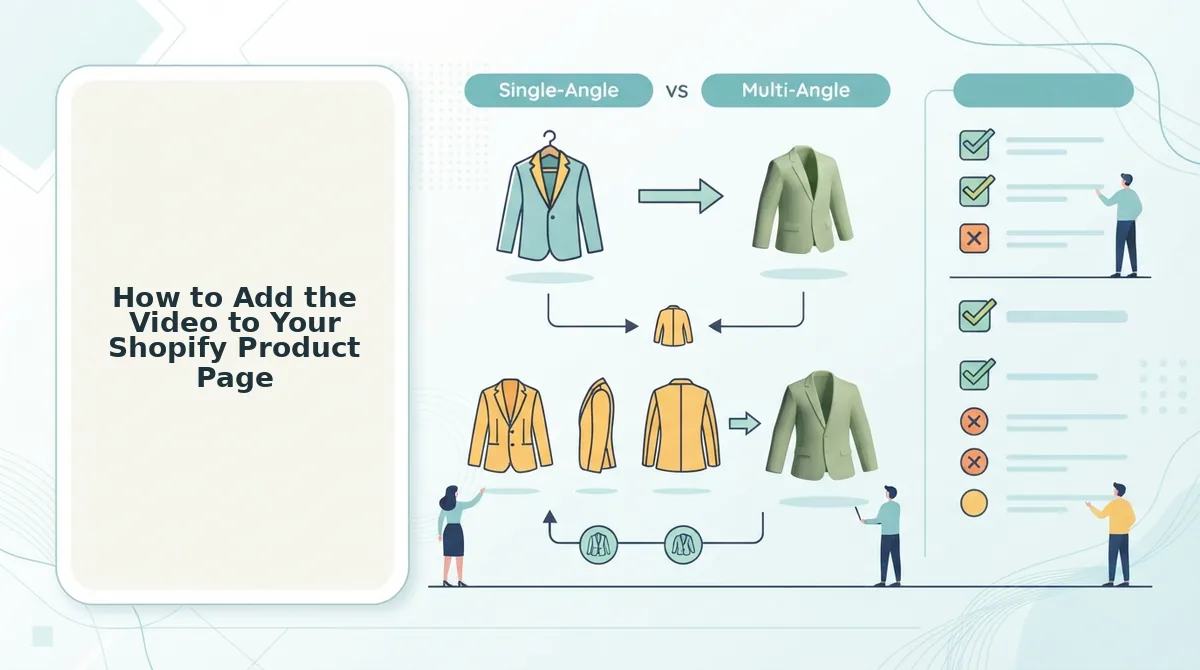
You upload each approved video by hand in Shopify admin. FashionUGC has no app install, no catalog sync, and no auto-publish, so it creates the file and you place it.
Before you start, have these ready: the approved video file and admin access to your Shopify store. Check the currently supported video formats and size limits on the Shopify Help Center rather than relying on memory. Plan on about 2 minutes per product.
- Download the approved file from FashionUGC. The video should appear in your downloads folder, saved under a name tied to the SKU.
- Open the product by going to Products in Shopify admin and selecting the matching listing. The product detail page should open with its Media section visible.
- Add the video to Media by uploading the file or dragging it into the Media area. A thumbnail should appear once processing finishes.
- Reorder the gallery by dragging the video into position. For example, place it second, right after the hero packshot.
- Click Save. A confirmation message should appear.
- Preview on mobile and desktop. If the frame matches your photos, the gallery should hold a steady height when you swipe between the images and the video.
Knowing where the workflow ends matters just as much as knowing its steps.
What a Listing Video Maker Won't Do for Your Store
A listing video maker turns your existing product photos into a video file. It does not run your store, publish content, or promise sales. Those limits are why the workflow stays predictable.
A Shopify apparel product listing video maker is a tool that converts still clothing photos into a short motion file you can add to a product detail page (PDP). It works like a photo lab. You hand over negatives, it returns prints, and you decide which prints go in the frame.
- No catalog sync. FashionUGC is not a Shopify app. It does not read your products or write to them. You upload each file yourself.
- No publishing. Nothing goes to Shopify, TikTok, Reels, or Shorts automatically.
- No promised conversion lift. Any lift depends on your offer, your traffic, and how you test. The tool controls none of these.
- Input quality caps output quality. A low-resolution or badly lit packshot cannot become a sharp, color-true video.
A person approves every file before it is uploaded. That review is the safeguard against a garment that looks different on the page than it does in the box.
Shopify Apparel Listing Video FAQ
These answers cover the edge cases that come up once the core workflow is running.
How do I handle a multi-SKU drop?
Process one SKU at a time. Use that SKU's own plates, generate its video, and review the file before you upload it. Batching SKUs together makes it harder to catch a wrong trim or color on any single item.
Can I mix colorways in one video?
No. Use plates from a single colorway for each video. Mixed colorways break color QA, because there is no single reference shade to check the output against.
Can one video cover every size of a SKU?
Usually, yes. If the garment looks the same across sizes, one video can serve the product. Check that the fit shown does not mislead shoppers about specific sizes.
Does it work for beauty or accessories?
Not yet. Clothing is the only live category, so the inputs and QA checks are built around apparel.
Start With One SKU and Review Before You Upload
The fastest path to a usable PDP video is a single SKU run through the full workflow. Rebuilding your whole catalog at once is slower and harder to check. The finding promised at the start holds: the photos you already own are enough, provided they are sharp and you check the output against them.
Here is the whole Photo-to-PDP Readiness Framework in one line. Upload 1â6 sharp plates, match the 1:1 or 2:3 frame to your gallery, keep the video to 10â30 seconds, run the color, hem, and trim QA, then upload the file manually.
Open the fashion product video generator and start with your best-photographed SKU. Then explore product listing videos for apparel to scale the same reviewed process across your catalog.
