

"It looks like a slideshow of a shirt, not a shirt moving." If that describes your last template ad, your editing skills are not the issue. A pan-and-zoom template slides a virtual camera across one flat image, so it cannot show the back of a garment, how a hem swings, or how a sleeve falls.
That is why the search for a CapCut alternative clothing video workflow is an apparel problem rather than a generic editing complaint. Most comparison pages answer which editor is free. Almost none answer which tool can read garment drape from the multiple stills you already shot.
This article compares mechanisms instead of effect libraries. It covers how each approach treats your source photos, why "free" has to be measured per SKU, and what a clothing video generator built for apparel changes in the final file.
Before you re-export everything at a higher resolution, note that the fix is not a sharper file. Pull every angle you have for one SKU, then keep reading.
Which CapCut alternative for fashion product video actually reads garment photos?
The right CapCut alternative for fashion product video ingests several stills of the same garment, including front, back, side, and detail shots, and generates motion from them together. A template only animates one image. Judge any candidate on five criteria: input type, drape modeling, aspect ratio, human review, and per-SKU volume.
Most ranking pages compare effect libraries and export presets. They skip the question that matters for apparel: what the tool does with your source stills.
| Criterion | Template editor (CapCut-style) | AI model / avatar tools | Multi-photo garment generator (FashionUGC) |
|---|---|---|---|
| Input type | Footage or a single image per clip | Prompt or reference to build a synthetic model | One to six stills of one item: front, back, side, flat lay, on-body, detail |
| Drape modeling | None. It pans and scales pixels. | Focuses on the model. Garment fidelity varies. | Reads multiple angles of the same garment together |
| Aspect ratio control | Strong export presets | Varies by tool | Built for Reels, TikTok, Shorts, and product pages |
| Human review step | You are the editor | Varies by tool | The output is a file that a person reviews. Nothing auto-publishes. |
| Per-SKU volume | Manual work per clip | Set up per model or scene | Generated per SKU from existing photos |
Free is a per-SKU property, not a per-month property. A 40-SKU catalog that needs a front-led cut and a back-led cut for each item requires 80 renders before any A/B variants. Divide a plan's monthly allowance by that number. If the result is below one, the plan is not free for your catalog.
- Best for creators editing footage they already have: CapCut. It is a capable general editor with strong templates and export presets.
- Best for brands that want a synthetic presenter: AI model tools.
- Best for merchants with packshot-heavy catalogs: a multi-photo generator that fits a Shopify fashion store video workflow or works as an apparel listing video maker. You upload up to six angles of one item and review the clip before it goes live.
Why does a pan and zoom template make clothing look flat and warped?
A pan and zoom template is a 2D camera move that slides and scales a single flat image over time. Because it only has one image's pixels to work with, it cannot reveal the back of a garment, simulate drape, or move fabric. It can only stretch, crop, and enlarge what was already photographed.
Think of it as walking past a poster of a jacket versus walking around a mannequin wearing one. The poster never shows you the back seam, no matter how close you lean in.
Where 2D templates physically break
| Failure | What you see | Cause |
|---|---|---|
| Print stretch | Stripes and logos smear across the frame | Panning a flat lay distorts the print at the drift rate of the move |
| Hem float | The hemline slides but never swings | The pixels move as one block, with no fabric weight behind them |
| Sleeve collapse | Sleeves look pasted flat to the body | A single front angle holds no depth information about the sleeve |
Does a higher-resolution photo fix a warped clothing video? No. Warping in a pan-and-zoom clothing video comes from dimensionality, not resolution. A template has one flat image of the garment, so any motion beyond sliding and scaling has to stretch existing pixels or leave gaps. A sharper file only makes the stretch sharper. The back panel, side seam, and fall of the sleeve were never in the source frame, and no export setting can recover them. The fix is more angles of the same item: front, back, and detail shots read together, so the generator has real reference material instead of having to guess.
That is the change a multi-photo read makes. Processing front, back, side, and close-up stills as one set gives the motion a reference for the reverse side and the trim. Our guide to product photos for AI fashion video covers which angles carry the most weight, and the post on mixing flat lay and on-body photos covers combining shot types.
Creator tutorials, including CapCut's own Creator Studio content and channels like Video Nerd, often treat building and posing an AI model as the main trick. That approach solves a different problem. A synthetic model says nothing about whether your actual construction, print scale, and trim survive into the video.
Garment identity is what survives or fails, so review every output against the physical product before publishing. That raises a practical question: which photos does this kind of read actually need?
What do you need to turn clothing photos into video without a reshoot?
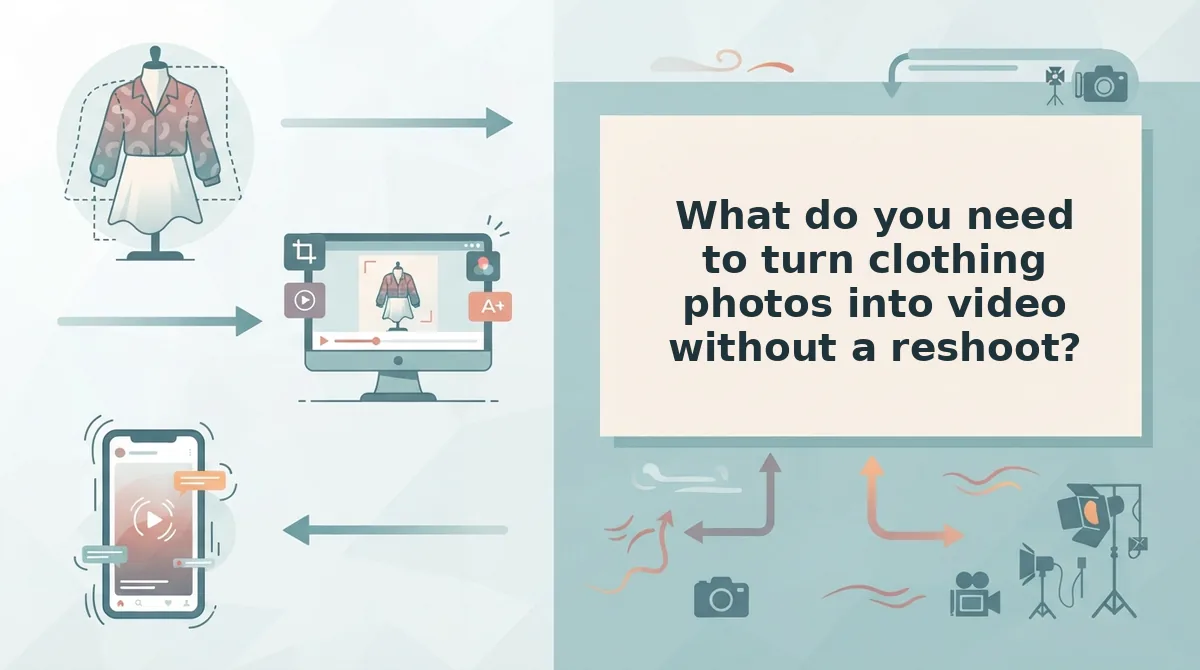
You need a folder of four to six sharp stills per SKU â full front, back or interior, and at least one edge in close focus â plus a generator that reads them together rather than panning across one. Run the check below against the folder before you upload anything.
- A full-length front shot with the entire hem inside the frame. This is the anchor image: the generator takes overall length, shoulder width, and sleeve proportion from it. Export the original rectangle rather than the square catalog crop, because a hem touching the frame edge forces the render to invent where the garment ends. You should be able to see the whole silhouette in one glance.
- A back view or a clear interior shot. A moving 2D frame has no data for the yoke, back print, or vent, so it fabricates them. One rear image gives the render something real to turn toward. If no back photo exists, use the fallback workflow in clothing video without a back photo instead of uploading a front twice.
- Detail crops at the hem, cuff, and collar, in focus. Trim, stitching, and print scale are what a viewer unconsciously uses to judge whether a garment is real. Keep one tight crop per edge so those details survive frame movement. Pull them from the same session as the front shot so the lighting matches.
- A sharpness floor you check at 100% zoom. Generation amplifies whatever the file already contains â compression blocking, marketplace watermarks, and slight motion blur all become visible texture once fabric moves. Open each file full-size and confirm the seam edges are clean. Screenshots and saved-from-web images usually fail here, so replace them instead of hoping.
- One lighting setup across the whole set. A generator fed six images with six color casts will drift mid-clip: navy reads black in the first frame and blue in the fourth. Sort the folder by lighting batch and drop anything captured under different conditions. Two consistent images outperform five mismatched ones.
- A deliberate choice between flat lay, ghost mannequin, and on-body capture. Each type encodes proportion differently, and mixing them across one upload is where shape errors begin. Pick the capture style your catalog already uses and hold it for the entire SKU. The flat lay to fashion video workflow covers the most common case.
| What the source photo must show | Why the generator needs it | What breaks without it |
|---|---|---|
| Full garment, collar to hem, nothing cropped | Sets overall length and proportion | Garment length drifts; hems float or clip |
| Back or interior view | Supplies data for the reverse side | Any turn reveals a mirrored or invented back |
| Hem, cuff, and collar in close focus | Preserves trim, stitching, and print scale | Trim smears; print scale shifts between frames |
| Consistent lighting and white balance | Holds color steady across the clip | Color cast drifts mid-video |
| Clean file at native export size | Keeps edges readable in motion | Compression blocking reads as fabric texture |
Pre-flight checklist: three images minimum (front, back, side or detail); long edge at native catalog export size, not a resized web thumbnail; hems and cuffs visible and sharp in at least one frame each; one lighting setup throughout; no watermarks, screenshots, or marketplace overlays.
A flat lay compresses the garment's third dimension, so the render reads width and seam placement but not volume. A ghost mannequin adds hollow-body shape and shows how the fabric sits; an on-body shot supplies the drape and proportion reference closest to the finished clip. Mixing capture types inside one upload is where proportion errors start â a flat-lay front paired with a ghost-mannequin back produces a garment that changes shape as it turns. Choose the capture type that matches your existing catalog, hold it across the SKU, and note that competitor pages specify none of this: not the angles, not the sharpness floor, not hem and cuff visibility. Then move to turn product photos into video with a folder that passes.
What one finished SKU actually costs in time and money
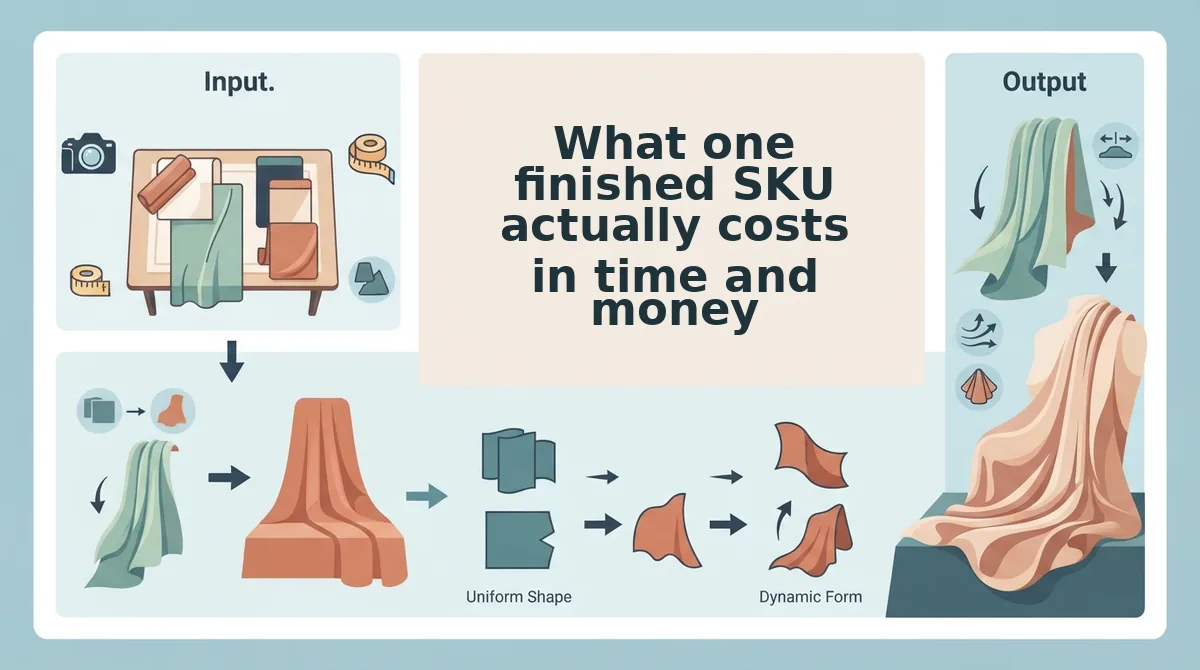
For one style with front, back, and detail shots, plan on roughly 21 minutes of hands-on work per approved video, with about a quarter of that spent watching output rather than generating it. Every rate below is marked [est.] because your catalog, reviewer, and re-generation rate will differ.
Prerequisites: a browser session with the generator open, a folder that passed the Section 4 check, a scratch spreadsheet with columns for SKU, minutes, and re-generation count, and one person authorized to reject a clip.
- Open the SKU folder and run the asset check (3â4 min [est.]). Confirm front, back, and one detail crop exist and share a lighting setup. You should reach a clear pass or fail for that SKU â failures go back to the catalog team, not into the tool.
- Upload the images in front-to-back order (2 min [est.]). Order matters because the first frame anchors the read. You should see all files listed with no upload errors before you continue.
- Select 9:16 and set a short duration (1 min [est.]). Reels and TikTok ad delivery both want vertical and brief; run your intended length through the video length calculator. Success here means a format that needs no re-cropping later.
- Generate and download (2â4 min [est.]). Expect a file, not a post â nothing publishes from this step. Save it with the SKU code in the filename.
- Review the clip against the source stills, frame by frame (4â6 min [est.]). Check hem, cuff, print scale, and trim on every beat. Reject anything that drifts and regenerate; at an assumed [est.] 25% re-generation rate, add about 3 minutes [est.] per SKU on average.
- Resize for any secondary placement (1â2 min [est.]). Feed and story placements differ, so check the fashion video aspect ratios guide before exporting. You should end with one approved master plus placement variants.
- Log the row (30 sec). Record minutes and re-generation count per SKU. After five rows you have a real rate instead of an estimate.
Across 40 SKUs that is 840 minutes, or roughly 14 hours of hands-on work [est.] â of which about 4 hours is a human watching clips and deciding. At an assumed [est.] $35/hour loaded rate, review alone is around $147 for the catalog, and no monthly subscription line covers it.
That is the gap monthly price comparisons leave open: cost per finished SKU is generation plus review plus re-generation. A 40-SKU catalog multiplies review time at the same rate as generation time, so the only figure worth forecasting from is minutes per approved video. When that number is stable, turn product photos into video becomes a scheduled task rather than a project.
What CapCut genuinely does better and what this tool will not do
CapCut is faster once footage already exists, its effects and caption tooling are deeper, and it costs less â a photo-to-video generator is answering a different question, and it will not publish for you or promise that a clip converts.
On already-shot video, CapCut wins on speed, transitions, on-screen text, and price, and none of that stops mattering because a garment arrived as a still. The honest split is timing: it is the better editor after a clip exists, and the wrong tool before one does. CapCut's own Creator Studio marketing leans on synthetic model photoshoots, which is a separate job from preserving a specific garment across angles â a lookalike model wearing an approximate garment solves a different problem than identity retention.
What this tool will not do, stated plainly: it does not auto-publish to any platform, offers no performance or conversion guarantee, requires a human review before anything goes live, and supports clothing as its only category. Garment identity â construction, print scale, trim surviving the render â is what either holds or fails, and only a person can sign off on it.
Which closes the question the first ad test raised: the warp was never a resolution problem or a bad template. It was a missing input. The fix lives in the folder, not the timeline.
Next: run the pre-flight checklist against one SKU folder and count what fails, then generate and review that single style and log its minutes. If the approved-video figure holds below your review budget, extend to the catalog. Start by generating from one style's existing photos, and keep the apparel video guides open for the capture-type questions your catalog raises.
Motion quality gets decided before upload, which means every SKU you alrea
