

That empty space is the problem behind every attempt to turn portrait catalog photos to landscape video for a homepage banner, a YouTube placement, or a wide product-page hero.
If you've searched for a fix, you've seen the same advice repeated. All five ranking YouTube results for this problem are generic video-to-video CapCut or AI-expand tutorials. Each one assumes you already have footage, and none deals with a stack of tall apparel stills.
This guide gives you an apparel-specific workflow that protects garment fidelity: color, print, seams, and hem length. It starts from the photography you already own and builds on the core process to turn clothing photos into video.
You'll get the coverage math, a step-by-step angle-prep workflow, a frame-by-frame output check, and the honest limits of each approach. You'll also see why one angle does more than any other to fill horizontal space, and it isn't the front shot.
Key Takeaway: Yes, you can prepare portrait catalog photos for wide-frame motion. Upload 3â6 angles of one item instead of a single tall still. A person reviews the generated file before it is used anywhere.
Can You Turn Portrait Catalog Photos Into Landscape Video?
Yes, but not by stretching a single tall still. A portrait packshot covers less than half of a wide frame, so you need several angles of the same garment to supply motion and silhouette. You also need a person to review the result before publishing.
Aspect ratio is the proportion of an image's width to its height, such as 2:3 for portrait or 16:9 for landscape. A packshot is a clean catalog photo of a product. Pillarboxing is the empty bars left on each side when a tall image sits inside a wide frame.
Picture a tall poster in a wide picture frame. You can leave gaps on both sides, or you can trim the poster's top and bottom until it fits.
| Source ratio | Target frame | Width filled at full height |
|---|---|---|
| 2:3 | 16:9 | 37.5% |
| 3:4 | 16:9 | 42.2% |
| 4:5 | 16:9 | 45% |
| 2:3 | 3:2 | 44.4% |
These figures are arithmetic, not study results. You can check your own sizes with the aspect ratio calculator.
Can I turn portrait clothing catalog photos into a landscape video? Yes. Shopify fashion sellers, boutiques, DTC apparel brands, and agencies with existing catalog photography can do it without a reshoot. Avoid the two shortcuts, though. A better approach is to upload multiple angles of one garment and generate motion from them.
Consider a Shopify seller with 2:3 packshots who wants a wide product-page banner. The math leaves two poor choices: 37.5% width fill or 37.5% height kept. A fashion product video built from 1â6 angles of that SKU avoids both.
How to Prepare and Upload Catalog Photos Step by Step
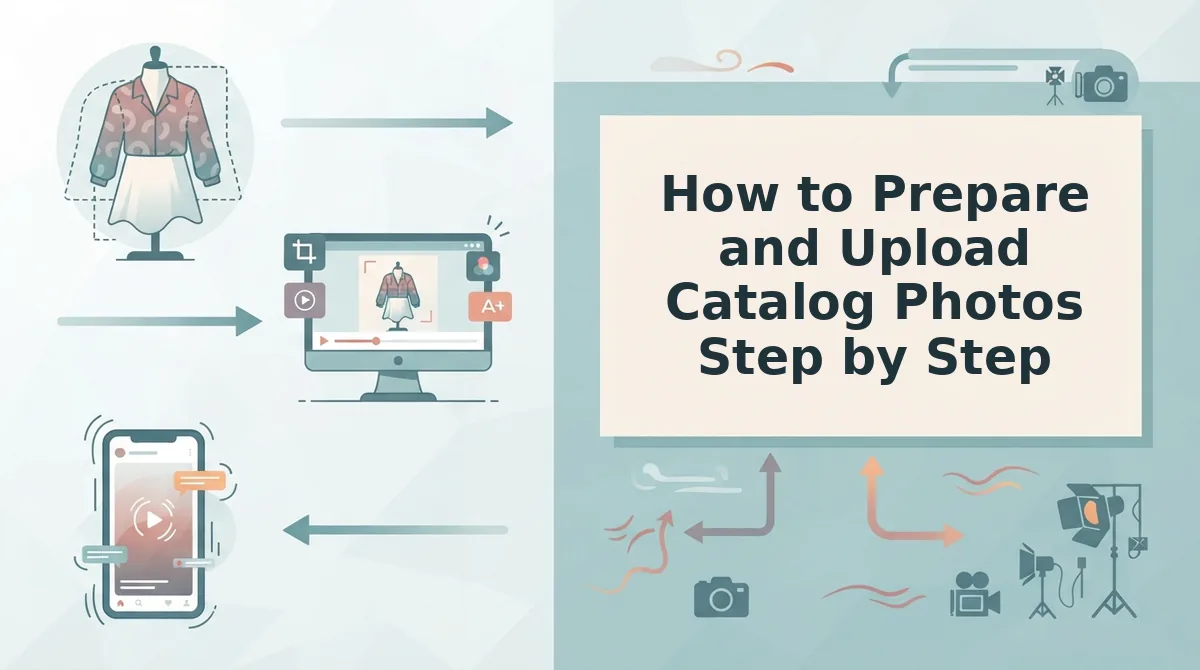
Prepare catalog photos in five steps: audit the source images, choose angles, upload 1â6 stills of one item, check the generated video frame by frame, and review it before use.
- Audit resolution and lighting.
- Pick angles that cover the garment.
- Upload 1â6 stills of a single item.
- Generate and check garment consistency.
- Review the file before export or use.
Prerequisites: catalog photos of one SKU, a browser, and access to the clothing video generator. Output quality depends on sharp plates, clear lighting, and visible hems. The software can't fix weak source images.
Step 1: Audit Source Resolution and Lighting
Remove any photo that fails one of these checks. This takes about 5â10 minutes, and when you finish you should have a shortlist of clean images.
Step 2: Pick Angles With the Angle Coverage Map
Select the angles from your shortlist using the map below. The side profile matters most for a horizontal frame because it shows the silhouette's depth.
| Angle | What it contributes |
|---|---|
| Front | Identity of the garment |
| Side profile | Silhouette depth |
| Back | Construction for turn motion |
| Fabric detail | Texture during drape |
| Flat lay | Proportions |
A ghost mannequin shot is a photo where the garment keeps a worn shape but no body is visible. For example, a ghost mannequin front shot establishes the garment's shape and identity, while a fabric detail closeup shows how the weave reads during drape. For more on choosing angles, see product photos for AI fashion video.
Step 3: Upload 1â6 Stills of a Single Item
Upload between one and six photos of the same garment. Don't mix in other SKUs or colorways. When the upload finishes, every thumbnail should show the same item.
Step 4: Generate and Check Garment Consistency
Click generate, then scrub through the result frame by frame. Compare the color, print alignment, seams, and hem length against your source photos. A successful video shows no drift in any of these details.
Step 5: Review Before Export or Use
Have a person approve the file before it goes to ads, social channels, or product pages. To confirm which output ratios are available, check the fashion video aspect ratios guide.
Once your angles are prepared, the next decision is how the wide frame gets filled.
Crop, Pad, Outpaint, or Regenerate? What the Output Looks Like
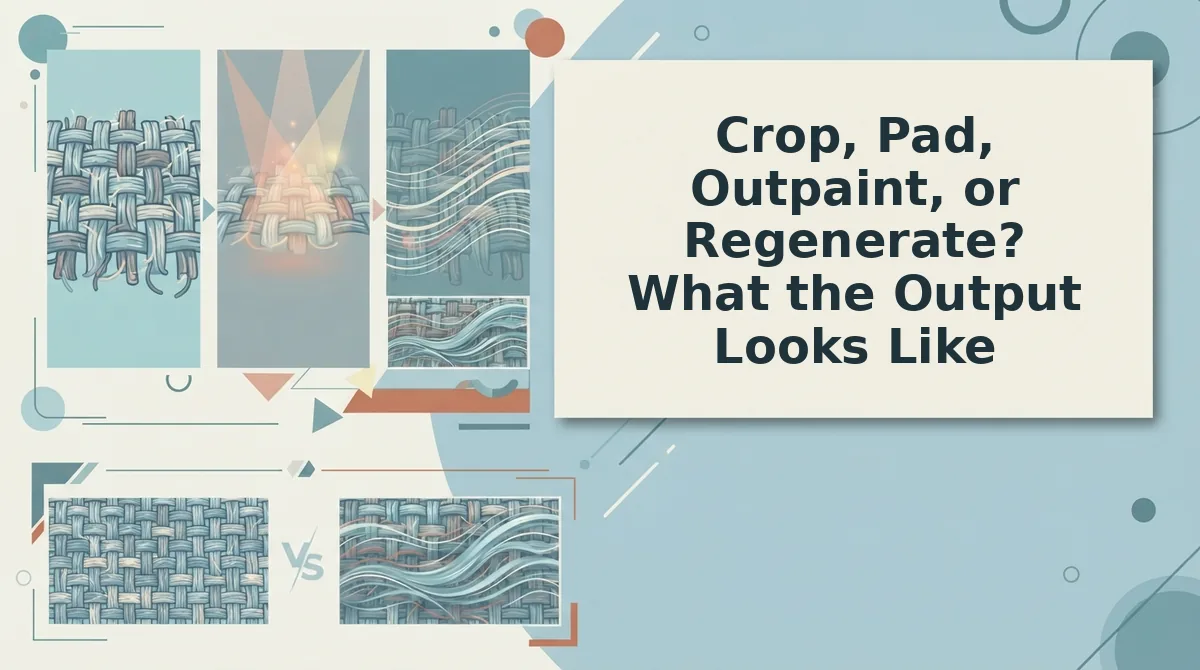
Only regenerating motion from real photo angles keeps the whole garment as it was photographed. Cropping, blur-padding, and AI outpainting are faster, but each gives up either garment fidelity or usable frame space.
Outpainting is an AI technique that generates new pixels beyond an image's original borders so the canvas fits a new aspect ratio.
| Method | Garment fidelity | Effort | Review risk | Best use |
|---|---|---|---|---|
| Crop | Low for full-length looks, because a 16:9 crop of a 2:3 photo keeps only 37.5% of its height | Lowest | High: hems, necklines, and shoes get cut | Fabric and trim close-ups |
| Blur-pad (pillarbox) | High, because no garment pixels change | Low | Low, but blurred bars leave dead space | Fast placements where the full SKU must stay visible |
| AI outpaint | Mixed: the original pixels stay intact, but edge fabric is invented | Low to moderate | High: generated sleeves or hems can misrepresent the SKU | Extending plain backgrounds |
| Multi-angle regeneration | High, because motion comes from real front, side, and back shots | Moderate, since it needs several stills | Moderate: every frame still needs review | SKU-level product motion |
Crop is best for merchandisers who are isolating texture details. Blur-pad is best for social teams that need a same-day placeholder. Outpaint is best for designers who are widening studio backdrops, not garments.
Generic AI expansion, the method taught in Tweak Library-style tutorials, is quick. However, it guesses at fabric it never saw. Regeneration is best for DTC brands whose ads must match the product shoppers receive. Flat-lay sellers can follow the flat lay to fashion video guide.
Every method produces a video file that a person reviews. FashionUGC does not publish posts or promise performance.

What Are the Limits of This Workflow?
The workflow can only animate what your photos show, and the confirmed output format is 9:16 vertical. Angle coverage is the set of views your stills provide for the model to build motion from.
Think of it like a jigsaw puzzle: missing pieces get guessed rather than filled. Low-resolution stills will not produce production-ready motion. Clothing is the only live category, so beauty and accessories are not available yet.
Before you plan a banner, check whether wide 16:9 or 3:2 output is available.
How many photos do I need for a landscape fashion video? FashionUGC accepts one to six stills of a single apparel item, and three to six usually cover the garment properly. A single flat lay gives the model proportions only. It shows no silhouette depth from the side and no back construction. Take a boutique that owns just one flat lay of a dress. It should add an on-body front shot, a side profile, a back view, and a fabric close-up. Then it should confirm which output ratios are supported before building a wide placement.
Start With the Angles You Already Have
Your catalog likely holds more usable coverage than you think. Fidelity in a wide frame comes from real angles, not from invented edges or blurred bars.
The coverage math shows why. A crop discards most of a full-length look. A side profile and a back view give the model real garment information to work from.
- Audit: Check every SKU's packshots for front, side, back, and detail coverage.
- Add angles: Pull or shoot a side profile and a back view where they are missing. Then upload three to six stills of one item.
- Review: Inspect every frame for accurate hems, seams, and color before the file goes anywhere.
Start your first SKU with the turn clothing photos into video workflow. The photos you already paid for can become motion that shows the garment exactly as shoppers will receive it.
