


Your catalog holds ghost mannequin shots and flat lays for every SKU. The reshoot budget is zero. Paid social and product pages still want vertical motion for each item.
Reshoots don't scale to a full catalog. A SKU-by-SKU packshot library to UGC video workflow does, using images you already own.
Key Takeaway: Audit the packshot library, tier SKUs by priority, pick one to six reference photos per item, generate a 9:16 video file, then have a person review it and approve or regenerate. FashionUGC creates the file only. It does not publish or promise performance.
Picture a catalog-only library: packshots and ghost mannequin shots, no on-body photos, no reshoot budget. Most visible video tutorials push volume from a single image and stop at one product. This workflow treats every SKU as its own job, so a tiered catalog moves through the same steps.
- Triage: audit and tier SKUs
- References: choose 1â6 angles
- Generation: produce the 9:16 file
- Review: approve or regenerate
- Limits: what this cannot fix
The step most AI workflows skip is the last one.
First, check whether this workflow fits your team.
Who is a packshot-to-UGC video workflow for?
A packshot-to-UGC video workflow is a repeatable process that turns existing apparel catalog stills into short, vertical, creator-style videos for each product. It suits teams that have a large photo library and need SKU-level 9:16 motion without booking a studio reshoot.
A few terms come up throughout this guide:
- Packshot: a clean product photo on a plain background.
- Ghost mannequin: a garment shot on a mannequin that is removed in editing, so the clothing keeps its 3D shape. For a side-by-side comparison, read ghost mannequin vs flat lay.
- Flat lay: a garment photographed lying flat from above.
- Reference image: any still you upload to guide the video.
- SKU: a stock-keeping unit, meaning one specific product variant.
Think of your packshot library as a pantry. The workflow is the recipe that turns ingredients you already have into finished dishes.
The workflow scales from simple to complex use. A Shopify fashion seller might animate a few bestsellers. An ecommerce merchandiser might work through a full seasonal drop. An agency might run several client catalogs in parallel, and a social team might use it to refresh creatives that are suffering from ad fatigue.
It does not fit teams that have no usable stills. It also does not fit products outside clothing, because clothing is the only live category and Beauty and Accessories are not available yet. FashionUGC accepts one to six angles per item and creates the video file. A person reviews every output before it goes anywhere.
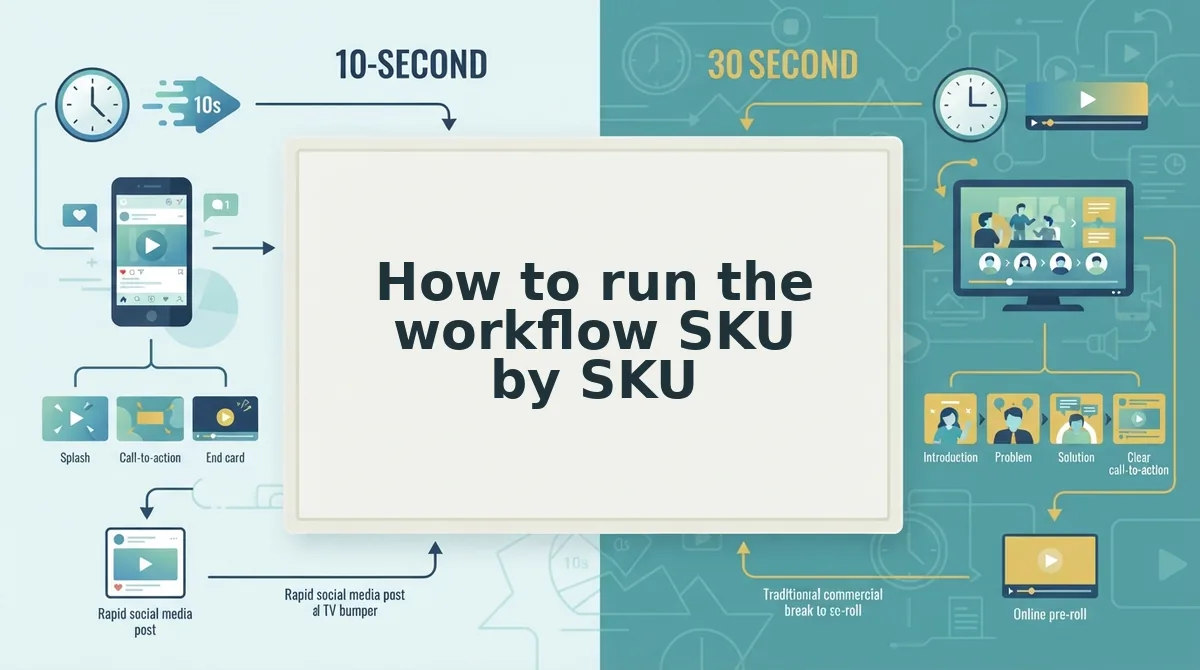
How to run the workflow SKU by SKU
Run the workflow in four passes: tier the library, assign references, prep the images for 9:16, and generate the Ready SKUs first. Before you start, you need export access to your photo library, a spreadsheet for tiering, and a FashionUGC account.
- Audit and tier the library. Export your product media to a spreadsheet and score each SKU against the Triage Grid below. Plan on a minute or two per SKU. When you finish, every row should carry one tier tag.
| Tier | Criteria |
|---|---|
| Ready | Sharp, evenly lit, hems visible, two or more angles |
| Fixable | One clean angle plus a detail shot |
| Reshoot-only | Low resolution or cropped garment |
To tier a packshot library before generating, sort SKUs by the quality of their stills rather than by sales rank. Mark a SKU Ready when its photos are sharp and evenly lit, show the hems, and cover at least two angles. Mark it Fixable when it has one clean angle and a fabric detail shot, because that pairing usually gives enough information for motion. Mark it Reshoot-only when the files are low resolution or the garment is cropped, since no generator can recover missing fabric. Tiering first stops weak inputs from consuming review time.
- Pick one to six references per SKU. Assign images using the Slot Map below. Drop any reference that contradicts another, such as an old colorway or a different fit. When you finish, each SKU should have a short, consistent set of references.
| References | Recommended slots (practice, not tested data) |
|---|---|
| 1 | Clean front |
| 3 | Front, back, fabric detail |
| 6 | Front, back, side, flat lay, on-body, fabric detail |
When you only have a flat lay or ghost mannequin shot
For a SKU that has only a flat lay, upload it together with a fabric detail closeup so the texture holds up once the garment moves. For more on this transformation, see flat lay to fashion video. A ghost mannequin shot already holds its 3D shape, so it makes a strong front slot.
- Prep the images for 9:16. Check each reference against this list:
- The image is sharp at full size.
- The lighting is even, with no blown highlights.
- The hems and cuffs are visible.
- The garment is not cropped.
- Generate in tier order, Ready first. Name your files consistently, for example SKU1042_front.jpg. Then upload each set to turn clothing photos into video. Batch ordering is a team practice, not a product feature. When a generation finishes, you should have one 9:16 file per SKU, ready for review.
If your whole catalog is made of packshots, start with the clothing video generator and work through your Ready tier first.
Once the files exist, the real quality gate begins.
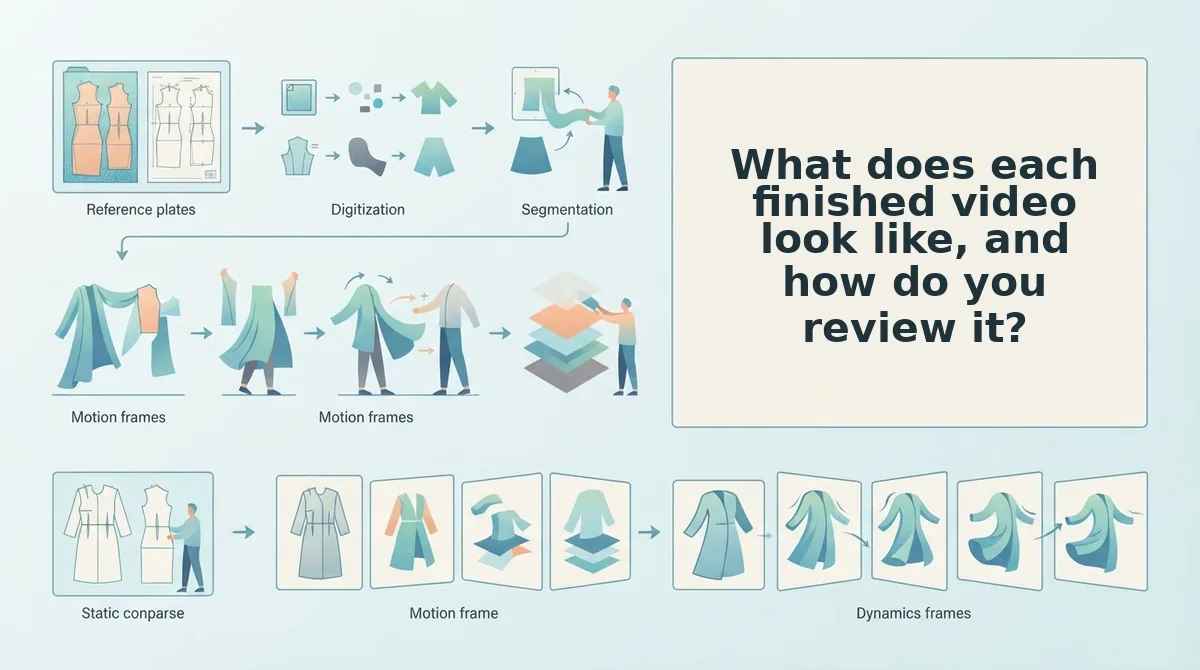
What does each finished video look like, and how do you review it?
Each finished video is a UGC-style 9:16 vertical file for one SKU. It is suited to Reels, TikTok, Shorts, paid ads, or product listing videos. FashionUGC creates the file only. It does not post anywhere and makes no performance promise, so a person reviews every video before use.
Check each file against these points, in priority order:
- Color match: Compare the garment color to the approved packshot on a calibrated screen. Reject any visible shade drift, because it sets a false expectation for buyers.
- Hems: Check hem length, curve, and finish against the flat lay. Invented or missing hems misrepresent fit, so flag them early.
- Seams: Trace seam placement and topstitching through the motion. Seams that wander or vanish point to a weak source angle.
- Logos and prints: Pause on frames where graphics face the camera. Warped lettering or drifting pattern repeats undercut brand trust.
- Fabric drape: Judge whether the fabric moves like its real weight. Satin should not fold like denim.
- Motion artifacts: Scrub frame by frame for flicker, melting edges, or warped hands. A single artifact can disqualify an otherwise clean file.
- Framing: Confirm the garment stays inside the 9:16 safe zones. Platform captions and buttons can hide key details.
Before an AI-generated fashion video goes live, a reviewer should confirm six things. The color must match the packshot, and the hems and seams must match the real garment. Logos and prints must be undistorted, and the fabric must drape like the actual material. The motion must be free of artifacts, and the framing must keep the product inside the safe zones. If every check passes, approve the file. If any check fails, regenerate it, usually after adjusting the source images. This quality gate protects the product page better than volume does.
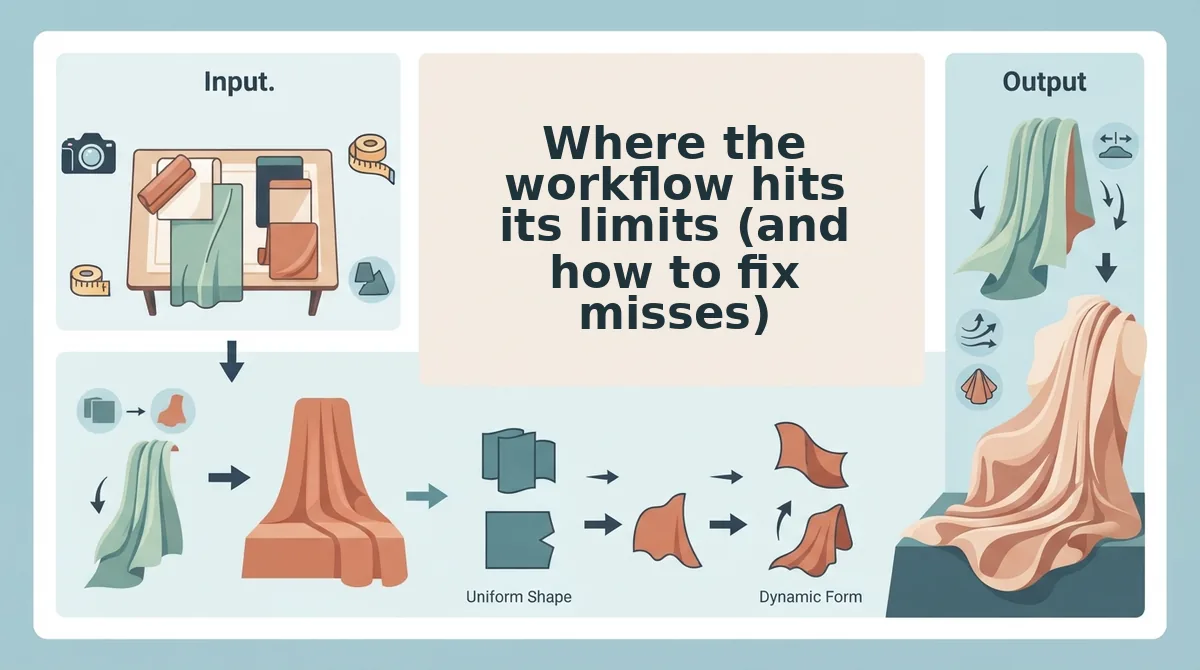
Where the workflow hits its limits (and how to fix misses)
The workflow is only as strong as its source images. Low-resolution or cropped stills will not produce production-ready motion, and SKUs flagged Reshoot-only stay out of the workflow until new photos exist.
Clothing is the only live category, and every file still needs human review. Most misses trace back to a specific reference image, so fix the input instead of regenerating blindly.
| Symptom | Likely source-image cause | Fix |
|---|---|---|
| Color shift | A reference shot under mismatched lighting | Drop that reference and regenerate |
| Missing or invented hem detail | A cropped shot that cuts off the hem | Add an uncropped angle |
| Logo distortion | No detail closeup of the graphic | Add a logo or print closeup |
| Mismatched detail | A conflicting reference, such as an older colorway | Swap the reference and regenerate |
Here is a worked example. Review finds a button placket that differs from the current shirt. The cause is a reference photo from a previous production run, so swap it for the current shot and regenerate.
Best for: Ready-tier clothing SKUs with clean, consistent stills. Reshoot-only SKUs are better served by a studio session first. If your library relies on ghost mannequin shots, edit ghost mannequin photos for video before uploading.
Start with your Ready tier
Start with the SKUs whose stills are already clean, consistent, and uncropped. A large catalog scales on source quality, not on how many files you can generate. The real bottleneck is the library feeding the generator, not the generator itself.
- Tier the library first, then batch your Ready SKUs before anything else.
- Keep references consistent, with matched lighting, the current colorway, and uncropped angles.
- Review every file against the checklist before it reaches a listing or an ad account.
FashionUGC creates the file, and your team approves it. Upload your first Ready SKU and create UGC-style fashion videos from photos you already own. Every approved SKU becomes a reference standard that makes the next batch faster to trust.
