


A cardigan shot on seamless white, cleaned until every stray fibre was gone, comes back from the generator looking like vinyl: creases bending with a plastic sheen, a cuff that pulses at the seam. That is not a rendering failure. Over-retouched packshots and AI video collide because the file you fed the model had the fabric signal removed in post, long before generation started.
You already suspect the retouching was heavy. What is harder to see is the mechanism â weave, pile direction and fold micro-shadow are read as motion cues by an image-to-video model, and a smoothing pass deletes exactly those frequencies. That one chain explains most waxy, sliding, plastic-looking outputs.
What follows is the causal path from retouch layer to bad motion, a layer-by-layer triage you can run against a file you already own, and the recovery route most guides skip entirely â the un-retouched sibling or RAW sitting in the same archive folder. One finding may surprise you: the file you rejected as too raw is often the better master. If you want the input checklist first, start with the clothing video generator workflow overview.
Why does AI video lose fabric texture from over-retouched packshots
AI video loses fabric texture because retouching removes the band of detail the model reads as motion. Weave, pile direction and fold micro-shadow are the cues a generator uses to infer how cloth behaves, and smoothing deletes precisely those frequencies.
Frequency separation is a retouching method that splits an image into a blurred low-frequency layer carrying colour and tone and a high-frequency layer carrying texture, so each can be edited on its own. Texture cues are the fine tonal variations â weave, pile, fold micro-shadow â that let an image-to-video model infer surface direction and drape. A generation master is the file exported specifically for the model rather than for the web, and it is rarely the same file you would publish.
Think of fold shadows as contour lines on a topographic map. A model that sees graded shadow across a fold knows the surface curves away from the light and can animate a plausible drape. Flatten those gradients and the map goes blank. The model does not raise an error; it fills the gap with the smoothest surface it knows, which is why flattened knits return with a plastic sheen. The fabric was never rendered wrong â it was handed a file with no slope left to read.
Retouchers optimise for a frozen thumbnail, where a clone seam holds still and a flattened plane reads as clean. Motion amplifies both: a plane that lost its gradient has to be animated frame after frame, and the model guesses.
Liquify is the second failure mode. Nudging a hem or slimming a sleeve drifts the hem and warps the fold gradient that tells the model which way the fabric falls, so the edge crawls. The white-and-black trap is the third: crushed black knit and blown white poplin lose the fold gradients that carry drape entirely.
Before you generate, run the source file against three measurable allowances â the Texture Budget.
| Texture Budget check | Safe | Suspect | Fatal |
|---|---|---|---|
| Weave visible at 100% zoom | Knit or twill structure resolves clearly | Resolves only at 200% | Surface reads as flat colour |
| Tonal steps across one fold | Three or more discernible steps | Two steps | Single tone, no gradient |
| Highlight and shadow endpoints | Detail retained at both ends | Minor clipping on one end | Crushed black or blown white |
Ingesting between one and six source angles, including a fabric detail crop, gives the model more fold geometry to work from, which widens the budget a partially flattened file can still pass. The product photos for AI fashion video guide covers which angles carry the most useful cues.
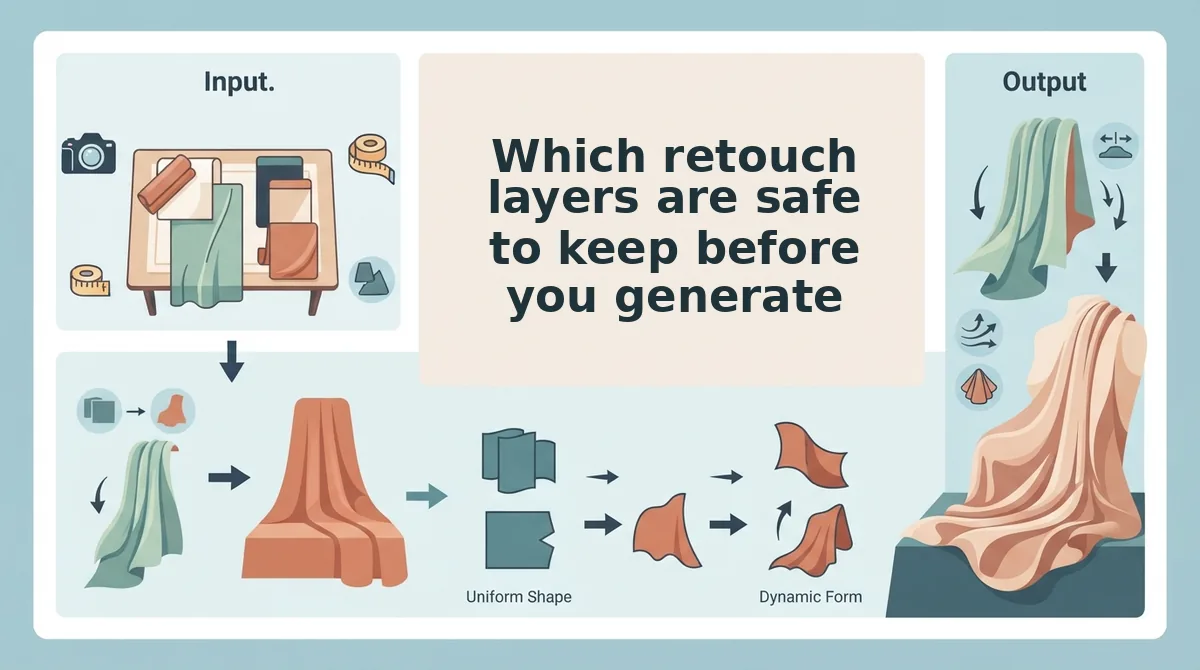
Which retouch layers are safe to keep before you generate
Dust healing, background cleanup and crop are safe; frequency separation, liquify, denoise and clarity pulled to minus 100 are fatal; dodge and burn on folds plus a global colour grade sit in the middle. The useful question is not how much retouching a packshot received, but which operations it received.
A retoucher defending heavy cleanup is right about the web master â grid consistency and clean edges genuinely sell product, and tool documentation that lists resolution and aspect-ratio requirements is accurate as far as it goes. The failure is exporting one file for both jobs.
| Operation | Verdict | Best for |
|---|---|---|
| Dust heal and spot removal on background | Safe | Brands re-exporting archived catalog shots |
| Crop and straighten | Safe | Merchandisers standardising 9:16 frames |
| Dodge and burn on folds | Suspect | Teams that need a punchier web master |
| Global colour grade | Suspect | Seasonal palette matching across a drop |
| Frequency separation on fabric | Fatal | Retouchers delivering print or PDP stills |
| Liquify on hem, sleeve or shoulder | Fatal | Fit correction on static imagery only |
| Denoise or clarity at minus 100 | Fatal | No generation use case |
| Ghost mannequin neck-seam cleanup | Fatal | Ghost mannequin retouching workflow output for web |
Safe tier â best for DTC operators working from archive files: these layers cost nothing in motion. Suspect tier â best for merchandisers who need one asset for both channels: export two files and grade only the web copy. Fatal tier â best for studios with a RAW or un-retouched sibling: keep the polished file for the storefront and send the flat one to the model.
The ghost mannequin pass deserves its own line because it adds a flattening step at the neck seam that no other workflow does, and in video that seam reads as a crawling edge.
If your existing file already fails the budget, the next step is fixing a flattened packshot without booking a reshoot.
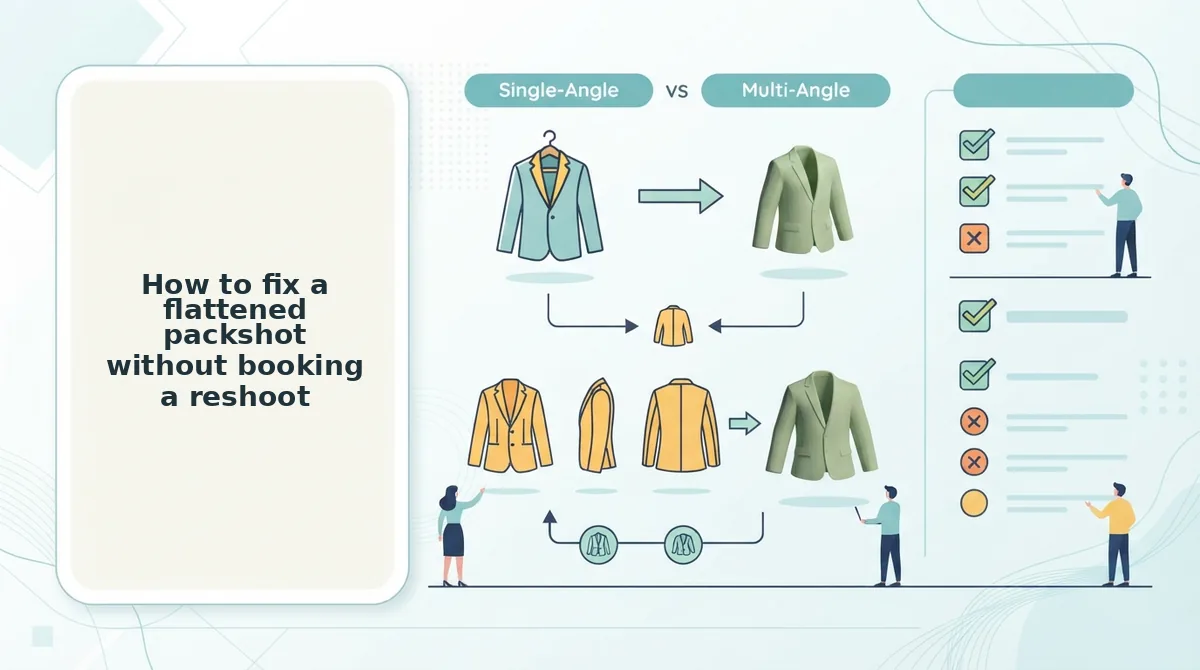
How to fix a flattened packshot without booking a reshoot
You can usually rebuild a generation-ready file from the un-retouched sibling or RAW sitting in your product archive, then re-export it to spec, in 15 to 25 minutes per SKU. Prerequisites: read access to the original shoot folder, Photoshop or an equivalent editor that opens RAW, and the SKU list you already generated bad video for.
- Search the archive folder for the sibling file, not the delivered one. Open the SKU's shoot directory and look beside the delivered packshot for a filename ending in
_RAW,_v1,_unretouched, or a camera-native.CR2/.NEF/.ARW. You should see a file with the same composition and a visibly flatter, less contrasty look â that is the correct source. Allow 5â10 minutes; large catalogs are easier to triage by folder date than by filename convention. - Open the sibling and compare it to the delivered file at 100% zoom. Select the Zoom tool, click the fullest fold in the garment, and toggle between the two files. You should see weave structure and micro-shadow in the RAW that the delivered file has smoothed to a gradient. Write down which layer did the damage â blur, dodge/burn, or edge halo â so you don't repeat it.
- Rebuild only the layers the video tolerates. Keep dust healing, background cleanup, and colour correction back to the garment's true tone. Skip frequency-separation skin-style blur, liquify reshaping at hems and cuffs, and global clarity. Each skipped layer keeps texture cues intact for the motion pass.
- Export a generation master, not a web master. Choose File, then Export, then Export As; select JPEG at quality 90 or higher, set the long edge to 2000px, work in sRGB, and switch off output sharpening, clarity, and any denoise. A bigger, sharper file is worse here â over-sharpened upscales create halos and crawling edges once the frames move. Allow 3 minutes.
- Upload the corrected master and generate from it. Drop the new file into the generator rather than iterating prompts on the damaged one; prompt changes cannot restore frequencies that no longer exist in the pixels. This is the same preparation logic that applies when you convert a flat lay to fashion video.
- Reshoot only the detail angle, only when no clean source exists. Light it with soft raking side light at roughly 30â45 degrees to the surface so fold shadow is held rather than flooded out. One 10-minute detail session beats re-booking a full set.
If they do, the budget held.

How to check the texture budget survived before you publish
Run these five checks on the exported video file itself, not the source still â texture can survive retouching and still be lost in motion.
- Weave visible at 100% zoom. Pause a mid-clip frame and inspect the knit or twill at full resolution. At least three discernible tonal steps should still read across the deepest fold, which is the minimum gradient the motion pass needs to infer fabric behaviour.
- No clipped highlight or crushed shadow. Check white poplin for blown highlights and black knit for blocked shadows. Both destroy the fold information the generator uses to judge depth, and neither can be recovered downstream.
- No plastic sheen in the first two seconds. Watch the opening frames at normal speed. A waxy, uniform surface means the source was over-smoothed, and that is the most common reason a garment reads as synthetic on video.
- No print or pattern crawl. Pause on any logo, stripe, or check and step frame by frame. Patterns that shimmer or drift between frames indicate sharpening halos in the master; the fix belongs in the export, not the prompt.
- Borders clear after cropping. Inspect the frame edges once the 9:16 crop is applied. A tight crop can slice off the fold the motion was inferred from â re-crop before you crop clothing reference photos further, not after.
Results vary by garment and source file, and the output is a video a person reviews before it goes anywhere.
Keep two masters so every future SKU generates clean motion
The retoucher and the generator want opposite files, so one compressed master cannot serve both.
That is the finding worth keeping: the texture budget is spendable, and once weave, fold gradient, and highlight headroom are gone, no prompt recovers them. The operating rule that follows is simple â archive a fully retouched web master and a texture-intact generation master for every SKU, and never let the retoucher overwrite the second.
Start with one product line: pull the RAW siblings, rebuild the generation masters to spec, and turn clothing photos into video from those files instead. The next catalog season then generates clean motion on the first pass, because the archive was fixed once.
