

Drop day is Thursday. You have 40 new SKUs, no reshoot budget, and a merchandising lead asking why every product detail page still shows a static packshot.
Collection drops are always rushed, and that pressure makes new arrival PDP video mistakes easy to repeat across an entire launch. One bad habit in the source folder can turn into 40 weak videos by lunch.
This guide gives you a fix list, one mistake at a time, built around three gates: Source, Frame, and Review. You will learn what to check in your photos before generation, how to fit the output to your PDP player, and what a person must confirm before anything goes live.
One mistake usually gets caught only after the PDP is live, and a shopper often spots it first. We resolve it in the Review gate.
Key Takeaway: Most PDP video mistakes start before generation. Mismatched source photos, a frame that does not fit the PDP player, and skipped human review cause more stalled drops than the generator itself. Catch them at three gates: Source, Frame, Review.
What Does a New Arrival PDP Video Need Before You Start?
Avoid three groups of mistakes: inconsistent or incomplete source photos, video framed for a different player than your PDP, and skipped human review before upload. Fix the source set first. Every later problem is harder to correct once motion exists across a full new-arrival drop.
A PDP video is a short clip in the product detail page gallery that shows how a garment moves, drapes, and looks from several angles. A ghost mannequin shot holds the garment's 3D shape on an invisible form. A flat lay shows the item laid flat from above, and a garment plate is the clean, isolated garment image the video is built from.
FashionUGC accepts 1-6 stills per item, covering front, back, side, flat lay, on-body, and fabric detail angles. To choose them, see our guide to product photos for AI fashion video.
The three gates of new-arrival PDP video are Source, Frame, and Review. The Source gate confirms that each item's photos share lighting, background, colorway, and resolution and cover the angles shoppers need, while the Frame gate checks that aspect ratio and crop fit the PDP player so hems and logos stay visible. The Review gate puts a person in front of every output before upload, because nothing auto-publishes and only a human can confirm the color matches the physical sample.
Think of a source set as a group of witnesses. If each one describes the garment differently, the story falls apart. Inconsistent source sets break drop videos more often than speed does.
Gate 1 Source Photo Mistakes and How to Fix Each One
Most source mistakes come from sets that do not match or angles that are missing. Fix them before generation by auditing each SKU's 1-6 stills against the checklist below.
Before you start: gather every still for each SKU in one folder per item, and keep the physical sample nearby for color checks. Budget roughly 2-3 minutes per SKU for the audit.
- Match lighting and backgrounds across angles. Mistake: a warm studio front next to a cool, gray-backed side profile. Fix: open every angle side by side and remove any still whose light or backdrop clearly differs. You should end up with a set that looks like it came from one shoot.
- Show hems, cuffs, and the full garment plate. Mistake: cropped cuffs, hidden hems, or a soft, blurry garment plate. Fix: zoom to the edges of each image and replace any shot that cuts off construction details. Success means every seam a shopper would inspect is visible in at least one angle.
- Replace low-resolution or compressed stills. Mistake: uploading web-compressed thumbnails or screenshots. Low-res stills will not produce production-ready motion. Fix: export originals from your DAM or photographer's folder, and expect visible fabric texture at full zoom.
- Upload back and detail shots when they exist. Mistake: sending only a front shot. Fix: add back, side, and fabric detail angles, up to six. The output then has real reference for every view it shows.
Source-Consistency Checklist
- Lighting: same direction, temperature, and softness on every angle.
- Background: same color and surface across the set.
- Colorway: each image matches the physical sample.
- Resolution: every still is a full-size original.
Can you mix a studio front with a phone-shot back? Not if they fail this checklist. Take a flat lay front paired with a phone-shot back: reshoot the back to match, or exclude it and generate from the consistent angles only.
When a set is too inconsistent to salvage, reshooting is the right call. For flat lay sets, see turning flat lays into fashion video. Your result should be a consistent set that is ready for generation.
A clean source set still needs the right frame.
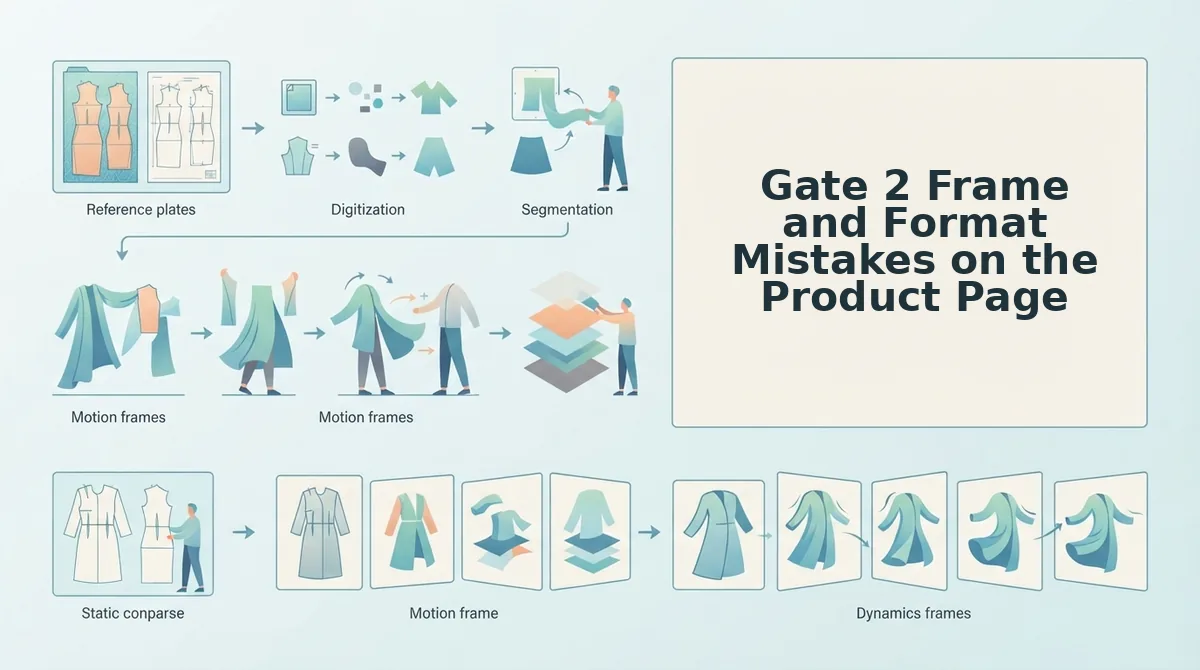
Gate 2 Frame and Format Mistakes on the Product Page
A PDP video needs its own cut, with slower pacing, full-garment framing, and an aspect ratio that fits the on-page player. Reusing the feed ad edit and forcing 9:16 into a smaller gallery slot are the two frame mistakes that stall a drop at this gate.
Here's where it gets tricky. Ad-focused generators are good at feed creative: fast hooks, tight crops, and vertical framing built to stop a scroll. Those same strengths work against you on the product page.
Mistake 5: Reusing the feed ad cut on the PDP
A feed cut has to earn attention in the first second, so it favors quick movement and close crops. A PDP shopper has already clicked and wants to judge fit, length, drape, and finish.
Keep the full garment in frame on the PDP, slow the pacing, and give each angle enough screen time to read the hem, seams, and fabric movement.
Mistake 6: The wrong aspect ratio for the PDP player
9:16 is native to Reels, TikTok, and Shorts, but many product galleries render a square or 4:5 slot. A vertical file in that slot gets letterboxed or cropped, often cutting off the hem or neckline. Check your theme's player dimensions against our guide to fashion video aspect ratios before you export.
Decision matrix: match source input to the PDP
| Source input | What it supports | What it cannot show | Risk to check |
|---|---|---|---|
| Ghost mannequin | Silhouette, neckline, 3D structure | Fit on a body, stride movement | Motion that invents body shape |
| Flat lay | Print layout, full colorway, proportions | Fit, drape, length when worn | Stiff or guessed fabric behavior |
| On-body | Fit, length, drape, styling | Interior details, true flat proportions | Color shift from other angles' lighting |
| Detail closeup | Texture, stitching, trim, logo | Overall silhouette | Texture or logo warping across frames |
- Ghost mannequin: Best for merchandisers running large basics catalogs.
- Flat lay: Best for Shopify operators with print-led collections.
- On-body: Best for performance teams that need fit context.
- Detail closeup: Best for premium lines, paired with another angle.
If one angle can't carry the PDP alone, combine up to six photos in a single upload and turn clothing photos into video framed for the product page.
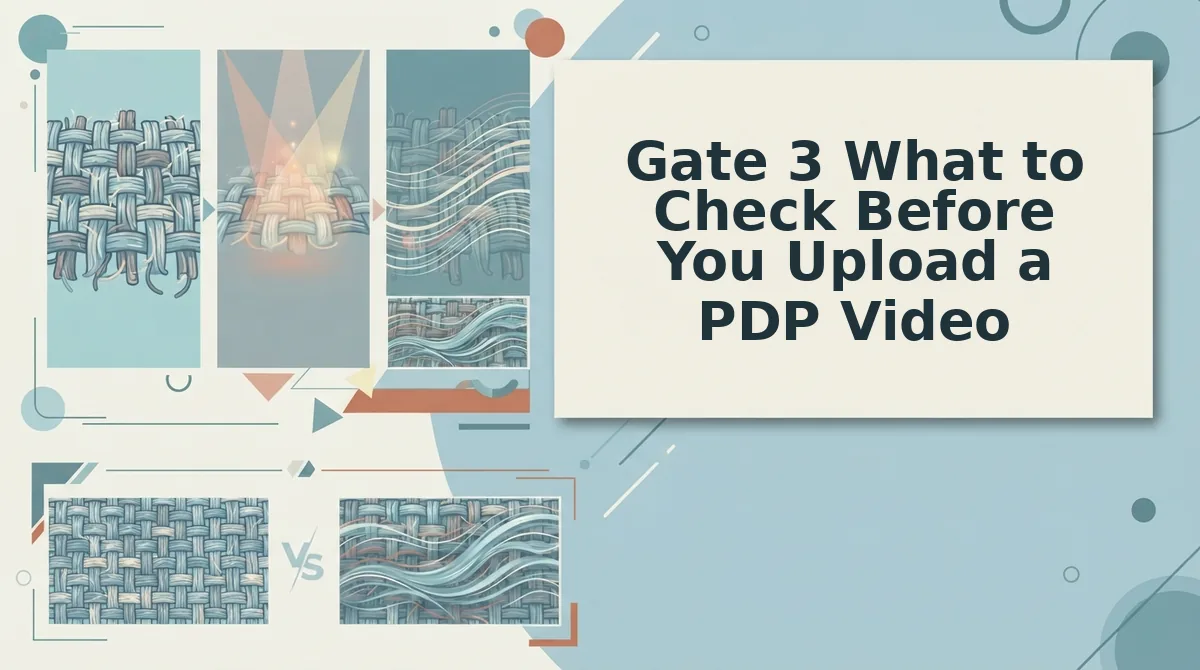
Gate 3 What to Check Before You Upload a PDP Video
Before upload, a named reviewer compares the generated video against the physical sample for color, hem, logo, print, trim, and fabric behavior. The reviewer then approves the file or regenerates it. This check takes minutes per SKU and catches the errors shoppers notice first.
Now the step most teams skip. You need the physical sample or an approved swatch, the generated file, the original source photos, and a screen in neutral lighting.
How do you check that a PDP video worked? A PDP video works when every frame matches the physical garment. Colorway drift is the mistake teams usually catch only after the PDP is live, because a slight shift toward gray or warmth looks fine on its own and only shows when someone holds the real product beside the screen. Pause on the opening, middle, and closing frames and compare each to the swatch. Then scrub for logo placement, print repeat, trim, and hem length. A video that passes all of these checks, approved by a named person, is ready to upload.
- Compare color against the physical sample (mistake 7). Pause on three frames and hold the swatch beside the screen. This takes about 3 minutes. You should see the same colorway at every pause.
- Scrub logo, print, and trim across frames (mistake 8). Step through frame by frame. This takes about 3 minutes. The logo should stay legible, the print repeat should hold, and the trim should never appear or vanish.
- Watch hem and fabric behavior at full speed. This takes about 1 minute. The drape should match the fabric's real weight.
- Record a named reviewer before upload (mistake 9). Type the approver's name into your launch tracker. Every PDP video should have an owner.
For example, a reviewer pauses on a mid-sequence frame of a sage linen shirt, sees the green has drifted toward gray against the swatch, flags it, regenerates from the same source set, and re-checks before approving.
The fashion product video generator makes the file, and a person reviews it. Nothing auto-publishes and no performance is promised. Only clothing is supported. Beauty and Accessories are not yet available.
Run the 3-Gate Check Before Your Next Drop
The fix is smaller than you think. Three short gates catch all nine mistakes, including the colorway drift that usually surfaces after launch.
| Gate | Mistakes | Who catches them |
|---|---|---|
| Source | 1â4 | Merchandiser at photo intake |
| Frame | 5â6 | Ecommerce lead at export |
| Review | 7â9 | Named reviewer with the sample |
- Source: Lock one consistent photo set per SKU.
- Frame: Cut for the PDP slot, not the feed.
- Review: Hold the swatch to the screen before upload.
The end of the workflow is a consistent set, the right PDP frame, and a reviewed file. Upload your next arrival's photos to the AI fashion UGC video generator and run all three gates before the drop goes live.
