
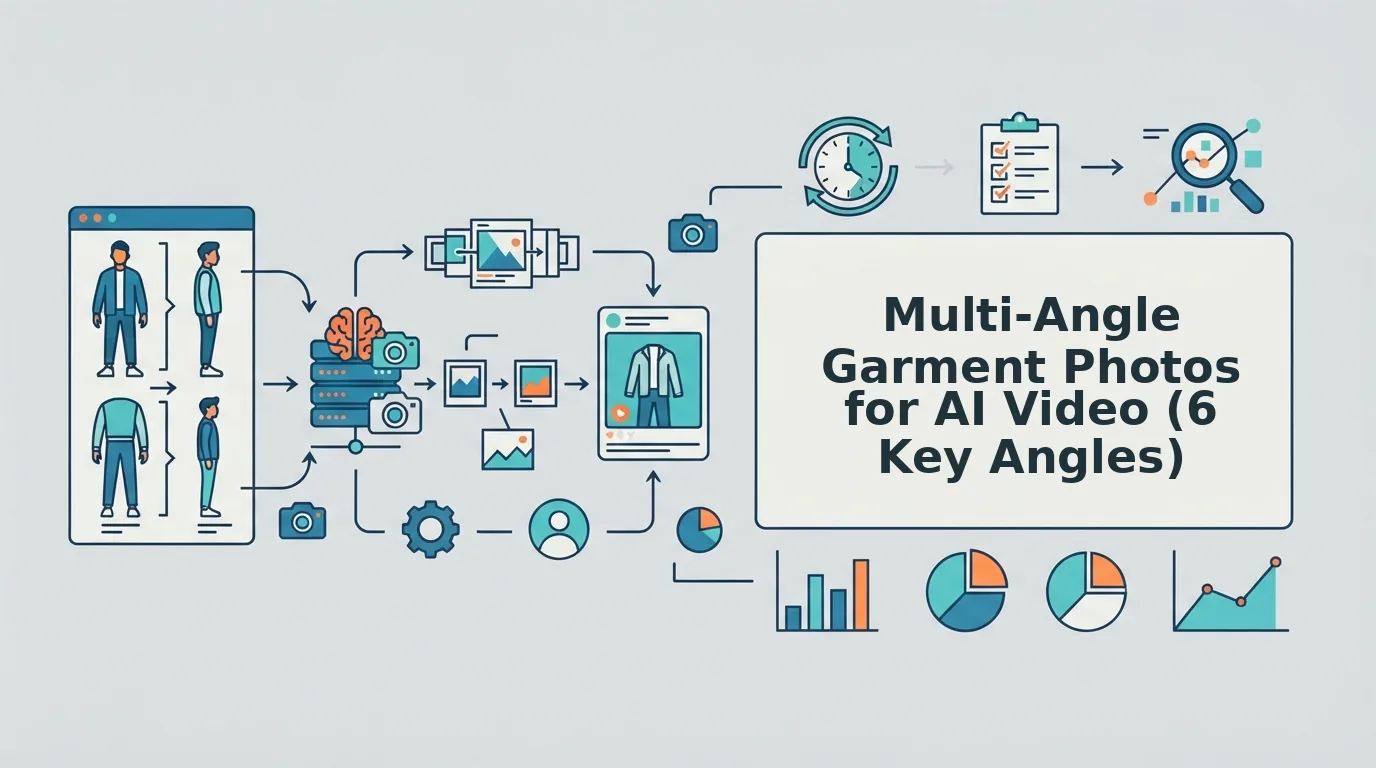

Your front packshot looks flawless, but it hides the back yoke, the center seam and the zipper placket. When the garment turns in motion, the AI has to guess what is behind it. You already own catalog photography, so the real decision is which multi-angle garment photos to upload so the model stops guessing.
This guide shows you how to pick one to six stills that keep construction, color, fit and texture consistent across frames. A Snaproom tutorial builds a full photoshoot from two flat lays, one front and one back, which is the minimum viable set. You will also get an angle matrix by garment category and a pre-upload checklist. Watch for one point along the way: the angle most teams skip matters more than a sixth photo.
Before you start, you need a single apparel item, sharp stills and clothing-only images. For lighting and file prep, read how to prepare product photos for AI fashion video.
Start with a photographed front and back. Add other angles only when each one protects a detail the rest miss. FashionUGC creates the video file, and a person reviews the output before anything is published.
Which Angles of a Garment Should You Upload for an AI Clothing Video?
Upload a photographed front and back first. Then add a side profile, a flat lay or ghost mannequin, an on-body shot and a fabric closeup, but only when each one protects a detail the other stills miss.
A multi-angle garment photo set is one to six stills of a single apparel item, and each still records a view the video model needs to rebuild the garment in motion. Think of it as handing a tailor reference shots: with only the front view, the tailor has to invent the back, and an AI model does the same thing when it animates a turn. Each extra angle should therefore replace a guess with a real detail, such as drape, proportions, fit or weave, because an angle that repeats what another still already shows adds noise instead of coverage.
- Front: neckline, closures and front print.
- Back: yoke, seams and back pockets.
- Side profile: silhouette and drape.
- Flat lay or ghost mannequin: true proportions without a body.
- On-body: fit and how the fabric sits.
- Fabric closeup: weave, knit or print scale.
Demos from Weavy, Isa does AI, Snaproom and The Fabricant show pipelines but no angle rules. FashionUGC accepts one to six stills per item. If you only have flat lays, start with flat lay to fashion video.
How to Build Your Angle Set Step by Step
Build your set in order of coverage: front and back first, then side, flat lay or ghost mannequin, on-body and closeup. Stop when every construction detail is visible. You need one garment, existing catalog stills or a camera, and even lighting.
- Pull or shoot a photographed front and back (5â10 minutes). Use real photos for both views, not a mirrored front. This is the step most teams skip. Success: you can see closures, the back yoke and the seams.
- Add a side profile when silhouette or drape matters (2â5 minutes). Choose a shot where the hem line is visible. Success: you can read the garment's shape from the side.
- Add a flat lay or ghost mannequin for proportions (5 minutes). Lay the garment flat or use a hollow-form shot. Success: sleeve and body length read true to scale.
- Add an on-body shot for fit (5 minutes). Pick a frame where the fabric hangs naturally. Success: you can judge ease at the chest, waist and hip.
- Add a fabric closeup for texture or print (2 minutes). Shoot in sharp focus with no motion blur. Success: you can read the weave, knit or print scale.
- Stop once every construction detail is covered. Remove any still that duplicates another. Success: you have one to six images, each with a distinct job.
| Angle | What it protects |
|---|---|
| Front / back | Construction and closures |
| Side profile | Silhouette and drape |
| Flat lay / ghost mannequin | Proportions |
| On-body | Fit |
| Fabric closeup | Texture and print |
Image quality still decides output quality. Clear lighting, visible hems and sharp garment plates matter at every step. Next, the right combination depends on the category.
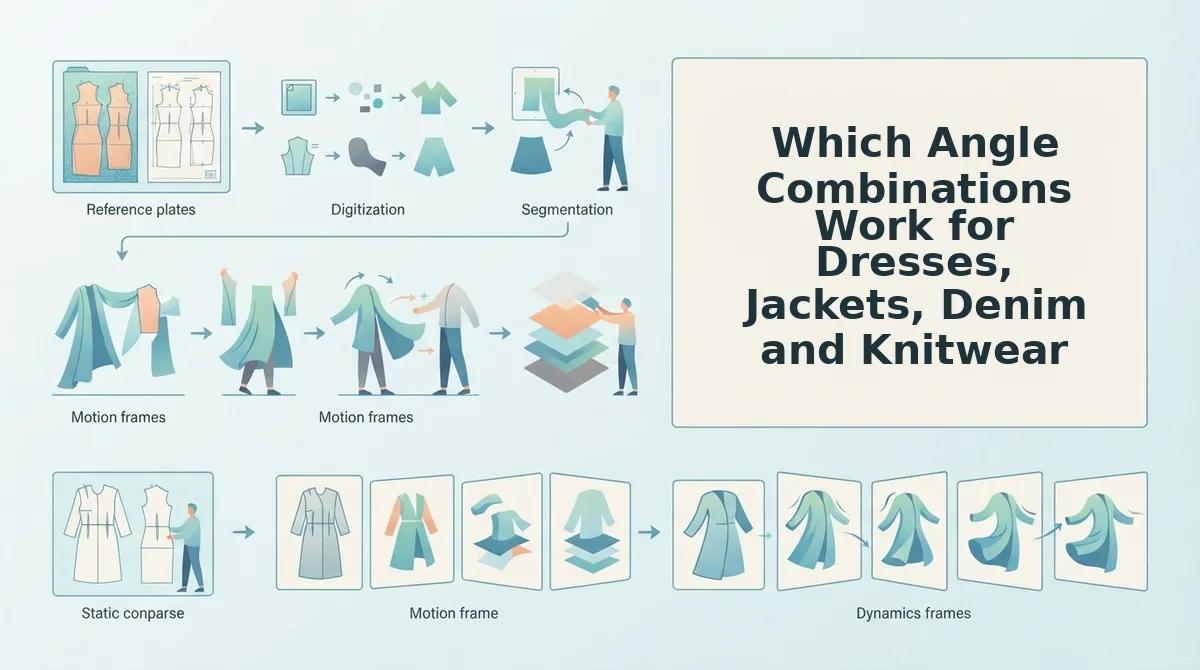
Which Angle Combinations Work for Dresses, Jackets, Denim and Knitwear?
Each garment category needs a different angle set. Pick the angles that protect the construction details a viewer can't infer from the front. The matrix below is editorial guidance, not test data.
| Angle | Dresses | Jackets | Denim | Knitwear |
|---|---|---|---|---|
| Front | Must-have | Must-have | Must-have | Must-have |
| Back | Must-have | Must-have | Must-have (pockets) | Add-if-available |
| Side profile | Must-have | Must-have | Add-if-available | Add-if-available |
| Flat lay | Add-if-available | Add-if-available | Add-if-available | Skip (hides drape) |
| On-body | Add-if-available | Add-if-available | Must-have (fit) | Must-have (drape) |
| Fabric detail closeup | Must-have (print) | Must-have (closures, lining) | Must-have (wash) | Must-have (stitch) |
- Dresses: Best for boutique merchandisers selling prints. Prioritize back, side and a print closeup.
- Jackets: Best for outerwear brands. Lead with back, side and a closures-and-lining closeup.
- Denim: Best for fit-focused DTC teams. Use back pockets, a wash closeup and on-body fit.
- Knitwear: Best for texture-led labels. Use a stitch closeup and on-body drape.
Pro tip: For denim, a back-pocket plate protects stitching and pocket placement that a front shot can't show.
Worked example: A Weavy multi-angle garment system demo shows one shoot delivering lifestyle, studio and ghosted angles. That broad coverage is a real strength. For a jacket, keep four shots: the studio front, the studio back, the studio side and the ghosted shot that exposes the lining. Drop any lifestyle frames that repeat the front view.
Why More Photos Isn't Always Better
Coverage matters more than count. Six stills is a ceiling, not a target.
Angle coverage is the set of distinct garment details your stills record. Think of it like witnesses to an event. Two witnesses who saw different things help you, but five who stood in the same spot only repeat one story. The minimum viable set is front plus back, as in the Snaproom flat lay approach. Near-duplicate angles add no new information. Stills shot under different lighting or white balance can also give the generator conflicting color references, which shows up as frame-to-frame shifts. Each added angle has to protect a detail no other still records.
A third to sixth still earns its place when it shows:
- A side silhouette the front and back can't convey
- Fit or drape that only appears on-body
- Texture, print or hardware that needs a closeup
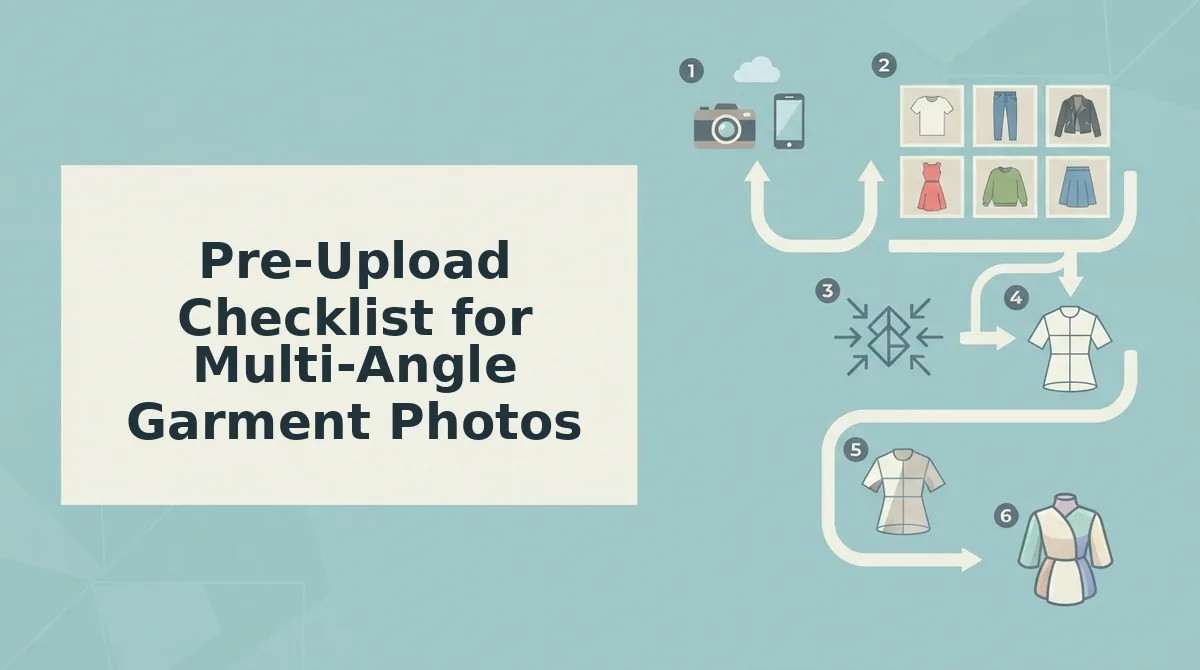
Pre-Upload Checklist for Multi-Angle Garment Photos
Check these seven points before you upload. They catch most input problems while they're still easy to fix.
- Match lighting across stills. Mixed lighting gives the generator conflicting references. Shoot every angle in one setup.
- Match white balance. Shifts in white balance change how a color reads from one still to the next. Lock it before the shoot.
- Keep fabric plates sharp. Low-resolution stills don't produce production-ready motion. Zoom in to confirm the stitches are crisp.
- Show hems clearly. Cropped hems hide length and finish. Frame each shot with space below the garment.
- Use a single item per set. Mixing products confuses the reference. Upload one garment per set.
- Style the garment consistently. Buttons and cuffs that change between stills create contradictions. Fasten and fold everything the same way in every shot.
- Photograph back views. AI-generated back views guess at construction. Use real photos for every angle you upload.
Clothing is the live category for now. Beauty and Accessories aren't available yet. Once your set passes, turn product photos into video and review the output before it goes live.
If something still looks off, the next section covers the fixes.
How to Fix Color Drift and Missing Details in the Output
Most output errors trace back to a gap or mismatch in the source set, so match each symptom to the missing or inconsistent still and fix that input. Color drift is a shift in a garment's hue or brightness between frames of the same video.
Think of your stills like witnesses. When two describe the shirt differently, or none saw the back, the story gets invented.
| Symptom | Likely cause | Fix |
|---|---|---|
| Color shifts between frames | Mismatched lighting or white balance, the camera's color-temperature setting | Reshoot under matched light, or drop the odd still |
| Back details invented | No back plate | Add a photographed back view |
| Texture smeared | No sharp closeup | Add a fabric detail plate |
| Fit looks off | No on-body reference | Add an on-body shot |
For example, a set with no back view forces the motion to infer it. Adding a photographed back plate fixes this. Synthesized back views drift for the same reason, because the "one image into multiple camera angles" approach invents construction the camera never captured. Review every output before publishing. The tool creates the file and does not publish it.
Multi-Angle Garment Photo FAQ
These answers cover edge cases the sections above do not address.
Can I make an AI clothing video from only one photo?
Yes, but the motion must guess every side the photo does not show. That guessing is where invented seams and backs come from. Aim for a photographed front plus back as your minimum, then add angles only where the garment's construction needs them.
Can I upload AI-generated angles as inputs?
Prefer photographed angles. Generated views guess at seams, closures and pockets, and the video then animates those guesses as fact. A real photo of the back or side gives the clothing video generator true construction to work from.
Do ghost mannequin photos work for AI video?
Yes. Ghost mannequin shots show proportions and interior shape, such as neckline depth and how the garment holds its form. Pair them with a back view so the motion does not have to infer the rear construction.
Does FashionUGC work for accessories or beauty products?
No, it supports clothing only for now. The Beauty and Accessories categories are not available yet, so upload apparel items such as dresses, jackets, denim and knitwear.
Upload a Matched Set and Review Before Publishing
The best input set is the one that covers the garment's construction, not the one with the most files. The rule is coverage, not count. A matched front and back often beats six stills shot under mixed lighting.
- Start with a photographed front and back under the same light.
- Add angles by garment type from the matrix, then run the pre-upload checklist.
- After generation, check the output against the drift table and fix the input that caused each error.
Your next step is to upload your set and turn product photos into video, then review the output before it goes anywhere. Your existing catalog photos already hold most of what the video needs.
