
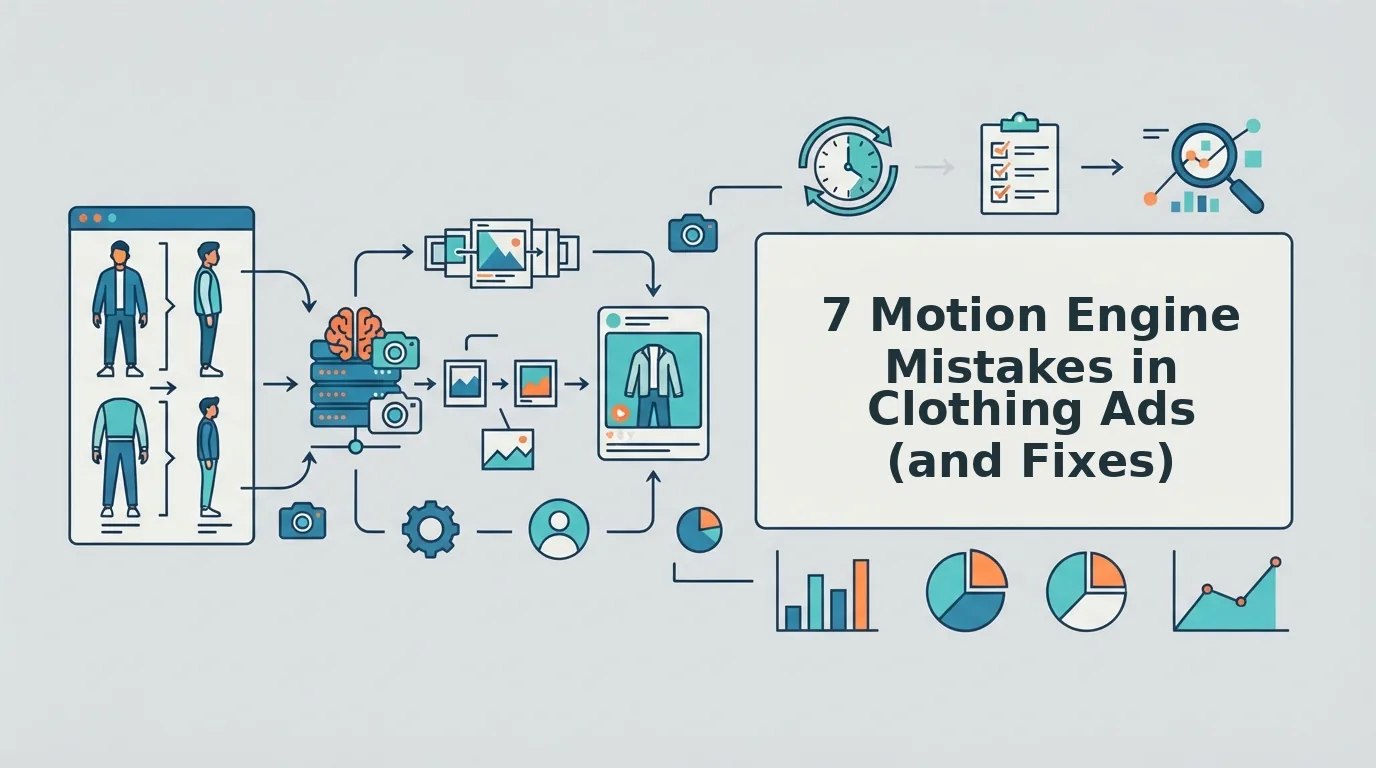

Ad fatigue is real. Your best-selling dress has run the same creatives for weeks, frequency keeps climbing, and there is no reshoot budget. That is when the motion engine mistakes clothing ads teams make start to hurt: the footage looks off, and the catalog takes the blame. A motion engine is the rendering mode that decides how a still garment photo becomes movement.
Picture a Shopify seller with only flat lays and ghost mannequin shots who needs 9:16 motion for every SKU without a reshoot. Below are seven mistakes, each with a fix. The costliest one happens before you pick an engine.
Most weak clothing videos trace back to three habits: forcing one engine across every SKU, defaulting to Piveth for detail-heavy garments or Astra for quick-reveal feeds, and blaming the engine for weak source photos. To fix them, you need your existing catalog photos (flat lays, ghost mannequin, on-body, or detail shots) and a target placement. FashionUGC accepts one to six angles per item, so gather yours first.
How to Fix the Two Most Common Engine Picks (Piveth and Astra)
Match the engine to the garment type and the feed's reveal speed, not to habit. Do not default to Piveth on detail-heavy garments, and do not use Astra where the garment must read in the first moments.
Before you start: Have one to six photos of a single SKU ready, ideally including a fabric detail close-up. Also decide on the placement you are producing for, such as TikTok, Reels, Shorts, or a product page.
Mistake 1: Forcing Piveth on Detail-Heavy Garments
A detail-heavy garment sells on its surface: embroidery, lace, visible stitching, or textured knits. Defaulting to Piveth for these SKUs is a habit worth checking.
Which engine should you use for detail-heavy garments? Follow the SKU-type rule: classify the garment first, then choose the engine. If the product sells on surface detail, such as lace, embroidery, visible stitching, or a textured knit, do not default to Piveth out of habit. Render the SKU with the alternative engine, compare both outputs against your fabric detail close-up, and keep the version that holds the texture you photographed. If neither version holds it, the problem usually sits in your inputs rather than the engine. Confirm that you uploaded a detail plate before switching engines again.
- Open the SKU's project and review the uploaded angles (about 2 minutes). You should see at least one shot where the stitching or texture fills the frame.
- Upload a fabric detail close-up if it is missing. It should now appear in the angle set alongside your front and back shots.
- Select the alternative engine and render a test. You should now have two versions of the same SKU.
- Compare both versions against the detail photo, then approve the one that preserves the texture. A person should review the file before it goes anywhere.
Pro tip: Before you switch engines on a detail-heavy SKU, check that a fabric detail plate is among the uploaded angles.
Mistake 2: Using Astra for Feeds That Reward Quick Reveals
A quick reveal is a feed placement where the garment must read within the first moments. If Astra is your default for these placements, test the alternative engine.
- Identify the placement (about 1 minute). Decide whether viewers need to recognize the garment immediately.
- Select the alternative engine and render a test. You should get a second cut to review.
- Watch only the opening of each version. The garment should be identifiable before a viewer would scroll past.
- If you keep Astra, adjust its timing. Use the Astra engine pacing controls guide to make those changes.
Here's where it gets expensive: most teams apply one of these picks to their entire catalog.
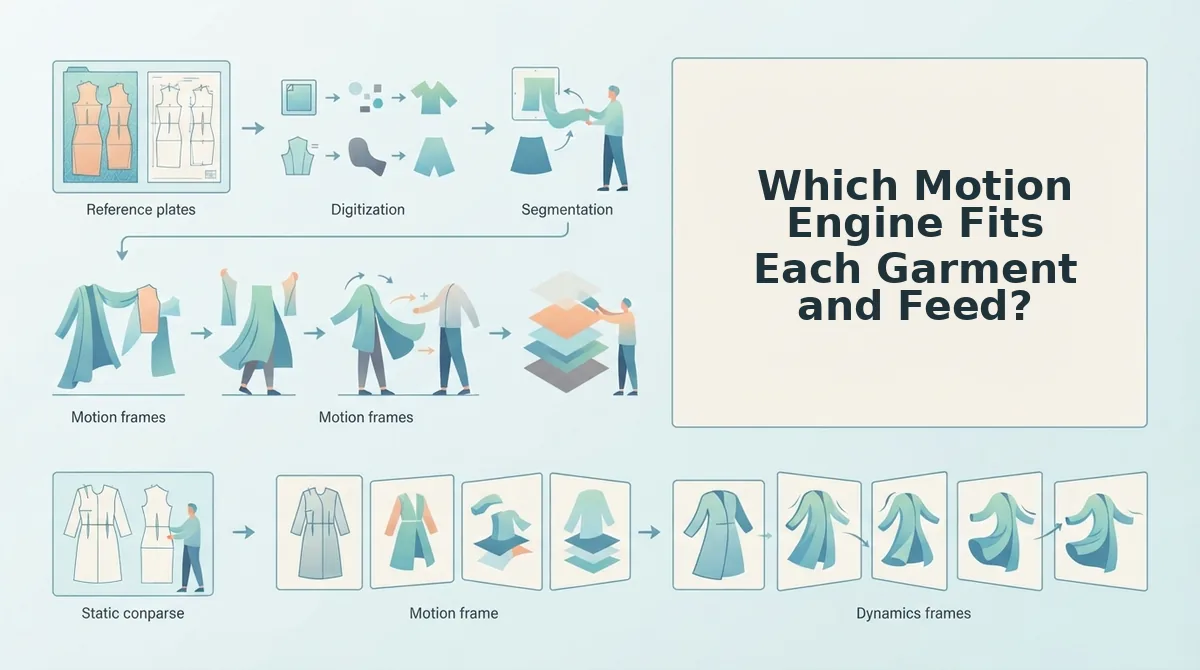
Which Motion Engine Fits Each Garment and Feed?
No single engine covers every SKU. The right pick depends on two things: whether the garment is detail-heavy or silhouette-led, and whether the feed rewards a quick reveal or slower browsing.
Using one engine for the whole catalog is Mistake 3. Neither engine is weak. Each one fails when you apply it outside its fit, so start with this matrix.
| Garment type | Quick-reveal feed | Slower-browse feed |
|---|---|---|
| Detail-heavy (lace, embroidery, textured knits) | Both defaults are documented misuses here. Render with each engine and confirm the result against the engine capabilities listed in the features documentation. | Common wrong pick: Piveth out of habit. Test Astra and check the output against your detail close-up. |
| Silhouette-led (clean dresses, outerwear shapes) | Common wrong pick: Astra. Test Piveth and check that the shape reads early. | No misuse case is documented. Test either engine and confirm against the features documentation. |
Best for merchandisers with texture-led catalogs: Test Astra first on detail-heavy SKUs in browse placements. Best for performance teams running fast feeds: Test Piveth first on silhouette-led SKUs. These are starting points to verify, not guarantees.
Worked Example: Sorting a Catalog by Engine
- Sort your SKUs into two groups. Put lace, embroidery, and textured knits in a detail-heavy group, and clean dresses and outerwear shapes in a silhouette-led group.
- Tag each SKU with its placement. Mark it as quick reveal or slower browse.
- Assign an engine to each group-and-placement pair. Use the matrix above, then review one test render per pair before you batch the rest.
The AI fashion UGC video generator runs this workflow from the photos you already own. Upload up to six angles per item, render, and review each file before it ships.
Sometimes the engine is not the problem at all.
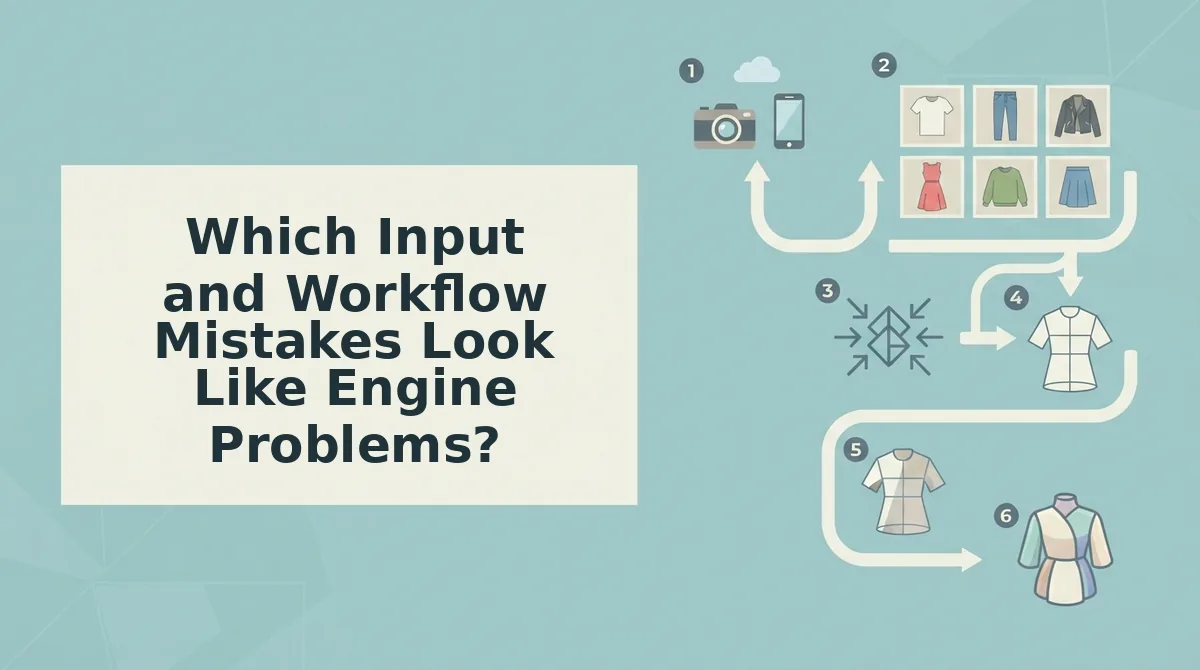
Which Input and Workflow Mistakes Look Like Engine Problems?
Mistakes 4 through 7 happen before or after the engine runs: weak source photos, too few angles, the wrong placement, and skipped review. Each one produces symptoms that look like an engine failure, so switching engines rarely fixes them.
- Choosing an engine before auditing source photos. Motion can only reuse detail that the still already contains, so low-resolution stills will not produce production-ready motion on any engine. Check every image first for visible hems, a clean garment plate for each key angle, readable fabric drape, even lighting, and sharp focus.
- Uploading one flat lay when the tool accepts six angles. FashionUGC accepts one to six photos per item: front, back, side, flat lay, on-body, and fabric detail. A lone flat lay forces the engine to guess shape and texture, so add an on-body shot or a ghost mannequin shot, which is product photography that shows a garment's 3D shape without a visible model. The flat lay to fashion video guide shows which angles to add first.
- Ignoring the placement. A 9:16 render built for Reels, TikTok, or Shorts plays differently from a product detail page video, where shoppers inspect fit and fabric instead of scrolling. Pick the placement before you generate, then choose the engine, so that pacing and framing match where the video will run.
- Shipping renders without human review. The clothing video generator creates a video file. It does not publish to any platform or guarantee ad performance. Have someone check every render for color accuracy, hem integrity, and print distortion before it reaches an ad account or a PDP.
Fixing these four mistakes takes minutes per SKU once you know the inputs that count. For the full upload workflow, see how to turn clothing photos into video.
But there's a catch. Even the right engine cannot rescue a weak source photo, so the next step is to separate input faults from engine faults.

Engine or Input? How to Check Your Fix Worked
To check a fix, match the symptom to its cause. Soft hems point to the source photo, and texture loss points to a missing detail plate or a mismatched engine. A slow reveal points to an engine-placement mismatch, and a cropped garment points to the aspect ratio. Change one variable, rerender, and compare.
| Symptom | Likely cause | Fix |
|---|---|---|
| Soft or melting hems | Photo: source not sharp | Reshoot or replace with an in-focus still |
| Flattened fabric texture | Photo or engine: no detail plate, or wrong engine for a detail-heavy SKU | Add a fabric close-up, then try the matched engine |
| Slow reveal in a fast feed | Engine: mismatch with placement | Rerun on an engine suited to short-form pacing |
| Garment cropped at edges | Placement: wrong aspect ratio | Regenerate at 9:16 or the PDP format |
Why does my clothing video lose texture? Texture loss usually means the engine never saw the texture clearly. If you upload only front and back packshots, the engine has no fabric detail plate to use as a reference for knit, weave, or print, so it smooths those surfaces as the garment moves. Detail-heavy SKUs such as cable knits, lace, or sequins need a sharp close-up in the upload set. If a detail plate is already included and the texture still blurs, the engine is the likely cause. Rerun the same photos on a different engine and compare the two files side by side.
Fix the input first: best for merchandisers whose catalog photos vary in quality. Switch the engine: best for performance creative teams whose photos already pass the checklist. Both engines remain useful, and neither one is wrong for every SKU.
Rerun One SKU Before You Rework the Catalog
Most weak clothing videos trace back to inputs rather than engines, so test one SKU before you change anything catalog-wide. Fix problems in this order: audit the photos, add the missing angles, match the engine to the garment and the feed, then review the file before it publishes.
For example, take a detail-heavy SKU that lost texture. Add a sharp fabric close-up plate, rerun it on the matched engine, and compare the new file against the original render. Change one variable at a time so you know which fix made the difference.
Keep the boundaries in mind. Clothing is the only live category, and Beauty and Accessories are not yet available. No engine guarantees ad performance, and every output is a file a person approves.
Your next step is to upload one SKU's audited photo set to the AI clothing ad generator and rerun it. Once one SKU works, you have a repeatable process for the rest of the catalog.
