

Your front and back packshots look sharp on the product page. Yet the menswear shirt listing video built from them shows blurred buttons, a placket that drifts off center, and collar points that change shape mid-turn.
Packshots feel like enough because they already sell the shirt as stills. Motion is less forgiving: any detail the generator never saw, it has to guess.
This guide shows you how to keep every button, seam, and collar point intact. It covers a six-slot shot plan, a step-by-step generation workflow, and a frame-by-frame review check. It also names the one shot most sellers skip, and why it beats a second front angle.
To make a listing video for a men's shirt from product photos, upload 1-6 sharp photos: front, back, collar, placket, cuff, and fabric close-up. Generate a 9:16 video and review it frame by frame for button count and placket alignment. FashionUGC creates the video file only, so you download it and publish it yourself.
Which Shirt Photos Do You Need Before You Start?
You need up to six photos, ranked in this order: front plate, back plate, placket close-up, collar close-up, cuff close-up, and fabric macro. FashionUGC accepts 1-6 images per item, including front, back, side, flat lay, on-body, and fabric close-up shots, so each slot should show a detail the video must preserve.
- Front plate. This is a straight-on, full-resolution shot with the collar, placket, and hem in frame. It anchors the silhouette and the button count.
- Back plate. This shot shows the yoke, the shoulder panel across the upper back, plus any box pleat or split yoke. Without it, the generator has to invent the back.
- Placket close-up. The placket is the doubled strip that holds the buttons and buttonholes. Most sellers skip this shot, and that gap is why buttons blur or the button line wanders.
- Collar close-up. This shot captures the collar stand, the band the collar folds over, and the point shape. On a button-down collar, it also locks in the small point buttons.
- Cuff close-up. The cuff is the banded sleeve end. This shot fixes button placement and shows whether the cuff is a barrel or French style.
- Fabric macro. This is a tight shot of the weave. It keeps the texture from smearing in motion.
A second front angle wastes a slot, because the front plate already covers that view. With only 2 photos, use the front and back. With 3, add the placket. With 4, add the collar.
Imagine a seller with front, back, collar, and cuff shots of a white oxford button-down and two upload slots left. The placket close-up should come first, because white-on-white buttons are the easiest detail for a generator to lose. The second slot should go to a fabric macro of the oxford weave, which shows its small basketweave texture. That fills all six slots with views the video cannot guess. It also leaves no duplicate angles that take space without adding new information about the shirt.
- Oxford and chambray: Shoot a weave macro.
- Fine-stripe poplin: Use a full-resolution front plate to avoid moiré.
- Linen: Shoot a slub texture close-up.
- Flannel: Shoot a nap close-up.
Shoot under even lighting at full resolution, with hems and cuffs fully visible. Low-resolution stills will not produce clean detail. If your catalog uses flat lays, see the flat lay to fashion video guide.
How to Turn Shirt Photos Into a 9:16 Listing Video, Step by Step
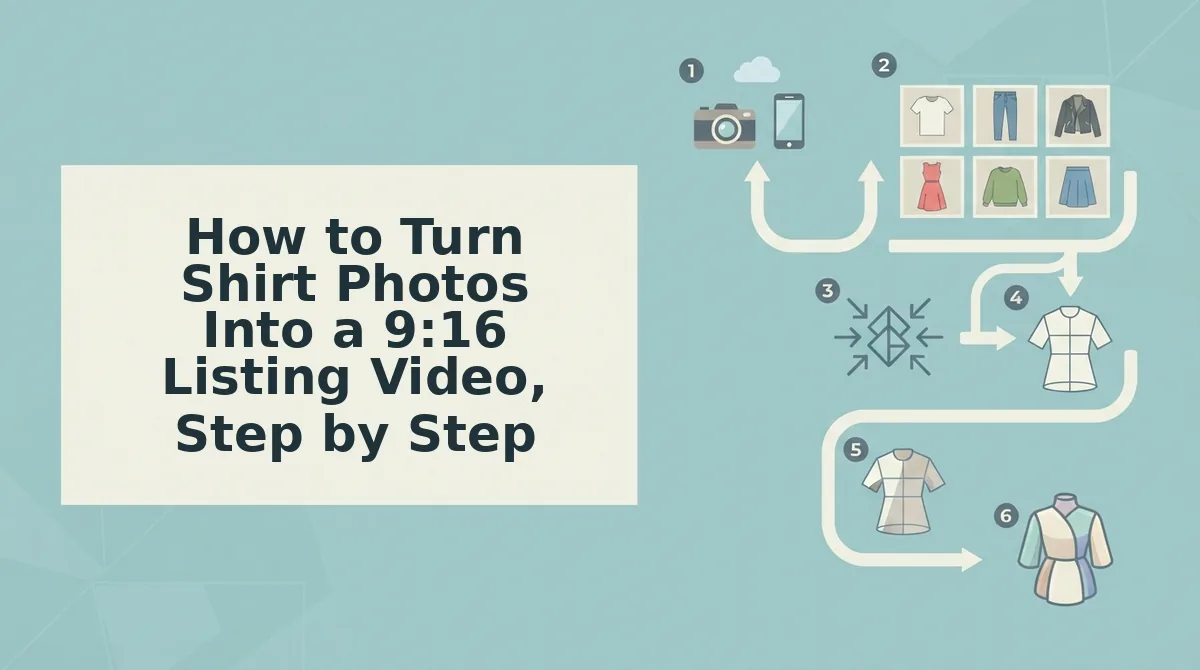
Sort your shirt photos by slot, upload the front and back first, select Clothing and the 9:16 format, then generate and review the result. Before you start, you need a browser, up to six full-resolution shirt photos, and about 20 minutes plus generation time.
A 9:16 video is a vertical video sized for Reels, TikTok, Shorts, and mobile product pages. Other platform specs are covered in the fashion video aspect ratios guide.
- Sort and rename your photos by slot (about 5 minutes). Use names such as 01-front, 02-back, and 03-placket. You should see a folder that matches the six-slot plan.
- Check resolution and crops (about 5 minutes). Make sure the collar points and hem sit fully inside every frame. Each file should open sharp at full zoom.
- Upload the front and back first, then the detail shots (about 2 minutes). Add the placket, collar, cuff, and fabric macro next. You should see up to six thumbnails in slot order.
- Choose the Clothing category and the 9:16 vertical format. Clothing is the only live category, so the shirt goes there. Your selection should show a vertical preview frame.
- Click Generate. Wait for the preview to render. A playable vertical clip should appear.
- Review the clip frame by frame (5-10 minutes). Use the check in the next section to confirm the button count and placket alignment.
- Download the file and add it to your listing manually. The output is a video file only. Publishing stays in your hands.
To make a listing video for a men's shirt from product photos, start by renaming each photo by slot: front, back, placket, collar, cuff, and fabric macro. Upload the front and back plates first, then the four detail shots. Select the Clothing category and the 9:16 vertical format, and generate the clip. Review it frame by frame for button count, placket alignment, and collar shape. Then download the video file and add it to your product page or social post yourself, because the tool does not publish anything.
For a striped poplin shirt, pair a placket close-up with a full-resolution front plate. This combination helps the stripes stay continuous across the button line. If your catalog spans many SKUs, use the turn clothing photos into video workflow to repeat this upload order for each shirt.
Next, confirm that nothing drifted.
How to Check the Video Kept Every Button and Placket
To check a generated shirt video, pause it on several frames and compare button count, placket alignment, collar points, pocket placement, pattern continuity, and cuff shape against your source photos. If any detail drifts, trace it to the missing or weak input photo, fix that photo, and regenerate.
The fix is usually upstream. Most garment defects in motion come from what the source photos left out, not from the generation step.
| Symptom in the video | Source-photo cause | Fix |
|---|---|---|
| Button count drift | No placket close-up | Add a sharp, straight-on placket detail shot |
| Collar shape change | Front shot only | Add a collar close-up showing points and stand |
| Moiré on fine stripes | Low-resolution plate | Upload the full-resolution original |
| Flat oxford or twill texture | No macro shot | Add a fabric macro filling the frame |
| Pocket position shift | Cropped or angled front plate | Reshoot the front square-on with the full shirt in frame |
Run this frame-by-frame checklist before listing:
- Button count: matches the placket close-up exactly.
- Placket alignment: stays straight and centered through movement.
- Collar points: keep the same spread and length.
- Pocket placement: sits at the same height and side.
- Pattern continuity: stripes and checks line up across the placket.
- Cuff shape: barrel or French cuff stays consistent.
Worked example: pause the clip, count seven buttons on the placket close-up, and see six on screen. Regenerate with a sharper placket shot, then count again.
Frame-by-frame review is best for merchandisers protecting SKU accuracy. Regenerating from a corrected photo is best for performance creative teams iterating at volume. General video tools often excel at motion and scene variety, but this defect-to-photo mapping is the fastest route to a fix. A person reviews every output from the fashion product video generator; nothing auto-publishes, and no performance outcome is promised.
Menswear Shirt Video FAQ
These answers cover the input and listing questions that shirt sellers most often ask after their first generated video.
Can I use ghost mannequin shots?
Yes. Ghost mannequin photos count as front or back plates and are an accepted input type. Keep the collar stand and back yoke clearly visible, since those structural details anchor how the shirt holds its shape once it moves.
Does the video show fit or sizing?
No. The generator does not measure fit, so put model height, size worn, and garment measurements in the listing text. Popular YouTube sizing videos state the model's height and size up front, which shows how much shoppers want that detail.
Will checked or striped shirts work?
Yes, provided you upload full-resolution plates and include a pattern close-up across the placket. That close-up shows how stripes or checks meet at the button line, which helps the pattern stay aligned instead of shimmering or breaking apart.
Can I start from flat lays?
Yes. Flat lays are an accepted input type alongside on-body and ghost mannequin shots. Use a straight-down front flat lay as your front plate, then add a placket and collar close-up to preserve the shirt's structure.
Shoot the Placket, Then Generate
The placket close-up earns its slot more than a second front angle ever will. Button count is the detail shoppers notice first, and it is the detail a front shot alone cannot hold.
- Fill your six slots in priority order: front, back, placket, collar, cuff, fabric macro.
- Never spend a slot on a duplicate front angle.
- Count the buttons against the placket shot before the video goes live.
Your next step: upload your existing shirt packshots to the clothing video generator and create your first 9:16 listing video. The tool creates the video file, a person reviews it, and you publish it. Every well-shot placket becomes motion you already own.
