
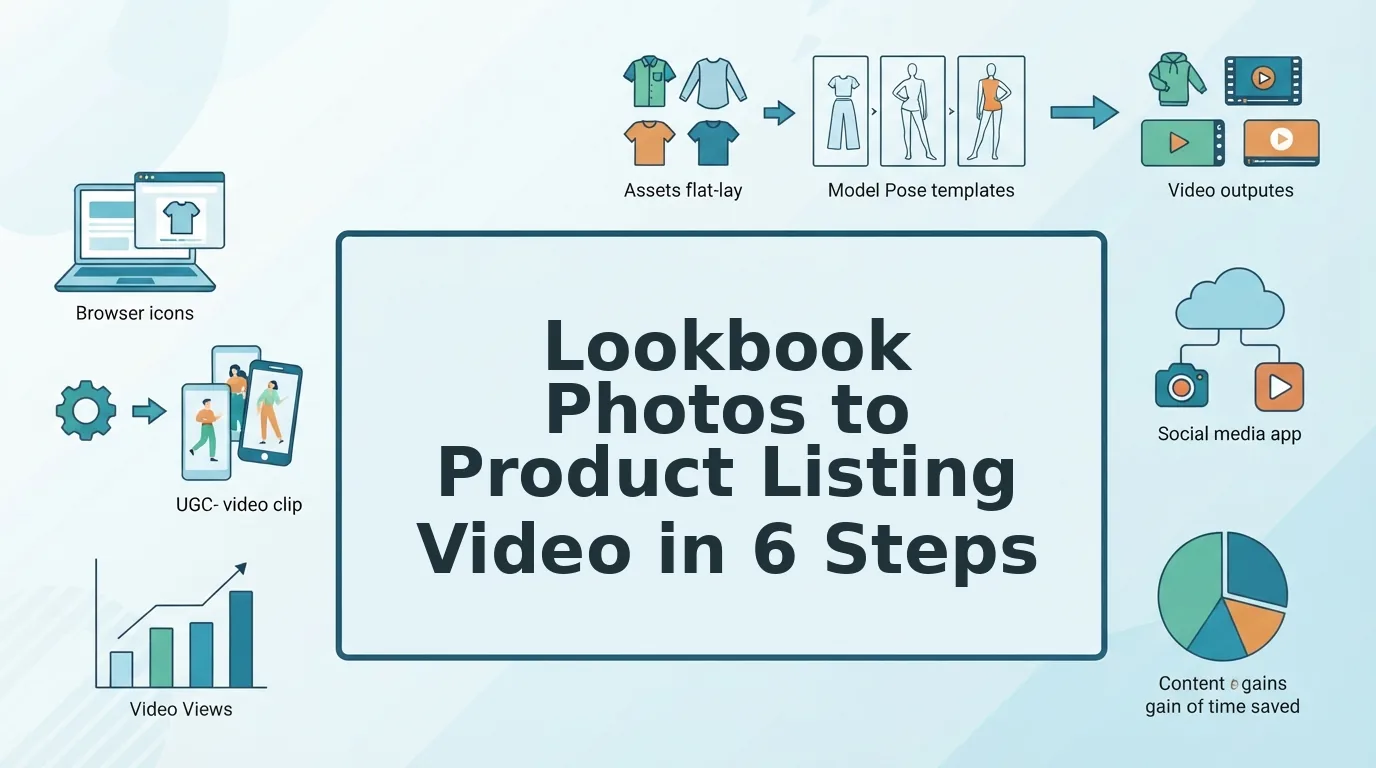

Yes. You can turn lookbook photos into a product listing video by pairing one or two unobstructed on-body lookbook frames with clean packshots of the same garment. Upload 1 to 6 stills, generate a 9:16 video file, and have a person review it before it goes on the listing.
Your new collection likely has an editorial lookbook and a full set of catalog packshots, but no listing motion and no reshoot in the budget. Converting lookbook photos to product listing video closes that gap with assets you already own.
This guide gives you a repeatable, per-SKU method that uses the same workflow you would use to turn clothing photos into video. You will learn the pairing model, six steps from selection to file, and a review check before upload.
You will also learn which lookbook photo to leave out. It is often the team's favorite.
One boundary applies: FashionUGC creates the video file. It does not publish to your store.
What Do Lookbook Shots and Packshots Each Contribute?
Packshots supply product accuracy, and lookbook shots supply fit and styling context. Pairing them gives the video both a true garment and a believable body.
Image pairing is the practice of combining accuracy-focused product stills with on-body editorial frames of the same garment, so one video shows what the item is and how it wears.
- Lookbook: editorial photos that show a collection styled on models.
- Packshot: a clean catalog photo of the product, usually on a plain background.
- On-body shot: any photo of the garment worn by a person.
- Flat lay: the garment laid flat and shot from above.
- Ghost mannequin: the garment shot on a mannequin that is edited out, leaving a hollow 3D shape.
Think of it like a house listing. The floor plan proves the dimensions, and the staged living room photo shows how it feels to live there.
| Anchor plate (packshot) | Context plate (lookbook) |
|---|---|
| Color accuracy | Fit |
| Construction, hems, closures | Drape and proportion on a body |
| Fabric texture | Styling intent |
Lookbook-only uploads often fail because heavy color grading, layering, and props hide the details a shopper needs to judge the item. Packshots add color, construction, and texture, and the lookbook frame adds fit and drape.
Prerequisites: every still must show the same SKU and colorway. Each image should be sharp and clearly lit. See product photos for AI fashion video for more input guidance.
For example, a merchandiser has an editorial lookbook and catalog packshots for one jacket. They use the front packshot as the anchor and choose one full-body lookbook frame as context, then load both through FashionUGC's multi-angle ingestion, which accepts up to six stills per item.
How to Turn Lookbook Photos Into a Listing Video Step by Step
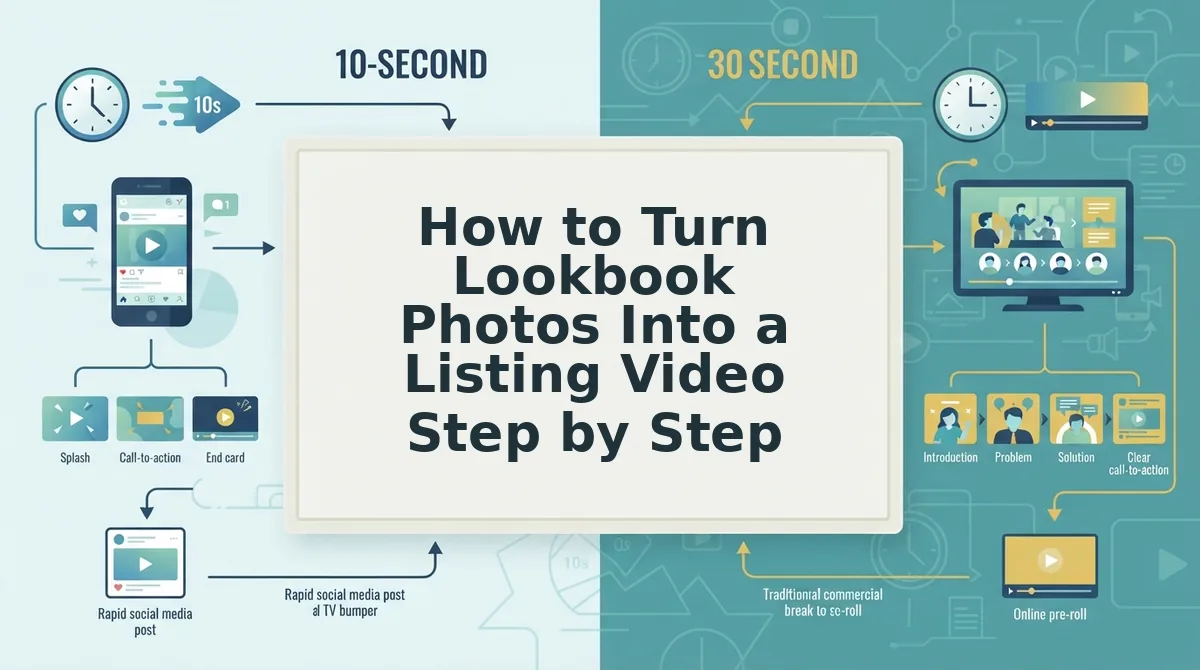
Gather one SKU's stills, choose clean lookbook frames, match the packshot angles, load them in a fixed six-slot order, and generate a 9:16 video file. Then reuse the same order and framing for every SKU in the drop.
Before you start: you need a FashionUGC account, one to six stills per garment in a single colorway, and access to your lookbook and catalog folders.
- Gather the garment set for one SKU. Put the lookbook and catalog images for one item and one colorway into a single folder. This takes about five minutes. When you finish, every file in the folder should show the same product.
- Choose your lookbook frames. Keep only frames that show the garment unobstructed, with even light, a visible hem, and no motion blur. Leave out the heavily graded, layered-styling favorite, because jackets, scarves, and dramatic color grading hide the product. You should end up with one or two clean on-body frames.
- Match the packshot angles. Pull a front packshot, a back packshot, a detail closeup, and a flat lay or ghost mannequin. If you only have flat lays, see flat lay to fashion video. You should now have four anchor images.
- Load the stills in the six-slot order. Upload them in this order: 1 front packshot, 2 back packshot, 3 detail closeup, 4 flat lay or ghost mannequin, and 5 and 6 lookbook on-body frames. Each slot should show a thumbnail of the correct image.
- Generate the 9:16 video. Run generation in the fashion product video generator. When it finishes, you will have a vertical video file ready for review.
- Lock the order and framing for the whole drop. Use the same slot order and the same lookbook framing, either full-body or 3/4, for every SKU. Each new video should then match the previous ones in structure.
Pro tip: If the lookbook is color-graded, treat the packshot as the color reference. If the two disagree, trust the packshot.
Should every SKU in a collection use the same photo order? Yes. When each product video follows the same sequence, with packshot front, back, detail, and flat lay before the lookbook frames, shoppers see a predictable rhythm as they browse the collection grid. Using the same framing, such as full-body throughout instead of a mix of full-body and 3/4, keeps the proportions consistent from tile to tile.
For example, a team releasing a multi-SKU drop applies the identical six-slot order and full-body framing to every dress, top, and trouser, so the listing grid looks uniform from the first product to the last.
If your drop has dozens of SKUs and no reshoot budget, this workflow turns the catalog and lookbook you already have into one listing video per item.
Before any of these files go live, run a quick check.
How to Check the Video Before You Upload It
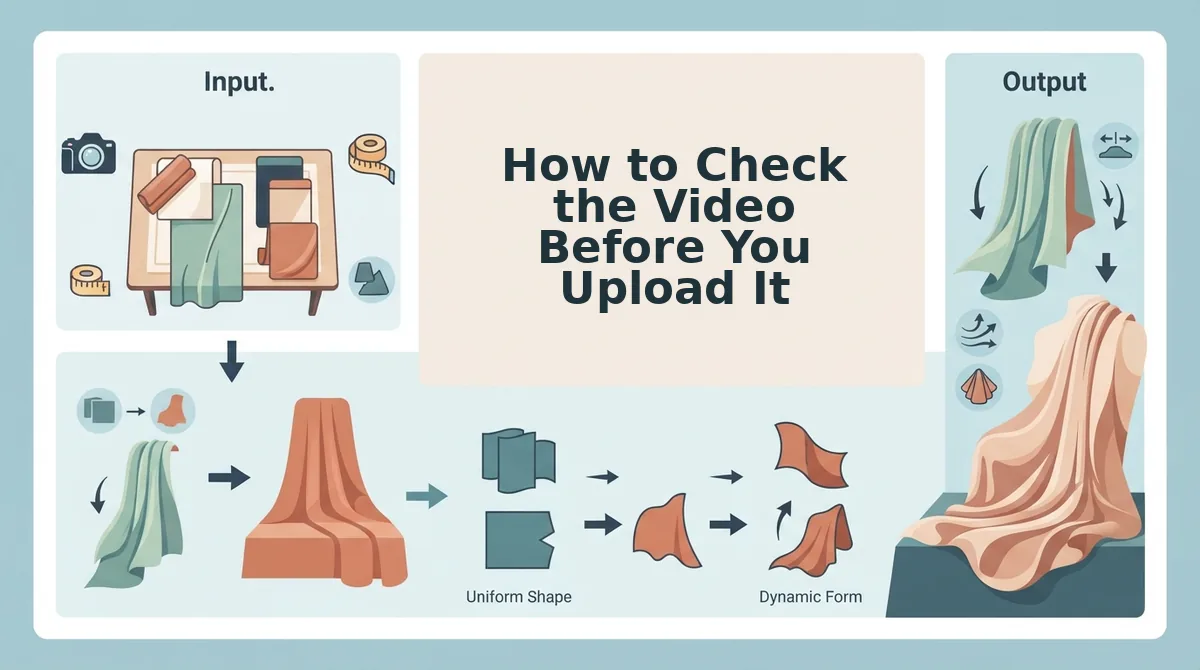
Check every generated clip against your packshot before it reaches a listing. FashionUGC produces a video file only, and a person on your team approves it before upload.
- Color matches the packshot. Compare the clip side by side with your color-accurate packshot, not the graded lookbook frame. A shade mismatch on a listing invites returns.
- Hems and closures are accurate. Scrub to frames showing the hemline, buttons, zips, and plackets. Construction details are what shoppers zoom in on, so confirm they match the real garment.
- No stray accessories or extra garments appear. Look for bags, jewelry, or layered pieces carried over from the lookbook styling. Anything not sold on that SKU page misleads the buyer.
- The 9:16 crop keeps the garment in frame. Watch the full clip in vertical preview so shoulders, hem, and sleeves never leave the frame. See our guide to fashion video aspect ratios for safe zones.
- The clip is consistent with the collection. Play it next to the other videos from the drop. Matching pacing and framing makes the collection page feel like one release.
| Symptom | Likely cause | Fix |
|---|---|---|
| Color shift | Graded or filtered lookbook frame used as the main reference | Lead with the packshot and regenerate |
| Hidden hems | Lookbook pose or crop covers the hemline | Add a full-length packshot or flat lay |
| Extra garments or accessories | Styled lookbook outfit; accessories are not a live category | Swap in a clean single-garment image |
| Soft or blurry detail | Low-resolution lookbook crop | Replace with the original high-resolution file |
Worked example: A reviewer notices a dress reads warmer in the clip than on its packshot. They trace it to a graded lookbook frame, swap in a cleaner packshot as the first slot, regenerate, and approve the new file.
Lookbook to Listing Video FAQ
What do I do when the lookbook model wears other pieces or accessories?
Pair the lookbook shot with a clean packshot of the single garment you are selling. Clothing is the live category, and Beauty and Accessories are not available yet, so styled extras can carry into the clip. Check every frame for stray items before approval.
Does FashionUGC publish the video to my store?
No. FashionUGC produces a video file only, and it does not publish to Shopify or social platforms. A person on your team reviews the output, approves it, and uploads it to the product page or ad account manually.
Can lookbook photos work without packshots?
Yes, lookbook photos alone can generate a video, but color and construction accuracy drop. Editorial grading shifts shades, and styled poses often hide hems and closures. Add at least one packshot to anchor true color and garment detail.
How many photos should I upload per SKU?
Upload between one and six photos of a single garment. Use the packshot as the anchor, then add back, side, detail, and lookbook angles. More clean angles give the generator more accurate construction detail to work from.
Turn Your Next Collection Into Listing Videos
The lookbook supplies the mood and the packshot supplies the truth, and a listing video needs both. Once one SKU works, the rest of the drop becomes a repeatable process rather than a new shoot.
Start with one SKU from the collection. Build its six-slot set with the packshot as the anchor, generate the clip, and review it against the five-point checklist.
Then lock the repeatable spec: same slot order, same framing, same review. Copy it across every SKU so the collection page plays like one coherent release.
Upload your first SKU to the AI fashion UGC video generator and build your collection's spec from that first approved video.
