

Most guides still quote an Instagram Stories clothing video length of 15 seconds. That number is a leftover â the current ceiling is 60 seconds per clip, and a longer file is not rejected, only segmented into separate cards at that boundary. So the platform number is not the interesting question. The question nobody ranking for this query answers is how much garment a viewer can absorb before the card changes.
If you have uploaded a lookbook cut and watched a hem-to-collar pan break across two cards mid-reveal, you already know the gap between the limit and the result. This guide closes it: the actual mechanics of Stories duration and framing first, then a pacing budget that fits one garment into 6 to 15 seconds, then the card sequencing that keeps a longer clip readable.
One detail catches most apparel sellers off guard â the bottom third of a 1080x1920 frame is gone before a single pixel of your styling shows, which changes how long you can hold a full-length shot. That is where the second half of this gets useful.
How long can an Instagram Stories video actually be?
An Instagram Story video can be up to 60 seconds per clip. Anything longer is not refused â Instagram segments the file at the 60-second mark, so a 90-second cut arrives as two cards with the break landing wherever that boundary falls.
A Story card is a single full-screen frame in a Stories sequence, each carrying its own timer. Segmentation is that automatic split, and a safe zone is the area of the frame that stays visible once Instagram's own interface sits on top of it.
For the compact version: a video clip runs to 60 seconds, a still photo defaults to roughly 5 seconds, and every card disappears after 24 hours unless you save it to a Highlight for persistence. Guides still citing a 15-second Stories maximum are describing a limit that no longer exists.
Think of segmentation the way you think of a page break in a word processor: you keep typing, the document simply splits at a fixed margin, and one paragraph can land across two pages whether or not that reads well.
Two behaviours matter more than the number. A Story clip plays through and then advances to the next card â it does not loop the way a Reel does, so a viewer gets exactly one pass at your fabrication detail. And because the bottom 35% is covered by the reply box and CTA bar, holding a full-length shot longer does not buy you more garment information; it buys you more dead frame. Framing and duration are the same decision, which is why the 9:16 fashion video aspect ratio guide sits alongside this one.
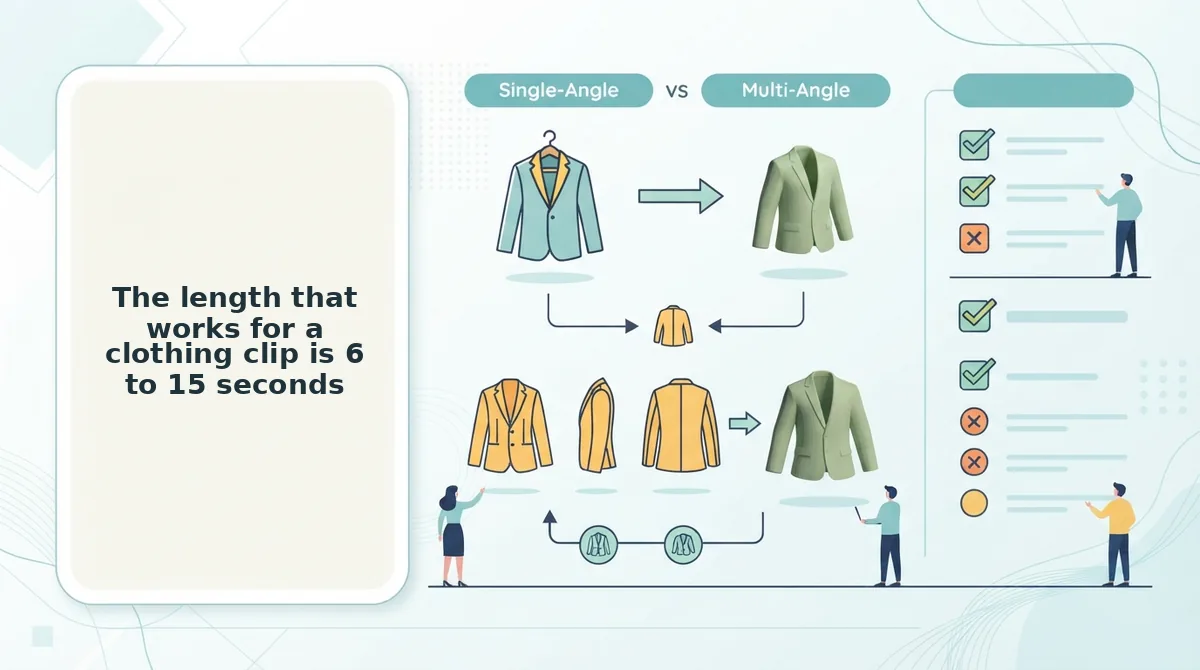
The length that works for a clothing clip is 6 to 15 seconds
Six to 15 seconds is the working range for a single garment card â enough time for silhouette, fit and fabrication, short enough that the price still lands before the card advances. Sixty seconds is a ceiling, not a goal.
Before you start, you need three to six stills of one item: a front, a back or side profile, a fabric close-up, and ideally a flat lay or on-body shot. Have your target card count decided and the video length calculator open.
- Upload your photo set (about 2 minutes). Select the front, back, detail and flat-lay angles for the one item. You should see all images queued against the same garment rather than mixed across SKUs.
- Block the hook at 3 seconds. Open on the silhouette already in motion â the garment turning, lifting, or settling â not a static packshot fading in. You should see movement inside the first second of playback.
- Block the fit read at 4 to 5 seconds. Show drape, shoulder line and length on body. This is the longest single beat, because fit is the objection a viewer is trying to resolve.
- Block the fabrication close-up at 3 to 4 seconds. Push in on weave, stitch or stretch. You should see texture resolved at full frame, not a soft crop.
- Close with price or CTA at 2 to 3 seconds. Four beats total, which lands a single card at 12 to 15 seconds and carries four pieces of garment information and nothing else.
- Re-sequence instead of lengthening. A 45-second organic Story is three 15-second cards, not one long one. Paid Stories creative guidance recommends around 15 seconds, which is why the organic and paid clocks diverge â same footage, different card count.
Worked through on a midi dress from a four-photo catalog set: 3 seconds of the flat lay lifting into motion, 5 seconds of the on-body fit read, 4 seconds on the fabric close-up, 3 seconds on price â 15 seconds, one card, nothing padded. Turning that flat lay into a moving clip is the part a flat lay to garment video workflow handles, and generating the motion from stills you already own is what FashionUGC is built for.
If you only remember one rule: a clothing video for Instagram Stories should run 6 to 15 seconds per card, because that window fits a silhouette hook, a fit read, a fabrication close-up and a price line without asking the viewer to hold attention through a fifth beat. Anything past 15 seconds on one card is usually two ideas competing for the same glance.
Which is exactly why splitting one outfit across three cards is the move most brands skip.
How to split one outfit into a three-card Story
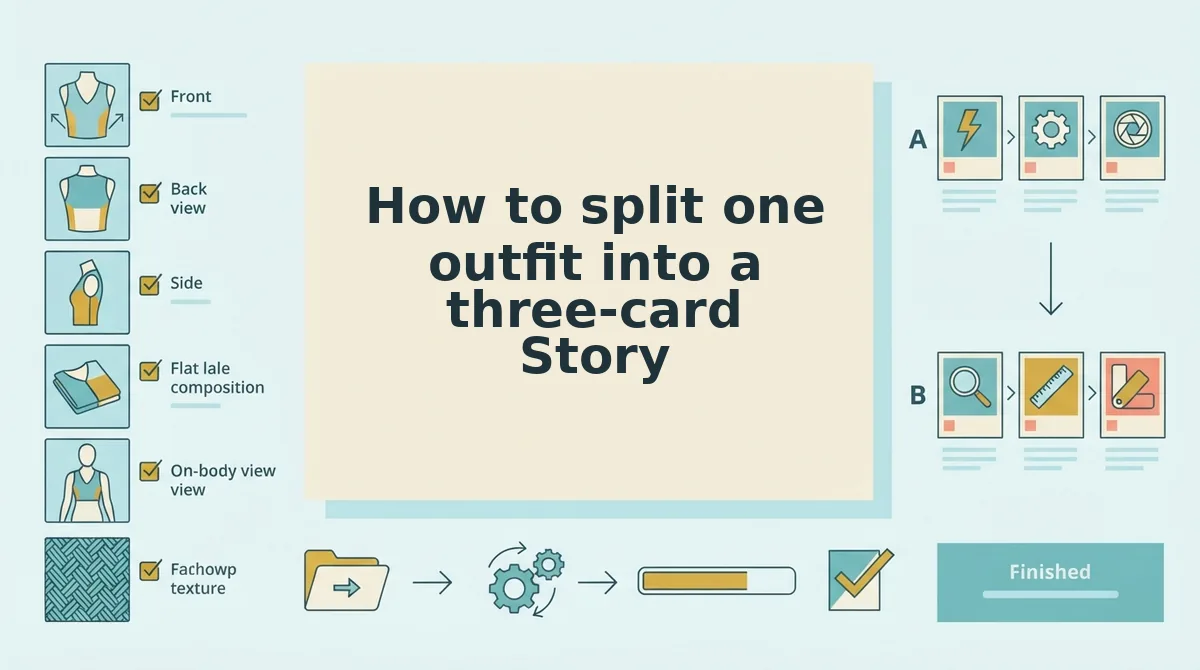
You split one outfit by setting all three card boundaries yourself before anything reaches the app, because Instagram otherwise chooses them for you at the 60-second mark. Three cards is the working count for a single outfit â a fourth pushes the fabrication close-up past the point where viewers tap through.
What you need: a 9:16 source clip or the product photos you already own, the Stories editor on your phone, and about ten minutes.
- Review the source frames at 100% zoom and confirm the hem, collar seam, and weave are sharp. You should see individual yarn texture, not mush; if it smears, reshoot or upscale before cutting.
- Set the canvas to 1080 Ã 1920 in your editor. You should see a full-height vertical frame with no letterboxing.
- Build card one (8â12s) around the hook and the full silhouette: open on motion, then hold the head-to-hem read. You should see the entire garment sit inside the upper-middle band, above where the reply box lands.
- Trim card two (8â12s) to fit and detail â waist, sleeve, or cuff, two angles maximum. You should see each cut land on a held frame, never mid-pan.
- Assemble card three (6â10s) with the fabrication close-up first, then the price or swipe cue. You should see the close-up resolve before the CTA appears.
- Post all three as sequential Stories, then reopen the live Story on your own phone with the reply bar visible. You should see every reveal clear of the bottom overlay and no cut falling mid-pan â this check only works in the app, since the reply box and CTA bar don't exist in the exported file.
A 90-second upload segments at 60 seconds, so the natural garment reveal can land on a card boundary at the least useful frame. Setting the cuts yourself removes that risk.
Working from stills instead of footage? The UGC-style fashion video workflow builds each of these three beats from catalog packshots, so the boundaries follow your beat plan rather than a platform timer.
When one longer clip beats three short cards
A single 30â45 second hold wins when the garment only reads in continuous motion â a walk, a spin, a drape settling â and loses when the frame has to stay wide. Three 12-second cards buy you more cuts and more re-hooks.
| Factor | One 30â45s hold | Three 12s cards |
|---|---|---|
| Garment detail | Full silhouette reads best; weave and stitching lose resolution as the subject shrinks in frame | Each card can push in tight, so fabrication gets its own clean look |
| Pacing control | Depends on sustained generated motion across the whole runtime | You set three separate rhythms and can re-cut one without touching the others |
| Safe-zone fit | Wide hold loses the most, since the subject can't fill the covered band | A tight shot keeps usable detail in the upper-middle area |
| Viewer attention | Strong if motion is genuinely continuous | Reset point at every tap, at the cost of one extra tap per card |
Best for a brand with one hero SKU and existing footage: the longer hold. Best for a catalog-driven store testing several SKUs: three short cards.
The deciding factor is runtime math, not preference. With roughly 35% of the bottom frame covered, a full-length shot confined to the upper-middle band starts reading as a still image sooner than a tight detail shot does. Astra pacing control is what keeps a 30â45 second hold from feeling frozen â though the site doesn't publish a maximum output clip length, so treat that ceiling as unconfirmed. You can generate the clip from photos you already have and test both structures against the same SKU.
Pick the runtime before you shoot, not after
The number that governs your Stories is the seconds-per-garment-beat budget, not the 60-second cap â which is why length decisions belong upstream of the shoot.
Audit the source image set first: a sharp hem and even lighting at full-frame size, because the beat budget only holds up if the photos survive a long hold. Then generate one SKU clip at the 12â15 second budget â the cheapest way to test a pacing choice before committing a whole outfit sequence. If the fit and fabrication beats read cleanly, build the full three-card version from the same source set.
Start with a single garment photo set in the clothing video generator: upload one to six angles of an item you already sell and see how far a 12-second cut carries it. Length stops being a guess the moment you can watch it.
