

Your catalog photo looks sharp on the product page, then the same dress shows up in Reels with the hem cut off, the fabric softened, or black bars on both sides. Getting the instagram reels clothing video dimensions right fixes part of that problem. Still, the frame size is the easy part.
Creators on YouTube describe the same thing: uploads that come out "blurry" or "cropped weird" after Instagram processes them. Apparel suffers more than most products, because hems, necklines, and logos sit right at the edges that a crop removes.
This guide covers the exact spec, a framing method built around garments, a crop-versus-generate decision, the build steps, and a final check before you post.
The goal is a native 1080x1920 clothing clip with the hem and logo fully visible. To get there, you need sharp catalog stills, visible hems, and source images at least 1080px wide.
For example, a Shopify seller with a 4:5 flat lay of a dress should generate a 9:16 clip from it rather than crop the photo.
Reels use a 1080x1920, 9:16 vertical frame. Cropping catalog photos to fit that frame often cuts off hems or shoulders. Generating native 9:16 motion from your stills keeps the whole garment in view.
What Dimensions Should a Clothing Video Be for Instagram Reels?
Instagram Reels clothing video dimensions are 1080x1920 pixels in a vertical 9:16 aspect ratio. Keep the garment centered so hems, necklines, and logos stay clear of the overlay zones. Overlay zones are the areas where Instagram places the caption, username, and action buttons.
An aspect ratio is the ratio of a frame's width to its height. Think of 9:16 as a full-length mirror and 4:5 as a portrait frame on a desk. The mirror shows the whole outfit from collar to hem.
| Spec | Value | What it means for the garment |
|---|---|---|
| Aspect ratio | 9:16 | The frame is tall, so full-length dresses and trousers fit without cutting the hem. |
| Resolution | 1080x1920 px | A 1080px source width avoids upscaling, which keeps knit and weave texture sharp. |
| Orientation | Vertical | Shoulders and hems need margin at the top and bottom of the frame. |
| Cover image | 9:16 frame | The grid may show a tighter crop, so the logo should sit near the center. |
If your product photo is narrower than 1080px, Instagram or your editor has to upscale it to fill the 1080-wide frame. Upscaling stretches the existing pixels, which softens stitching, prints, and fabric detail.
Before you publish, confirm the current maximum length, file size, and cover crop in Instagram's Help Center. For other placements, see our guide to fashion video aspect ratios. FashionUGC accepts one to six angles of the same item, so you can start from your sharpest full-width shots.
Should You Crop, Pad, or Generate 9:16 From Catalog Photos?
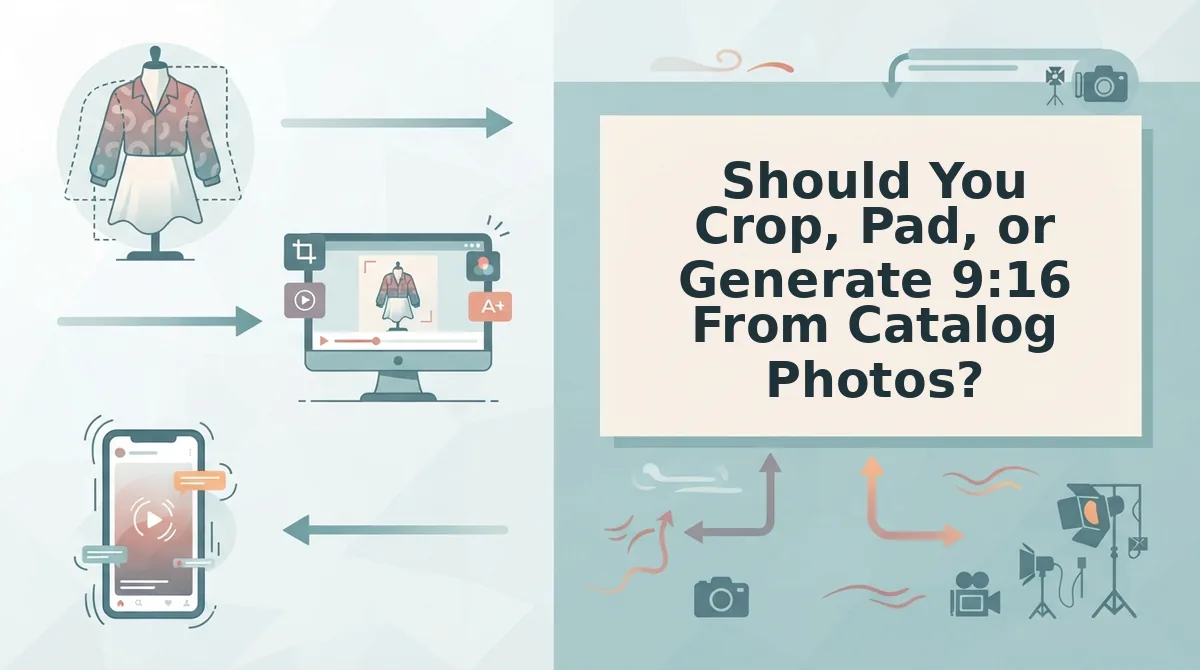
Generate native 9:16 when the full garment has to stay visible. Cropping is the cause of cut-off hems, not the fix. Padding keeps the whole garment but shrinks it inside the frame.
The reason is geometry. A 4:5 frame is wider relative to its height than a 9:16 frame. Scaling a 4:5 image to fill a 1080x1920 canvas makes it 1536px wide, so 456px gets cut from the sides. Fitting it to the width instead gives 1080x1350, which leaves 570px of bars.
| Source photo | Crop result | Pad/letterbox result | Native generation result | Best for |
|---|---|---|---|---|
| Flat lay (1:1 or 4:5) | Sleeves or hem cut off | Small garment with large bars | Full garment shown in motion | Generation |
| Ghost mannequin | Shoulders or hem cut off | Complete but static | Full silhouette in vertical frame | Generation |
| On-body portrait (2:3 or 3:4) | Small side crop, usually workable | Thin bars | Fills frame without losing hem | Crop or generation |
| Detail closeup | Works well | Unnecessary | Adds motion to the texture | Crop |
Many resizer tools that rank for this topic default to crop-to-fit. That makes them fast for single images, but it is also how hems and shoulders get cut off. These tools are general-purpose and are not built around catalog photography.
Can you just crop a catalog photo for Reels? For detail closeups and tall on-body portraits, yes. Those frames are already close to 9:16, and a slight side crop rarely removes anything important. For flat lays and ghost mannequin shots, cropping removes sleeves, shoulders, or hems. Padding keeps the item intact but shrinks it inside black or blurred bars. In those cases, generate a native vertical clip from the stills instead. See our flat lay to fashion video guide for details.
Best for merchandisers: crop detail shots. Best for quick tests: pad. Best for performance creative teams: generate.
The steps below show how to build that native clip.
How to Make a Native 9:16 Clothing Reel Step by Step
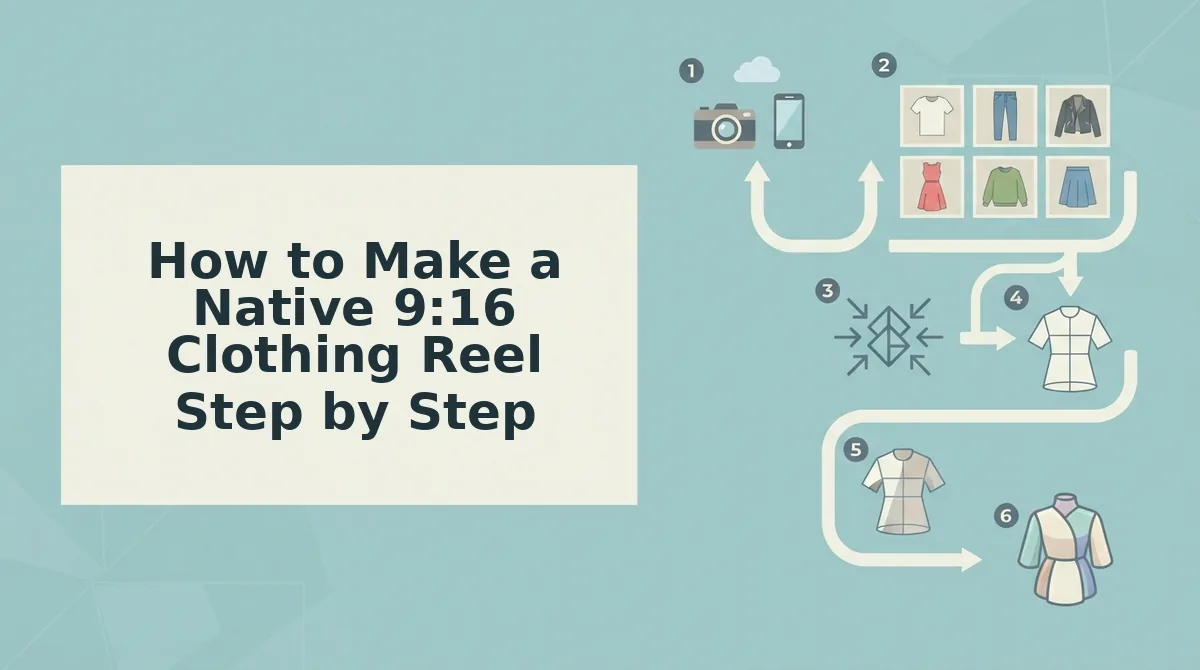
To make a native 9:16 clothing Reel, audit your source stills, choose front, back, and detail angles, and generate a vertical clip instead of cropping. Then place garment landmarks clear of Instagram's overlays, pick a grid-safe cover frame, and have a person review the file before export.
Before you start: You need one to six stills of a single garment, each at least 1080px wide. You also need access to a vertical video generator such as FashionUGC.
- Audit the source stills (5 minutes). Open each photo at 100% zoom. Check for sharp fabric texture, even lighting, visible hems, and a width of at least 1080px. You should end up with a shortlist of images that hold detail without upscaling.
- Choose the angles (2 minutes). Select a front shot, a back shot, and one detail shot, such as a zipper, collar, or weave. You should have three stills that together show shape, fit, and finish.
- Generate a native vertical clip (a few minutes). Upload the selected stills and produce a 9:16 output rather than cropping a 1:1 or 4:5 export. The garment should fill the vertical frame with no black bars and no clipped hem.
- Place the garment with the Garment Safe-Zone Map (5 minutes). Use a safe-zone template to check four landmarks. Keep the neckline below the top username and status area, the waist near the vertical center, the hem above the bottom caption band, and the logo away from the right-side action buttons. Every landmark should stay readable under the overlays.
- Pick a cover frame (2 minutes). Scrub to a frame where the garment's main detail sits near the center. That detail should still be visible when the cover is cropped into your profile grid.
- Review before export (5 minutes). Have a person watch the full clip for fabric distortion, color shifts, or incorrect details. Approve the clip or regenerate it before you download the file.
Pro tip: Frame the cover so the garment's center of interest survives the grid crop. That center might be a print, a logo, or a neckline. An off-center hero detail disappears on your profile.
Worked example: A merchandiser uploads front, back, and detail angles of one jacket. The generator outputs a vertical clip, and a person checks the collar, zipper, and hem placement before export. FashionUGC creates the video file. It does not publish to Instagram or promise performance.
If your catalog is mostly packshots and flat lays, you can turn clothing photos into video one SKU at a time from images you already own.
How to Check Your Reel Before You Publish
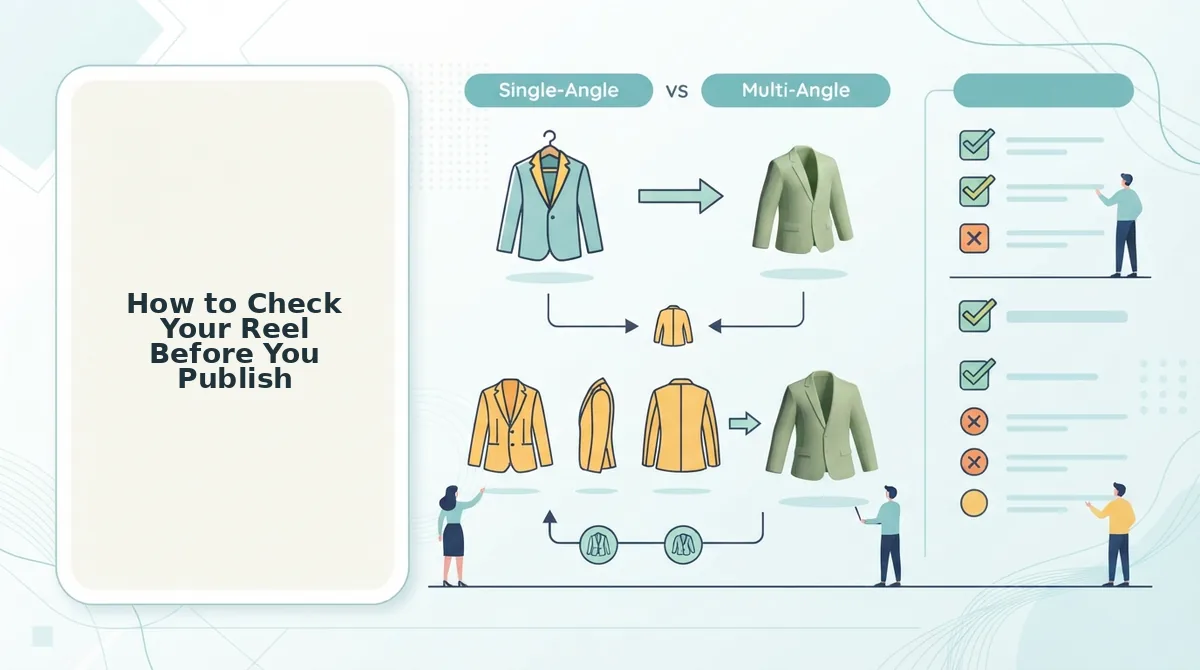
Check every Reel with the Triple-Frame Check: confirm that one export reads at 9:16 full screen, in the profile-grid crop, and in the feed preview. Verify Instagram's current grid and feed ratios in its Help Center, and flag any spec you cannot confirm there.
- Check the full-screen 9:16 view. Play the clip full screen on a phone. This confirms the neckline, waist, hem, and logo clear the overlays where viewers actually watch.
- Check the profile-grid crop. Preview the cover as your grid displays it. This shows whether the hero detail survives the crop that shapes your profile.
- Check the feed preview. View the Reel as it appears in the feed before anyone taps it. This confirms the garment, not empty background, fills the shorter frame.
Troubleshooting (symptom â cause â fix):
- Black bars â padded 4:5 source â generate a native 9:16 clip.
- Blurry upload â source under 1080px wide and then upscaled â use a sharper still that is at least 1080px wide.
- Cut-off hem â crop-to-fit, or a hem placed in the caption band â regenerate with the hem above the caption band.
- Bad cover crop â center of interest outside the grid crop â choose a centered frame.
These problems are common. Viddyoze's video "The Best Instagram Aspect Ratio Size 2025" has drawn 34,708 views on exactly these cropping and blur pains.
Keep a 4:5 version as well, because 4:5 still has feed ad placements. Camber Film School's multi-aspect-ratio video, with 135,590 views, shows how much demand there is for getting several formats from one shoot. An AI clothing ad generator helps you keep both versions ready for testing.
Get the Garment Right, Then Get the Frame Right
The finding behind every step is simple: most Reel framing failures start before export, in the source photo. Follow this order of operations. Check source quality, generate native 9:16, place the neckline, waist, hem, and logo in the safe zones, then run the Triple-Frame Check.
Consider a boutique with ghost mannequin stills. It runs the source checklist first: sharpness, even lighting, visible hems, and a width of at least 1080px. Only then does it generate the clip, and a person reviews it before anything is published. Low-resolution stills do not produce production-ready motion, and no export setting changes that.
Your next step is to upload one audited SKU to the clothing video generator and review the vertical clip. From there, every Reel you build starts from frames designed for 9:16.
