
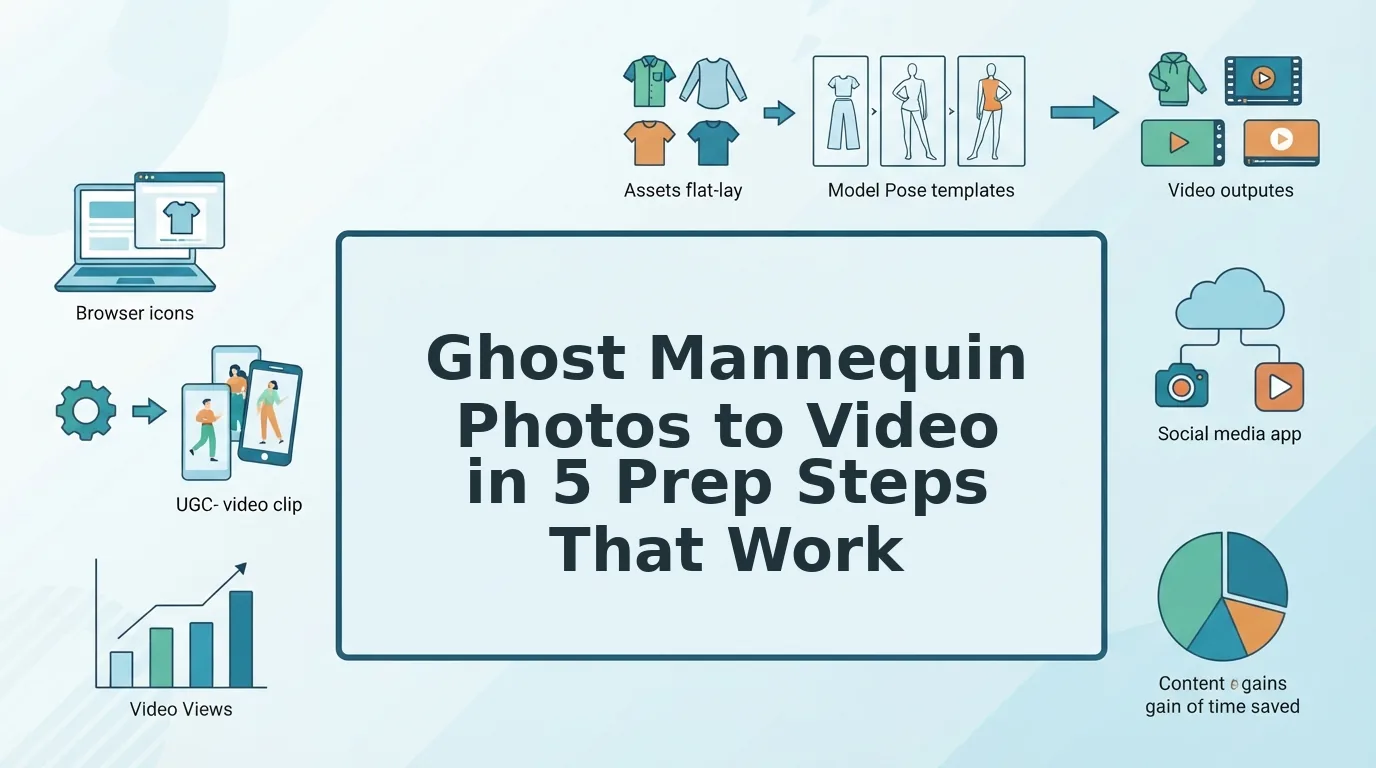

Your catalog is full of clean ghost mannequin packshots, and every paid social and Reels brief now asks for motion on those same SKUs. Turning ghost mannequin photos to video is achievable without a reshoot, as long as the files are prepped for motion rather than for a static product page.
Popular tutorials stop at producing the finished ghost mannequin still, and none cover what happens when that garment starts to move. This guide covers five prep steps (edit audit, lighting, backdrop, angles, and fabric drape), followed by a final review check.
Watch for one edit in particular. It looks flawless as a still and is the first thing to break in video.
Yes, you can animate ghost mannequin packshots into UGC-style fashion video. Upload sharp, consistently lit front, back, and detail plates, generate a short clip, and review the output before you use it anywhere.
Can You Turn Ghost Mannequin Photos Into a Fashion Video?
Yes. Ghost mannequin photos are a strong video input because they show the garment's true shape and interior, with no model competing for attention. Upload sharp front, back, and detail plates with consistent lighting, and a generator can render them as short UGC-style clips with natural fabric drape for human review.
A ghost mannequin image is a composite of garment shots with the display form edited out. A packshot is a clean studio product photo. Fabric drape is how material hangs and folds as it moves.
The format suits motion because the interior is visible, the silhouette is accurate, and nothing pulls focus from the product. Think of the plate as an architect's blueprint and the video as the walk-through.
A Shopify seller with front and back ghost mannequin packshots of a jacket needs Reels motion, so instead of booking a reshoot, they upload both plates plus a fabric closeup to a clothing video generator that accepts one to six stills of a single item. The plates supply the silhouette and interior, while the closeup shows how the surface should read once the fabric moves. The output is a video file that the seller reviews before any use: nothing auto-publishes, no performance is promised, and it does not replace a full commercial shoot.
Confirm three prerequisites before you upload:
- Sharp plates with no blur
- Visible hems and cuffs
- Consistent lighting across all angles
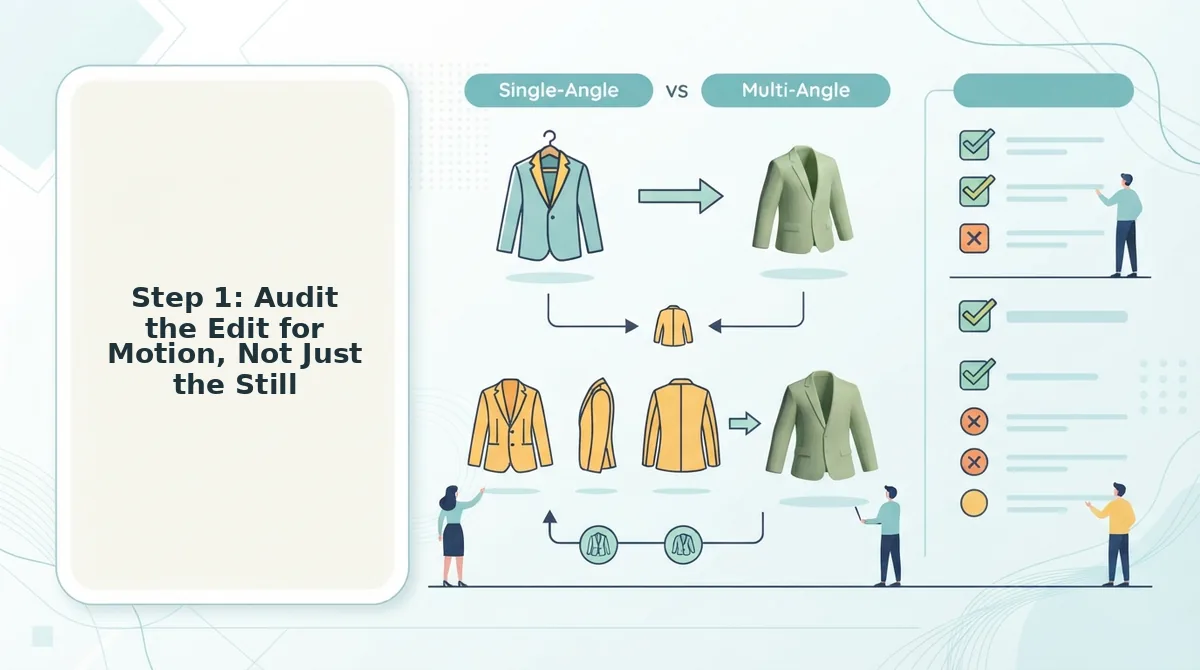
Step 1: Audit the Edit for Motion, Not Just the Still
Audit each ghost mannequin plate for seams and mask flaws that a still hides but motion exposes. Start with the neck joint, the inner collar area that is shot separately and composited in after the form is removed. The neck joint looks fine as a still and breaks first in video.
Allow about 10 minutes per SKU.
The ghost mannequin edits that break in motion start with the neck-joint composite seam: a slight angle or tone mismatch reads as shadow in a still, but the plates can separate or flicker once the garment moves. Inner-label plate edges, cloned hem lines, and clipping paths drawn too tight fail the same way, because motion asks the generator to extend detail that the edit removed or faked. Rough masks that leave a halo also surface as the silhouette shifts.
| Edit area | Still-
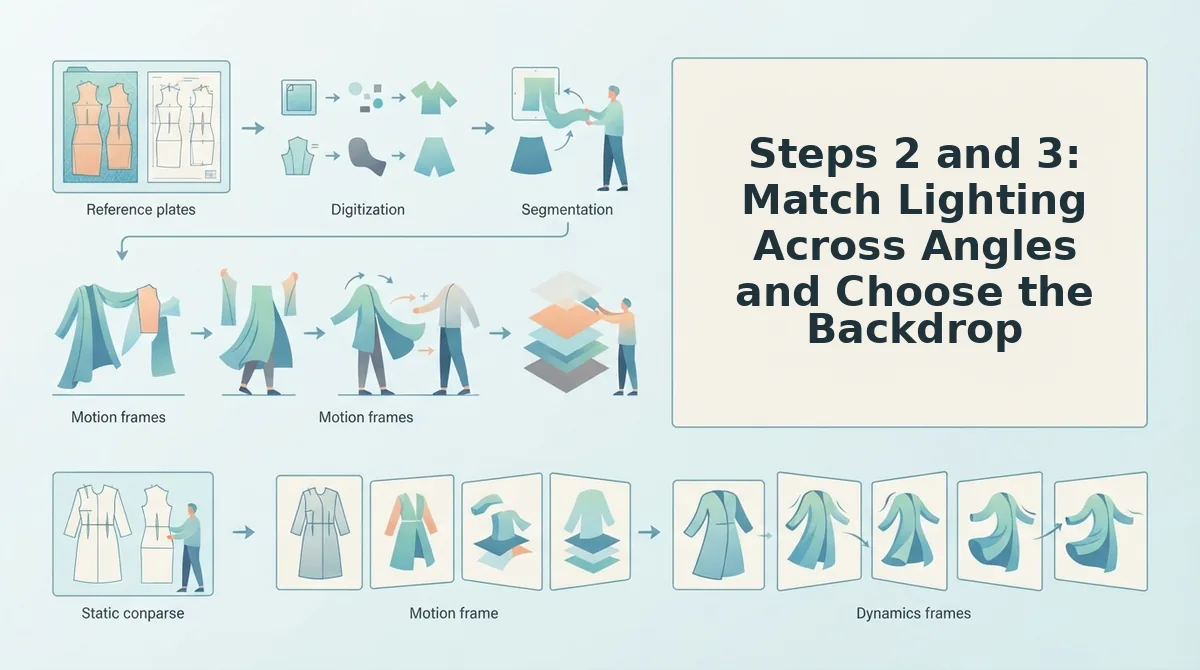 Steps 2 and 3: Match Lighting Across Angles and Choose the BackdropYes, front and back plates need matching lighting. When plates shot in separate sessions are combined into one clip, mismatched white balance or shadow direction can read as a color or shape shift. Pick a backdrop based on garment color and hem visibility. Before you start: Gather your finished front, back, and side plates. Open them in an editor with a white balance eyedropper and a histogram, such as Lightroom, Capture One, or Photoshop. Allow about 10 minutes per SKU.
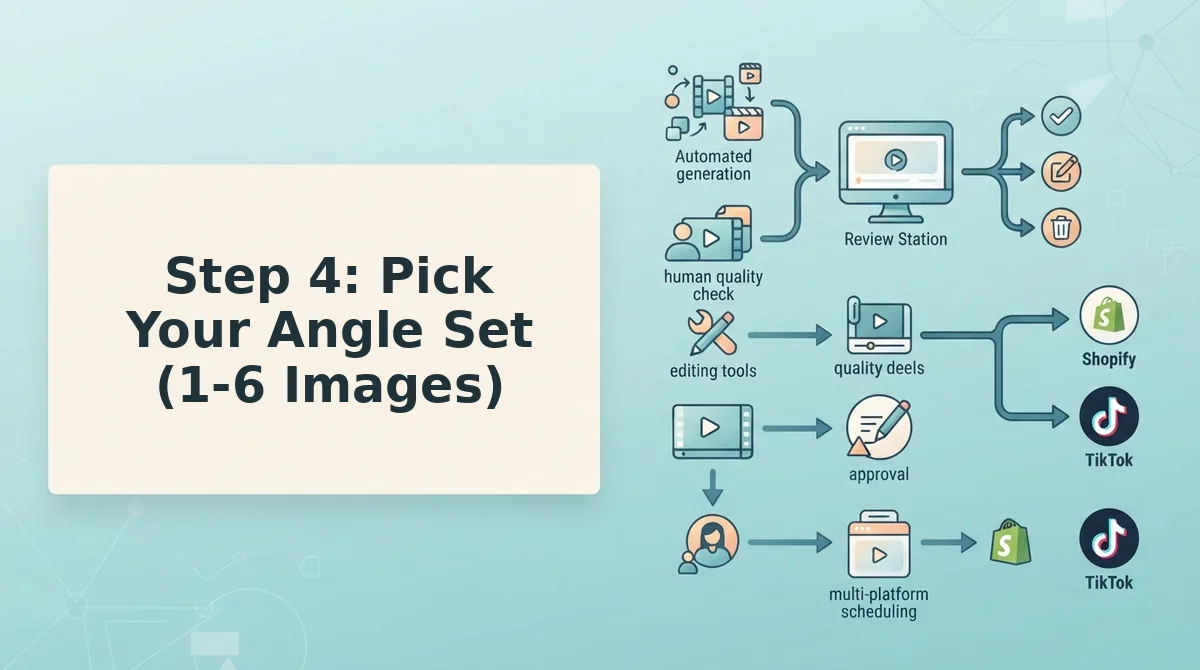 Step 4: Pick Your Angle Set (1-6 Images)Upload the angles that show what the garment looks like in motion. FashionUGC accepts one to six photos of a single item. Each angle gives the generator different information about the garment, as the matrix below shows.
Ghost mannequin and flat lay photos serve different purposes. Ghost mannequin shots show shape and interior, while flat lays do a better job of showing pattern and detail. Combine them when you can. Worked example: A merchandiser has ghost mannequin front and back shots of a dress, plus one flat lay for detail. They upload all three and add a fabric closeup, for four images total. The front and back shots supply the shape, and the flat lay and closeup supply the surface detail. Worked example: A SKU with only flat lay photos does not fit this workflow. Send it to the flat lay to fashion video guide instead. To build your first angle set, turn clothing photos into video with the images already in your catalog. Step 5: Generate the Video and Check That It WorkedGenerate the clip from your angle set, then have a person review it before it goes anywhere. FashionUGC creates the video file only. It does not publish to any platform. Before you start: Have your approved PDP stills open for comparison. Allow about 5 to 10 minutes of review per clip.
The FAQ below answers the questions teams ask most often. Ghost Mannequin to Video FAQThese answers cover the questions that remain once your ghost mannequin stills are prepped. Should I make an AI ghost mannequin from a flat lay, then animate it?No, avoid stacking two synthetic steps. Popular tutorials focus on making AI ghost mannequin stills, but each synthetic layer can drift from the true garment construction, such as seam placement or collar shape. Real plates give the generator accurate geometry to start from. What resolution and sharpness do ghost mannequin photos need for video?Use your sharpest full-resolution master export, not a compressed web file. Motion magnifies softness, so stitching, fabric texture, and print edges need crisp focus in every plate. Detail that looks soft when you zoom in on a still will likely smear once the garment moves. Should I fix the neck joint myself or send it back to my editing service?Send it back if your service built the composite, because they hold the layered files and the inner-neck plate. Ask for clean seam blends and natural clipping paths. Patch it in-house only when you can match the original fabric texture exactly. Does ghost mannequin video replace model shoots?No, it adds SKU-level motion alongside them. Generated clips give every catalog item short UGC-style video from images you already own. Model shoots still carry fit on real bodies, styling, and campaign storytelling for your hero products. Turn Your Ghost Mannequin Catalog Into MotionTurning ghost mannequin photos into video is mostly a prep job. The generation step is only as reliable as the plates you give it. The opening finding still holds: an edit that passes as a product-page still can fail once the fabric moves. That moves quality control upstream, from judging finished clips to auditing source files. Before your next upload, complete three checks:
Next, upload one prepped SKU to the clothing video generator and review the output before it goes live. When that SKU passes, apply the same prep to the rest of your ghost mannequin catalog to give each item its own motion. 
Create Turn the photos you have into a video.Upload the garment, pick a length, and post the clip. |
|---|