

Your best-selling hoodie already exists as a flat lay on a white table, shot clean enough for the product page, and it needs to be a 9:16 clip by Friday. That gap, a catalog's worth of packshots on one side and an empty short-form slot on the other, with no studio day in the budget, is exactly what sends sellers searching for whether to run flat lay photos piveth or astra.
You already paid for the photography. The motion is what's missing.
Below: what the generator needs from a still before either engine choice matters, how Piveth and Astra are supposed to divide drape from motion, and how to pick one for a flat-lay-only upload. One detail decides most of the output quality, and it isn't lighting. It's the angle almost nobody includes in a table set, and we'll come back to it.
Capture-side groundwork first, in the flat lay to fashion video guide.
What makes a flat lay ready to become fashion video
A flat lay is a garment photographed from directly above, laid flat on a surface with no body inside it. Drape is the way fabric falls, folds, and swings under gravity once something wears it or moves it.
The generator reads garment proportions off the flat image, applies drape to those proportions, and returns a video file. It never publishes anything on its own; a person reviews the output before it goes anywhere.
The simple part: the still has to be legible. Even light, visible hems, and a garment edge that separates cleanly from the background give the model something to work from. Think of a flat lay as a floor plan and an on-body shot as a walkthrough, because the plan gives you the layout and the walkthrough is what shows how the space actually behaves when you move through it.
The intermediate part: uploads take 1 to 6 stills, and the usable angle set is front, back, side, flat lay, on-body, and fabric detail closeup. A flat-lay-only set is workable but thin on proportion cues, so the one angle most sellers skip is the side profile, which is usually what tells the model how deep the garment sits.
The advanced part: decide your capture routine by catalog size before you touch either engine. A seller with a handful of styles can shoot three angles per item; a seller with hundreds of listings needs one repeatable flat-lay-plus-side workflow. The product photos for AI fashion video guide covers the shooting standard the flat-lay tutorials establish for stills, carried forward here into motion inputs.
A flat-lay-only upload can still produce believable on-body motion, but only if the fabric reads clearly. Upload one clear table capture with visible hems and a contrasting background, and the platform interprets the garment's proportions and applies drape to them, returning a vertical clip for review. Add a side profile or a detail closeup when you can, because a single top-down frame gives the model no depth reference and the result leans harder on the flat image's silhouette. Review the file before it ships and treat extra angles as the cheapest quality upgrade available to a catalog-only seller.
The tool handles 1 to 6 stills per item and returns a short vertical clip you can review before anything ships.
How do Piveth and Astra handle drape and motion from flat lays
Treat the two engines as different jobs rather than a ranking, because drape and motion are separate problems and a garment photo can be strong on one and weak on the other. FashionUGC's published material does not state which engine carries drape, which carries motion, or which garment types each suits, so confirm the current assignment in the product documentation before you commit a catalog.
Short answer: send a flat-lay-only upload to whichever engine your current FashionUGC documentation names for drape, since a single table capture carries no body or proportion reference and needs the garment interpreted before motion is added. A multi-angle set can go to either. Verify engine assignments against the product docs, not a comparison page.
| Decision point | Piveth | Astra |
|---|---|---|
| Input the upload must provide | Confirm whether the flat silhouette alone is enough or an on-body angle is expected | Confirm the same, and whether it differs from Piveth for the same garment |
| Drape behaviour to check in the first output | Does the hem swing and settle, or does the garment hold a rigid shape? | Same frame-by-frame check, run on the identical source image |
| Motion to check in the first output | Camera move, pacing, and whether the garment stays centred through the clip | Same criteria, scored against Piveth's clip rather than in isolation |
| Garment types to test first | Your highest-volume category, then a structured or stiff fabric | The same two, so the comparison is like for like |
| Best for | The persona whose documentation points to drape handling for table-only assets | The persona running multi-angle sets, or a second opinion on a stubborn SKU |
What to establish for Piveth: whether it is the drape engine, whether it wants a proportion cue, and which fabrics it handles without a reshoot.
What to establish for Astra: the same three answers, plus whether its motion treatment suits your channel's pacing.
No measured output, benchmark, or pass rate should be assumed for either engine. Run the same flat lay through both and judge the hem, the print fidelity, and the detail closeup against your own catalog standard.
Which engine suits a flat-lay-only upload comes down to one test. Take a single table capture of a mid-weight woven style with visible hems, generate on both engines with no other angles supplied, and watch what happens at the hem and at any print or logo. The engine that keeps the print legible and lets the fabric settle is the one to standardise on, because those two behaviours are what make a flat lay read as worn rather than as a sticker sliding across the frame. Confirm the assignment in your product documentation before scaling the routine across a catalog.
From there, the remaining question is how to match each engine to each garment type, step by step.
How do you pick the engine for each garment type, step by step
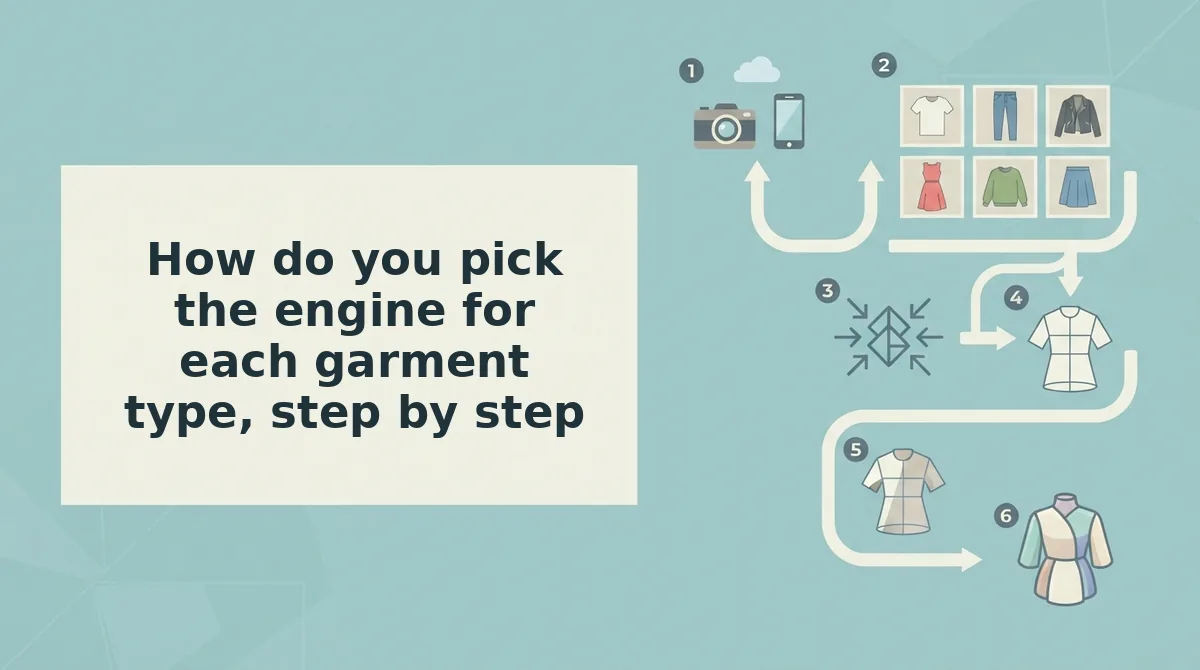
Pick by garment physics, not by brand preference: whichever fabric misbehaves worst in a flat lay decides which engine you run first. The matrix below turns drape risk into a routing decision, and the steps show how to apply it on a real upload.
Before you start: you need one garment's flat lay set (the generator accepts 1 to 6 stills), access to both engines, and the garment itself or a spec sheet to confirm fabric weight. Have a spreadsheet open for the run log.
- Open the matrix and find the row matching your garment type â about 1 minute per item. You should have a single row selected, not a blended guess.
- Read the drape-risk column and classify honestly: jersey that collapses into a rectangle is high risk; denim that holds its own shape is low. You should see the risk level written down before you touch an upload.
- Upload the extra angle listed for that row â usually the back or three-quarter view. The upload tray should show 2 images instead of 1, and the angle strip should display a rear thumbnail.
- Select the engine from the engine selector inside Settings â Engine, using the pick in the last column. The engine name should persist on the run card before you hit generate.
- Add a fabric detail closeup for printed and logo pieces, still inside the same 1-to-6 upload. The tray should show a macro thumbnail alongside the body shots.
- Run the generation and name the output file with garment type and engine, e.g. tee_knit_astra_v1. You should see a completed file in your library, ready for review.
| Garment type | Drape risk when shot flat | Extra angle to add | Engine pick (verify) |
|---|---|---|---|
| Tees and knits | High â soft jersey collapses and reads as a shapeless rectangle | Back or three-quarter view | Drape-led engine [verify] |
| Structured outerwear | Low â panels hold shape, but a flat lay kills shoulder volume | Side profile | Motion-led engine [verify] |
| Flowy dresses and skirts | Highest â hem fall and swing are invisible from above | Back view | Drape-led engine [verify] |
| Denim | Low â stiffness preserves shape and hides leg twist | Side or three-quarter view | Motion-led engine [verify] |
| Printed and logo pieces | Moderate â pattern warps along every fold | Fabric detail closeup | Either â test both [verify] |
Pro tip: add one fabric detail closeup for printed and logo pieces so the generator has a print fidelity reference before it reinterprets the garment.
The angle most sellers skip is the back or three-quarter view, and it is exactly the view that gives the generator a proportion cue a pure flat lay lacks. Confirm every pick in the last column against the engine notes in your own account before you commit a catalog â those roles are set by the product build, not by a published benchmark.
One contrarian point, grounded in the upload specs rather than a benchmark: when the set is flat-lay only, the input set carries more weight than the engine switch. A merchant with nothing but flat lays can add a back angle and a fabric closeup inside the same 1-to-6 upload instead of rebooking a shoot â a change to the input, not to the engine.
Ready to see how a two-image set behaves? Turn clothing photos into video with the multi-angle upload so the generator sees a proportion cue, not a single overhead rectangle.

How do you check the video actually worked
Run one identical flat lay set through both engines and score the outputs on a fixed four-part rubric, so the input stays constant and the comparison measures the engine rather than your photos. This is a test you generate yourself, not a benchmark anyone published.
Before you start: you need one flat lay set (1 to 6 stills), access to both engines, and a spreadsheet with four scoring columns set up as described below. Expect 20 to 30 minutes per run pair.
- Upload the identical set to both engines â same files, same order, same count. Both run cards should show the same number of images; if they don't, stop and re-upload.
- Select 9:16 in Settings â Output for each run, then confirm the preview frame reads as a vertical 1080Ã1920 crop. Judge the output as a 9:16 vertical product video, because framing and crop change how hem behaviour reads on a phone.
- Type each score into your sheet on a 1-to-5 scale: hem consistency, print and logo fidelity, drape plausibility, and frame-to-frame garment consistency. You should see eight numbers â four per engine.
- Watch the full clip end to end, then rewatch at half speed. You should be able to name the exact timestamp where any criterion fails.
- Record only what the test produced. Leave the cell blank rather than guessing; no invented scores or pass rates.
The catch? A single good frame does not survive a full clip. Screenshot-worthy stills are common; a hem that stays put for the whole runtime is the thing you are actually grading.
If both engines fail the same column, the problem is upstream in the photo set â take that finding back to the capture step. For repeatable runs at SKU scale, the clothing video generator keeps the upload set and output ratio consistent across items, which is what makes a scored sample comparable across a range.
What to do before you batch the whole catalog
Run the scoring protocol on one SKU before you touch the rest of the range â a batch decision should come from a scored sample, not from a hunch about which engine sounds better.
If both engines lost points in the same column, the fix is at capture time, not in the engine settings: add the back or three-quarter angle from the garment matrix in section 4, which is the cue a pure flat lay never supplies. A catalog-scale seller can apply that fix to the next shoot day and re-run the same single SKU rather than reshooting the line.
Two boundaries worth repeating: the tool produces a video file, and a person reviews that file before it goes anywhere. It does not publish to platforms and does not promise performance.
Start with the AI fashion UGC video generator: upload one flat lay set, add the missing angle, and let the first scored run tell you which garment types are safe to batch.
