
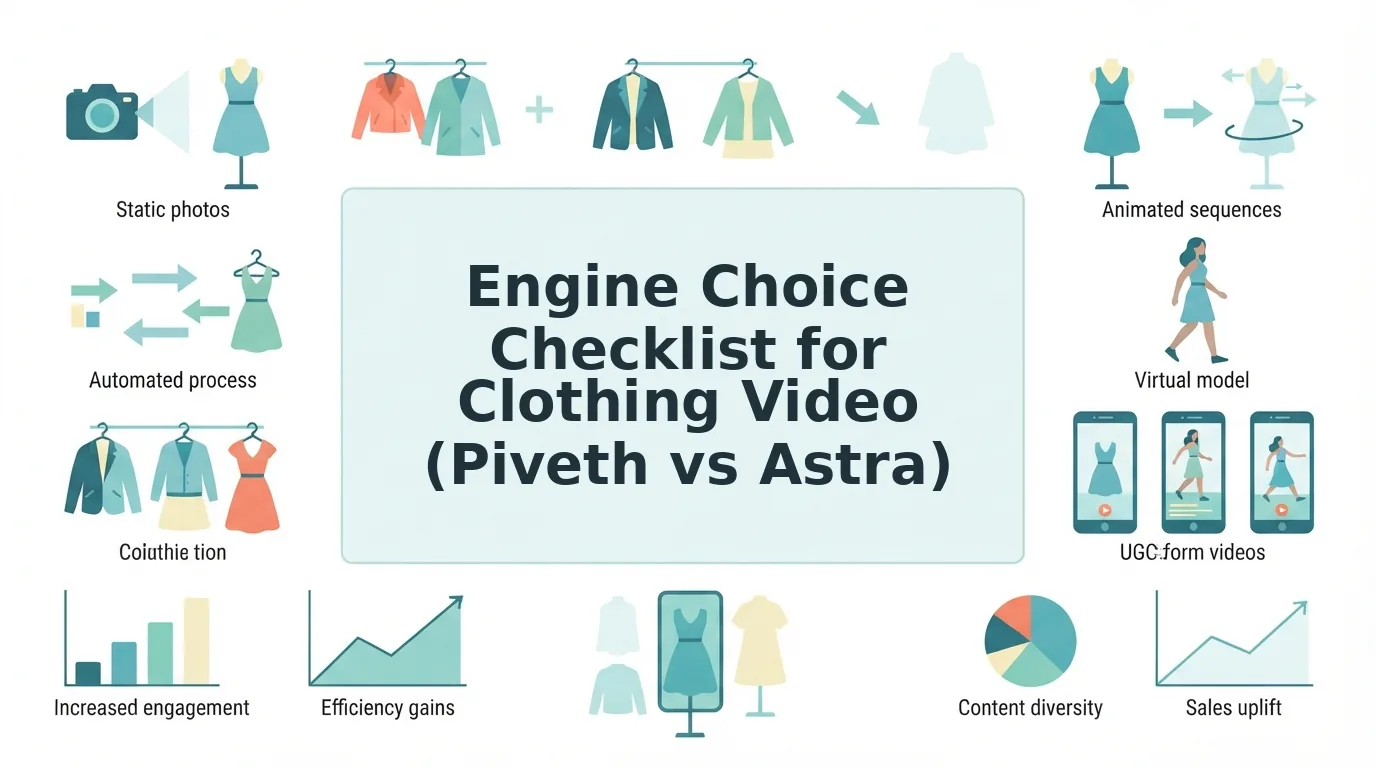

Send one SKU to the wrong engine and you lose more than a render. You lose a generation and a full review cycle before you can try again. Running an engine choice checklist before generating a clothing video prevents that loop, and it takes minutes instead of a reshoot.
You already own the catalog stills, and the goal is to turn clothing photos into video that fits its placement on the first pass. This guide covers five checks, a placement table, and a decision matrix for choosing between Piveth and Astra. The check most teams skip comes first, and it changes how you read the other four.
Take a Shopify seller who has ghost mannequin and flat lay shots of one item and needs a 9:16 Reel. Run the checklist before uploading. Grade the stills, name Reels as the placement, set the runtime, rate the garment, and then pick the framing.
Five checks decide between Piveth and Astra: source photos, placement, runtime, garment complexity, and framing. Source photos come first because they cap output quality on either engine. No engine can recover detail that a still never captured.
What Should You Check Before Choosing Piveth or Astra?
Before choosing Piveth or Astra, run five checks in this order: (1) source photos, to confirm the stills are sharp and evenly lit; (2) placement, to name where the video runs; (3) runtime, to set the required length; (4) garment complexity, to rate how the fabric moves; and (5) framing, to choose full-body, waist-up, or a detail crop.
An engine choice checklist is a pre-upload review that matches one apparel SKU to the FashionUGC generation model that best fits its photos and its destination. Four terms carry the whole process:
- Engine: the FashionUGC generation model, either Piveth or Astra, that turns stills into motion.
- Placement: where the video will run, such as Reels, TikTok, Shorts, a paid ad, or a product page.
- Garment plate: the clean product still that the video is built from.
- Ghost mannequin: a hollow-form shot that shows the garment's shape without a model.
Source photos are a gate, not a factor, because a better engine cannot fix a low-resolution or poorly lit still. An engine can only animate the pixels it receives, so blurred seams, uneven shadows, and cropped hems carry straight into the motion. Think of the engine as a projector and the garment plate as the slide: a brighter projector makes a scratched slide look worse, not better. Once the stills pass this gate, placement, runtime, garment complexity, and framing become real trade-offs that point toward Piveth or Astra.
The platform accepts one to six stills of a single item. You can upload front, back, and detail angles together, which gives either engine more true information to work from.
Whichever engine you choose, FashionUGC produces a video file. A person reviews that file before it goes anywhere. The platform does not publish to social channels and does not promise ad performance.
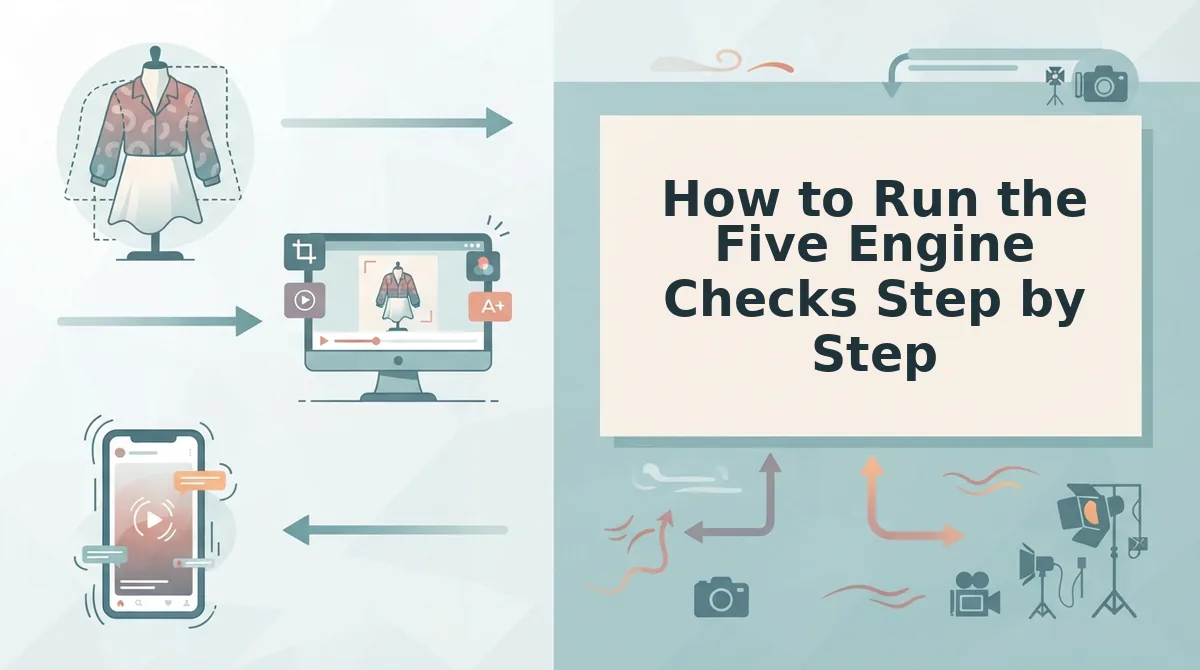
How to Run the Five Engine Checks Step by Step
Run the checks in order, which takes about 15 minutes per SKU. You finish with an engine pick plus a runtime and framing spec. Before you start, gather the item's catalog stills, a note of its intended placement, and access to the FashionUGC upload screen.
- Pass the source photo check (about 5 minutes). Open the item's image folder and grade each still as pass or fail:
- Sharpness: the weave, stitching, and trims read clearly at full zoom.
- Even lighting: light fabrics show no blown highlights, and dark fabrics show no crushed shadows.
- Visible hems and seams: nothing is cropped at the cuff, neckline, or hemline.
- Angle coverage: the stills fill the 1-6 slots for one item across front, back, side, flat lay, on-body, and detail.
- Name the placement (about 2 minutes). Write down the destination before you touch any settings. For paid placements, pair this step with the AI clothing ad generator.
You should end this step with one placement per video, not one per SKU.Placement Runtime need Framing priority Reels Short and hook-first Full-body silhouette early TikTok Short with a quick reveal On-body movement Shorts Short and continuous Waist-up fit Paid ad Tight, offer-ready cut Product readable in the first frame PDP Seamless loop Detail and drape - Set the required runtime (about 2 minutes). Write down the length that each placement needs. Then check the current engine limits inside the product before you commit. For Astra timing, see Astra engine pacing controls. Worked example: the same Shopify seller now needs a PDP loop plus an ad cut. They map the PDP to a seamless loop and the ad to a tight cut, so the SKU becomes two runtime specs and possibly two engine picks.
- Rate garment complexity (about 3 minutes). Mark each factor that applies to the item:
- Drape, such as how a bias-cut skirt or a crepe blouse falls
- Sheer layers, such as chiffon or mesh over lining
- Pleats and structured folds
- Prints, especially small repeats and stripes
- Layered pieces, such as a shirt under a jacket
- Pick the framing (about 2 minutes). Choose full-body, waist-up, or a detail crop based on what the placement shows first. A Reel opens on the silhouette, while a PDP loop rewards the fabric detail. Success here means one framing choice is written next to each placement.
With five answers on paper, the decision matrix does the rest.
Piveth vs Astra Decision Matrix (and How to Check It Worked)
Use the matrix to turn your five checklist answers into an engine choice. Where FashionUGC's documentation does not separate the two engines, the matrix says "either, test both." Both engines start from the same 1-6 photo upload, so a fair side-by-side test costs you very little.
| Factor | Your answer | Lean Piveth / Lean Astra / Either | What to compare in the test |
|---|---|---|---|
| Source photos | 1-6 angles of one item | Either, test both | Use the identical upload set for each run |
| Placement | Reels, TikTok, Shorts, ad, or product page | Either, test both | Export matches the slot's fashion video aspect ratios |
| Runtime | Length the slot allows | Either, test both | Motion stays coherent to the final frame |
| Garment complexity | Prints, pleats, sheer, or layers | Either, test both | Which output breaks pattern or drape first |
| Framing | Full-body, half-body, or detail | Either, test both | Which output keeps hems and neckline in frame |
How to read the matrix: Go row by row and note any row that leans toward one engine. A row leans only when FashionUGC's product documentation names a capability for that engine. "Either, test both" means you run the same photos through Piveth and Astra and let the review list below decide. If every row reads "either," the engine choice carries little risk. In that case, the quality of your photos and the fit to your placement drive the result more than the engine does. Base your decision on the riskiest row, not on the overall count of leans.
Worked example #3: A seller has a printed wrap dress, four photos (front, back, side, fabric close-up), a TikTok placement, a short runtime, high complexity (print plus drape), and full-body framing. No row leans toward either engine, and garment complexity is the riskiest row. The seller should generate one clip on each engine and judge print and drape first.
How to check it worked:
- Hems and seams stay visible and in place.
- Drape reads naturally as the fabric moves.
- Framing fits the placement.
- Runtime fits the slot.
- Any print stays intact without warping.
If both outputs fail, fix the inputs before you switch engines. Reshoot blurry angles or add a back view first.

Engine Choice FAQ
These answers cover four common follow-ups: switching engines, low-quality photos, publishing, and single-photo uploads.
Can I switch engines after a test generation?
Yes. Keep the same source photos and generate again on the other engine. Then run both files through the same review list. Changing photos and engines at once hides which change caused the difference, so change one variable per test.
Will a better engine fix a low-res or poorly lit photo?
No. Source quality caps the output on either engine. Blur, harsh shadows, and low resolution carry into the motion and often show up first in fabric texture and print. Reshoot or replace the weak angle before you test engines.
Does the video post automatically to TikTok or Reels?
No. FashionUGC produces a video file, and a person reviews it before it goes anywhere. You upload the approved file to your ad account, social channel, or product page yourself.
What if I only have one photo?
One photo works, because uploads accept 1-6 images of a single item. More angles give the engine more information about the garment, especially the back, side seams, and drape. Add angles when a single photo leaves those areas unclear.
Run the Checklist, Then Generate
The engine is the last decision in the process, not the first. Work in this order: photos, placement, runtime, complexity, and framing, then read your answers through the matrix.
When the matrix says "either," your photos matter more than the engine. In that case, a quick test on both engines gives you a better answer than guessing.
Next step: Upload your 1-6 photos and generate with the fashion UGC video generator. Then review the file for hems, drape, framing, runtime, and print before it runs anywhere. Each review sharpens the inputs you bring to your next SKU.
