

Your Reels ads are fatiguing, the new drop lands Friday, and there is no budget left for a reshoot. Picture a merchandiser holding a folder of flat lays for that drop who needs Reels running this week. The right creative engine for Instagram Reels clothing ads has to start from those photos, not from a camera.
Most Reels advice assumes you film. The top YouTube videos on clothing Reels focus on filming, influencer growth, and cinematic shoots. Catalog teams, meanwhile, already own the photos.
This guide shows you how to match an engine to a specific Reels goal using the catalog photos you already have. FashionUGC takes 1-6 clothing photos in and returns one video file. A person reviews that file before anything is posted.
The guide covers the outcome and prerequisites, five steps, and a final check. It also flags one input mistake that ruins the output from either engine, and you will see which one in step 1.
Pick the engine by Reels goal, not by habit. Prep sharp source photos first, then render in native 9:16.
Which creative engine should I pick for Instagram Reels clothing ads?
Pick the engine by your Reels goal, not by preference. Use a fast product reveal when you need a quick SKU showcase. Use a styled sequence when the ad sells a look. Then match your source photos to that goal. A sharp garment plate matters more than which engine you choose.
A creative engine is the generation model that turns your still photos into motion. A garment plate is the clean source image of the clothing item, such as a flat lay, ghost mannequin, or on-body shot, that the engine animates.
| Reels goal | Recommended engine | Best source photos | Avoid if |
|---|---|---|---|
| Fast product reveal | Piveth | Front and back angles, flat lay | Your only plate is soft or cropped |
| Detail or texture close-up | Either engine, chosen by the pacing you need | Fabric detail shots, side profile | Detail shots are blurry or poorly lit |
| Styled outfit sequence | Astra | On-body shots plus front and back angles | You have only one flat lay |
| Multi-SKU drop | One engine used consistently across SKUs | The same angle set for every SKU | The SKUs fall outside clothing |
Fast product reveals
Best for: performance creative teams that need a fresh Reel per SKU to rotate against ad fatigue. A clean front angle and a flat lay are usually enough to start. Our flat lay to fashion video guide covers how to prep that input.
Styled sequences
Best for: DTC brand teams selling a full outfit or mood rather than a single item. To shape rhythm across shots, see Astra engine pacing controls.
Neither engine replaces a real shoot for campaigns that need talent, location, or a brand film. If that is your goal, budget for filming.
Before you start, confirm three prerequisites:
- Clothing SKUs only. Beauty and Accessories are not available yet.
- 1-6 sharp photos per SKU. Use any mix of front, back, side, flat lay, on-body, and detail shots.
- A person to review. Someone approves each file before it goes anywhere.
How to turn catalog photos into a Reels clothing ad step by step
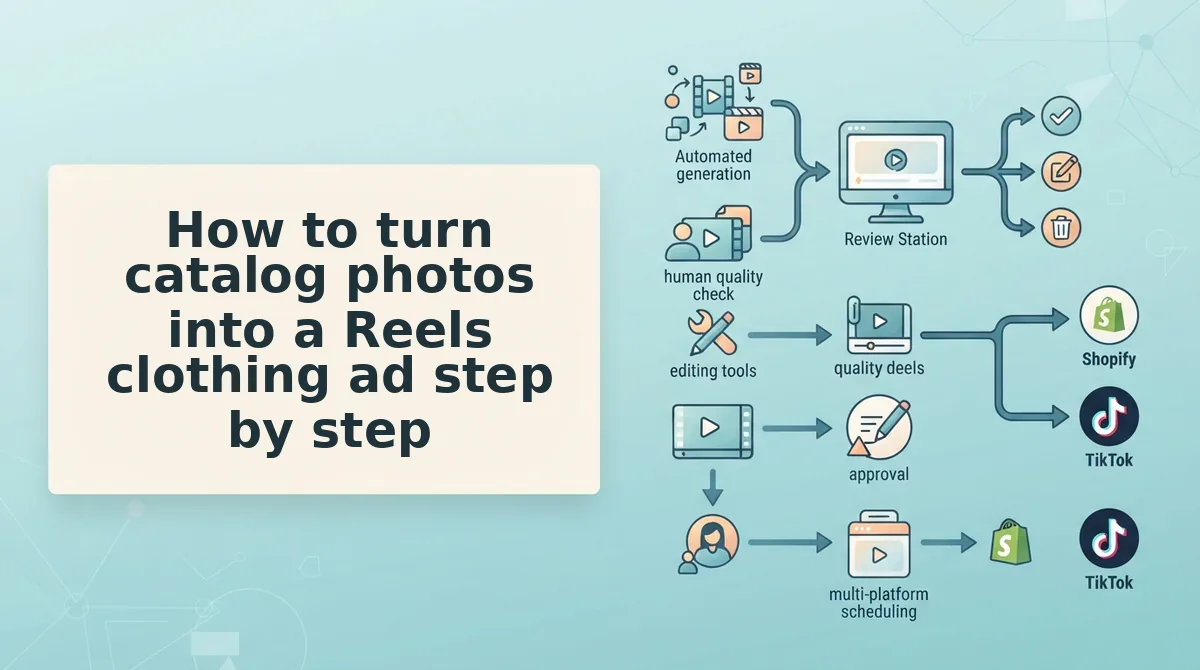
Prep sharp photos, pick an engine by goal, upload 1-6 images, render in native 9:16, then review and export. Each SKU takes one pass. Before you begin, you need a clothing SKU, its catalog photos, and a reviewer.
- Prep your photos (about 10 minutes per SKU). Match each input type to a goal:
- Flat lay: fast reveal
- Ghost mannequin: silhouette and fit
- On-body: styled sequence
- Detail: texture close-up
- Pick your engine. Use the goal matrix above to choose Piveth for fast reveals or Astra for styled sequences. Success looks like one engine and one goal per SKU.
- Upload 1-6 photos (about 2 minutes). Add only the angles your goal needs. Success looks like every selected image loaded with no hems cut off.
- Render in native 9:16. Generate the video in vertical format from the start rather than resizing it later. Success looks like a full-frame vertical file with the garment intact.
- Review and export. Have a person watch the full file for warped fabric or odd motion, then download it. The tool creates the file and a person reviews it. The tool never publishes or posts to any platform.
Why render in native 9:16 instead of cropping? Reels plays vertical video full-screen, so the frame has to hold the whole garment top to bottom. Take a ghost mannequin plate of a midi dress. Rendered natively in 9:16, the vertical frame keeps the neckline, waist, and hem visible, and the full silhouette reads as one shape. Cropped from a 1:1 square, the same dress has to be zoomed or trimmed to fill the screen. The hem or shoulders get cut off, and shoppers lose the length and fit cues they rely on. Native rendering protects the details a buyer uses to decide.
The catch? You repeat these five steps for every SKU in a drop. Keeping the same angle set and the same engine for each SKU keeps the batch consistent.
To run this workflow across a catalog, start with turn clothing photos into video. When the files are ready for paid placements, the AI clothing ad generator fits the same process.
Once a file is exported, the next job is checking whether it actually works.
How to check your Reel worked (and fix motion that looks wrong)
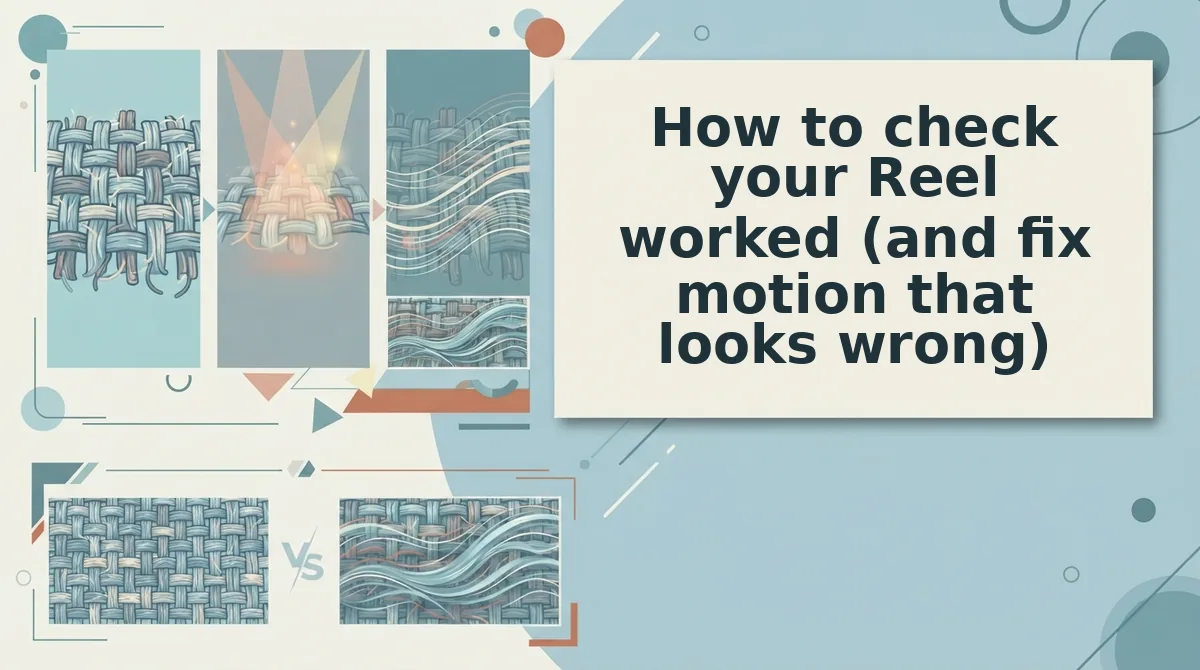
A Reel worked when the garment moves naturally and still matches the catalog photo in shape, color, and texture. Most motion errors come from the source photo, not the engine, so fix the photo before you re-render.
A source plate is the still image the generator reads to build motion, such as the front, back, or detail photo you upload. Think of it like a recipe card: if one line is smudged, the dish comes out wrong no matter how skilled the cook is.
Simple check: watch the clip at full screen next to the original photo. Intermediate check: step through turns frame by frame, because hems and back views usually break there. Advanced check: match each flaw to its source photo using the table below.
| Symptom | Likely source-photo cause | Fix |
|---|---|---|
| Warped hem | Hem hidden or cropped in the source | Reshoot or reframe so the full hem is visible |
| Color shift | Uneven or mixed lighting | Use one evenly lit, color-consistent photo |
| Inconsistent back view | Missing or mismatched back photo | Add a back photo of the same SKU and colorway |
| Texture smearing | Soft-focus detail plate | Replace it with a sharp fabric close-up |
What makes a source photo produce bad motion?
A source photo produces bad motion when it hides information the generator needs to animate the garment. A cropped hem leaves the engine guessing where the fabric ends, so the edges warp as the clip moves. Mixed lighting, such as window daylight combined with warm indoor bulbs, bakes uneven color into the image, and that color drifts between frames. A missing back photo forces the engine to invent the reverse side, so turns look mismatched. Soft focus on a detail shot removes the weave and knit structure that motion depends on, so the texture smears. Low resolution makes each of these problems worse. The fix is almost always a clearer input, not a different engine.
Worked example: A knit sweater rendered from a soft-focus detail plate showed its cable texture smearing into a blur as the sleeve moved. After the team swapped in a sharp, evenly lit close-up and re-rendered, the cable pattern stayed crisp throughout the clip.
Low-resolution stills will not produce production-ready motion, and no tool can promise ad performance. For capture specs, see our guide to product photos for AI fashion video.
Instagram Reels clothing ads FAQ
These answers cover the practical questions about workflow and scope that the sections above leave open.
Can I make Instagram Reels from catalog photos without a reshoot?
Yes. FashionUGC turns one to six existing photos of a single clothing item into UGC-style short-form video. You can reuse catalog packshots, on-body shots, and detail angles you already own, so most SKUs do not need a new shoot.
Does FashionUGC post Reels to Instagram for me?
No. FashionUGC creates the video file and does not publish to Instagram or any other social platform. A person on your team reviews the output, approves it, and then uploads it to Reels, TikTok, Shorts, ads, or product pages.
Can I use FashionUGC for accessories or beauty products?
Not yet. FashionUGC currently supports clothing only, and the Beauty and Accessories categories are not available yet. Apparel brands get garment-specific motion today, while teams selling bags, jewelry, or cosmetics will need another workflow for those products for now.
How many photos do I need per SKU?
You need one to six photos per SKU. We recommend a front, a back, and a sharp fabric detail shot. Those three angles give the engine enough information to render accurate turns, true color, and clean texture.
Match the engine to the goal, then let the photos do the work
The engine matters less than most teams expect, because the source plate decides whether a Reel looks shoppable. Pick the engine for the job, then put your effort into cleaner inputs.
- Goal: Decide the Reel's job first, whether that is a scroll-stopping ad or a product-page loop.
- Engine: Choose Piveth or Astra from the matrix based on that goal.
- Plate check: Fix the source photo before you re-render, and have a person approve every file.
Next, upload a SKU's front, back, and detail shots to the fashion UGC video generator. The catalog you already own can become your next set of Reels.
