
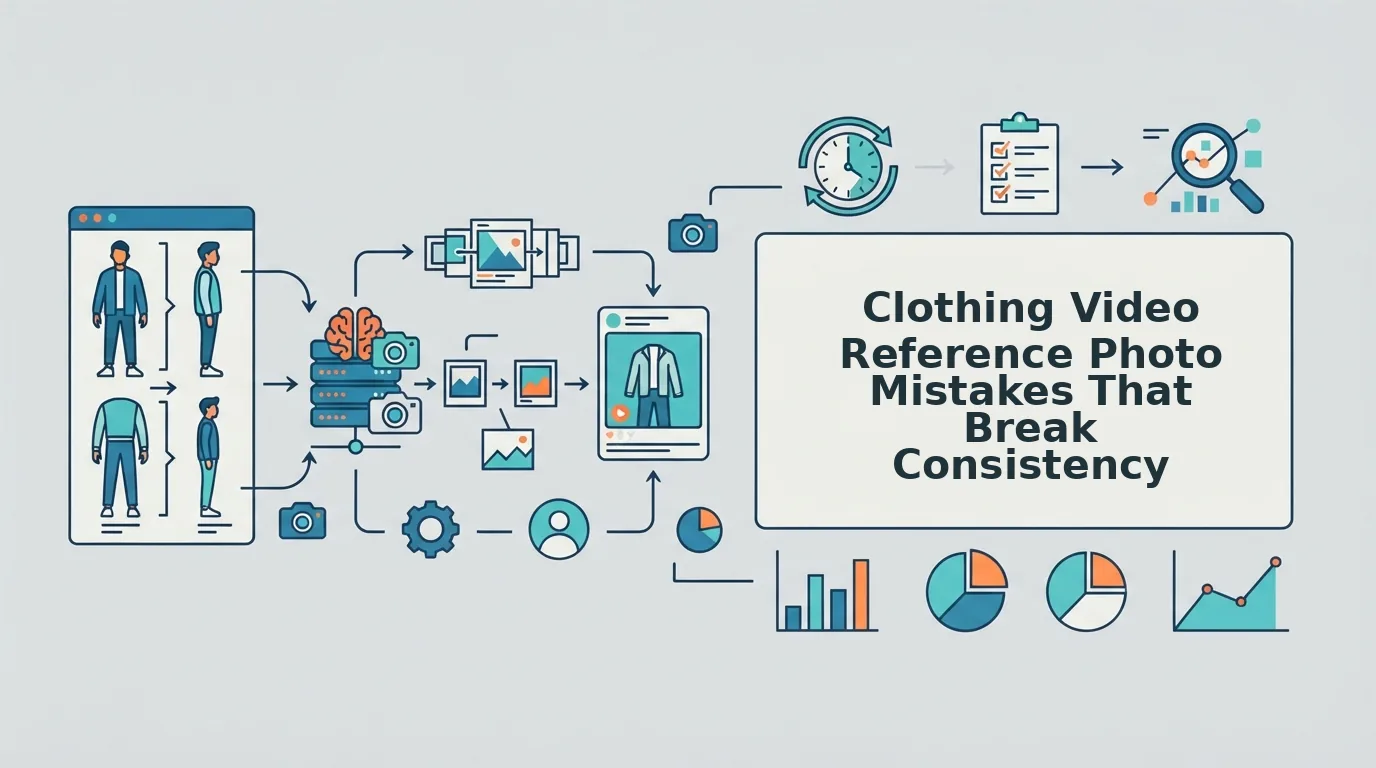

Your generated video is almost right. The sleeve bends at the correct angle, the cotton moves like cotton, then the second clip renders the jacket two shades greener than the version your product page sells. That near-miss is the real cost of clothing video reference photo mistakes â not a broken render, but a plausible one you cannot ship.
You already know source files matter. Phottta's guide 7 Product Photo Mistakes That Quietly Kill Your Sales puts it plainly: photo faults never announce themselves, they resurface later as sales that never happen. Video inherits every one of them, then adds motion.
Below are the six faults that break consistency, the ones a crop or an exposure nudge can rescue, and the ones that force a reshoot. Two of those faults cannot be fixed after upload â one of them is nearly invisible in a thumbnail â so it is worth reading the fixes before you turn clothing photos into video.
Short answer: drifting output traces back to duplicate angles, a mixed colorway, and mismatched exposure across frames â not to a weak prompt.
What does a consistent reference photo set need before you upload?
It needs one garment, one dye lot, one light source, and enough distinct angles to describe the whole item rather than six views of the front. A reference set is the one to six photos you upload for a single SKU; a colorway is that garment's specific dye lot and finish. Before you start, pull the folder for one SKU only, and confirm the hem is actually in frame.
Treat the upload cap as a budget of angles: each slot should buy new garment information, and a near-duplicate spends one for nothing. Keep product photos for AI fashion video open beside your last upload while you work through this.
- Name every file by angle. Rename each frame front, back, side, flat lay, or detail â about two minutes. You should see every side listed exactly once.
- Delete the near-duplicates. Where two frames show the same side, keep the sharper one and discard the rest â one minute. The freed slot goes to a missing angle.
- Re-export at one white balance. Set your editor's white balance once, disable auto-correct, and apply it to the whole set â five minutes. Highlights on white and black should both keep detail.
- Check the hem and cuffs. Open each frame at full size and confirm both sit inside the border â one minute. If not, reshoot before spending an upload slot.
FashionUGC ingests up to six angles per item, which is why the count matters more than the volume: six redundant frames describe one garment less completely than four deliberate ones.
Which reference photo mistakes break consistency, and how do you fix each?
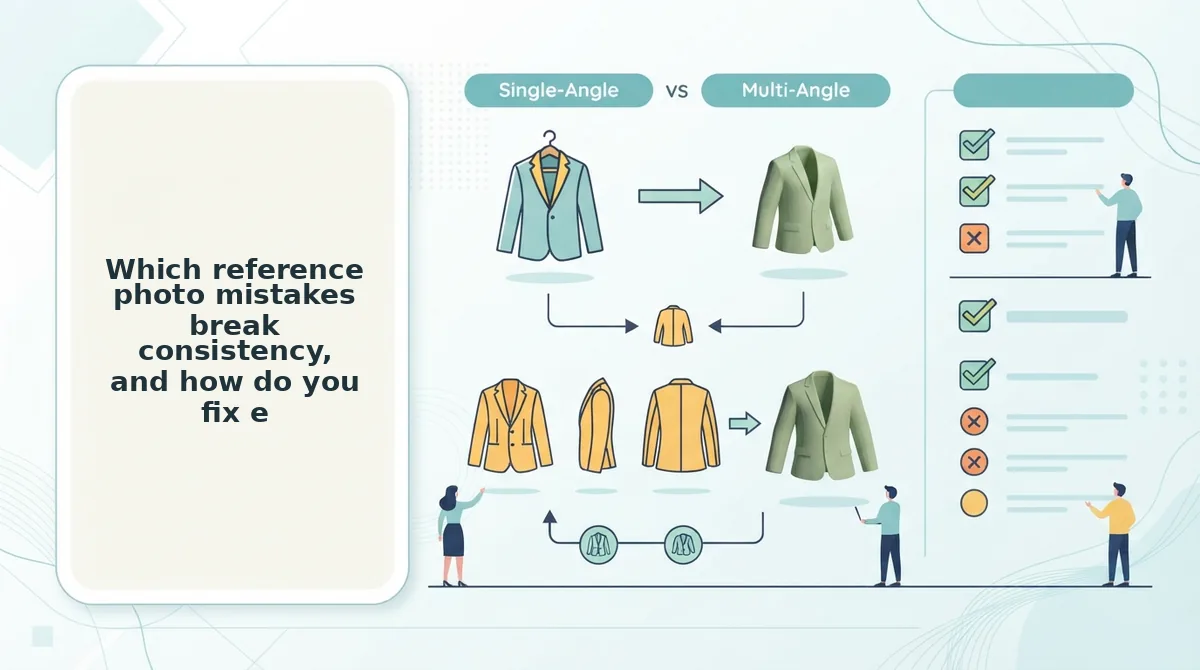
Six faults account for most drift: repeated angles, a mixed colorway, exposure that shifts frame to frame, unreleased creases and visible tags, soft or upscaled files, and crops that cut the hem. The first four are fixable in your source folder; the last two usually need a reshoot.
- Two front shots are one shot. A six-photo set where four frames are the same flat lay at slightly different heights reads as coverage but displaces the back-collar and hem angles â the no back photo failure pattern. Keep one frame per side and spend the freed slots where the garment is undescribed; mixing flat lay and on-body photos has the pairing rules.
- Mixed colorway. A sage jacket shot under window light in frame one and an overhead bulb in frame five reads to the generator as two garments â the exact reason two of six photos look like different jackets. One SKU, one dye lot, one light temperature across the set.
- Exposure and white balance drift. Frames that are individually fine but differ by a stop will pull the render toward whichever one dominates. Nikki Davidson's budget lighting practice in Photo Hacks To Sell Clothes Online â a single diffused source, held constant â keeps frames comparable, and Christian Noel's How to Photograph Clothes for Ecommerce shows how pinning and overhead rigs change shadow direction between shots.
- Condition faults. Creases, visible clips, swing tags, and a cropped hem all survive into motion, where they are harder to ignore than in a still. Pair each with one action: steam the crease, hide the clip behind the shoulder seam, cut the tag, pull back until the hem clears the frame edge.
- Soft focus and upscaled catalog thumbnails. Low-resolution stills do not yield production-ready motion, and upscaling adds invented texture rather than detail. This is a hard boundary, not a tuning problem â reshoot at full resolution and start again.
- Crop survivability. A square flat lay cut to 9:16 loses hem and cuff, which is why vertical output can look like a different, shorter garment. Run the dimensions through the aspect ratio calculator and choose source frames composed for vertical; flat lay to fashion video covers framing for the taller format.
If the render still looks distorted, check how much of the frame the garment occupies. Distortion most often comes from a reference where the item fills under roughly half the image, from motion blur at the cuffs, or from a garment cropped mid-hem â three conditions the model cannot reconstruct from a single frame.
Those checks take minutes by eye â and one of them, the colorway audit, catches more than the other five combined.
How do you check the set before you generate?
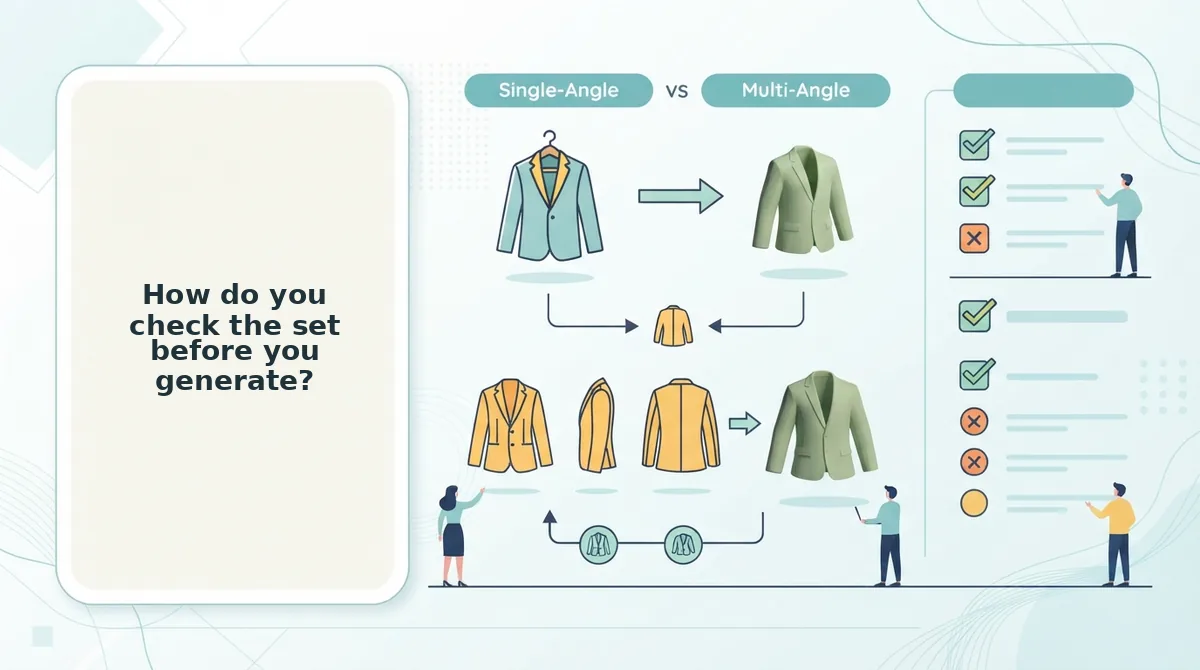
The Reference Set Integrity Check is a four-axis pre-upload audit â Coverage, Colorway, Exposure, Condition â that verifies your photos describe one garment before the generator tries to. It takes about ninety seconds and catches most faults that later get blamed on the AI.
Start simple. Coverage is the highest-yield axis, because a duplicate angle is the one fault you can spot without opening an editor: count the frames and ask what each one adds that the last one didn't.
Then check Colorway â one SKU, one dye lot, one light source â and Exposure, where highlights on white and shadows on black must both hold detail. A blown edge leaves the model nothing to reconstruct.
Finally, Condition: hem inside the frame, wrinkles released, tags and clips removed.
Think of it the way a photo editor culls a shoot: a frame earns its slot only by showing something the previous frame didn't. Six front views read to the model like four witnesses describing different jackets.
At the advanced end, the generator infers garment scale and drape from the flat-lay outline, so a hem cut off at the frame edge is missing data rather than a styling choice. The flat lay to fashion video guide explains how those proportions get read.
| Fault | Fixable in post | Reshoot required |
|---|---|---|
| Loose crop around the garment | Yes â trim tighter | No |
| Blown highlight on a white rail | Yes â pull exposure back | No |
| Dust spot on the lens | Yes â spot heal | No |
| Two dye lots in one set | No | Yes |
| Motion blur on the sleeve | No | Yes |
| Hem cropped out of frame | No | Yes |
Once the set clears all four axes, the clothing video generator is the next step â upload the cleaned files and review the clip before it goes anywhere.

What else do sellers ask before uploading?
Why do two of my six photos look like different jackets?
Because the files disagree, not the generator. Two frames shot under different light â one near a window at noon, one under tungsten â push the same navy into two color temperatures, and a second dye lot widens the split. Compare the same fabric panel across all six files before blaming the model.
Should I upload more photos to get a better video?
No, if the extra frame repeats an angle you already have. The upload cap is a scarcity budget of one to six photos per item, and a duplicate front view crowds out the back-collar shot that would have taught the model how the garment closes. Add coverage, not volume.
Is a bad reference set fixable without reshooting?
Sometimes. Crop, a blown exposure rail, and a lens dust spot are fix-in-post â correct them in any editor and re-upload. A mixed colorway, motion blur, or a hem cut off at the frame edge needs a reshoot, because no edit restores detail the file never captured.
How many photos should I upload for an AI clothing video?
Upload until coverage stops improving, not until you hit a number. Ask of each file whether it shows something the others don't: a back view, a side profile, a fabric close-up. If two frames answer the same question, drop one and shoot the angle you're missing.
Should I crop photos to 9:16 before uploading?
Not before upload. Crop to 9:16 after generation, or shoot taller with headroom, because a source image pre-cropped to vertical throws away the sleeve and hem edges the model uses to read proportions. The clothing video runtime guide covers how framing and length are set downstream.
Fix the set, not the prompt
A full upload is not a complete one. Six files can all describe the same front shoulder and still leave the model guessing about the back closure, which is why prompt edits rarely rescue an inconsistent video â the fault sits upstream, in what the set never said.
Run the four-axis check in order: coverage before colorway, colorway before exposure, exposure before condition. Coverage leads because duplicates are visible by eye, with no editor and no second opinion needed.
If your source images are flat lays, read the flat lay to fashion video guide first. Then open the product photo to video workflow, or go straight to the AI clothing ad generator, upload one SKU's cleared set, and review the clip yourself before it goes anywhere.
The audit costs ninety seconds; the video it protects is often the first thing a buyer sees.
