

Thirty seconds of a garment that never moves. The flat lay was clean â correct color, sharp stitching, hem visible â and the export still plays like a slideshow with the sound off. That clip is not badly shot. It is out of ratio with its source plates, which is the root of most clothing video length mistakes: one still was asked to carry a runtime that four more angles should have filled.
A single still supplies roughly one beat of visual information, so repeating it is stalling rather than motion. The preconditions are just as concrete: sharp plates, visible hem and drape detail, and 9:16 framing decide how long a clip can hold at all.
Below you get a per-image duration budget, an export schedule for three placements, and five runtime errors ranked by how much good footage they destroy. One of those errors sounds perfectly timed and reads as a stall.
Start with the plates you already own â convert product photos into video â because every number that follows is measured against them.
How Long Should a Clothing Video Be?
Clothing video length should follow the number of source photos you can supply: allow 2â3 seconds per usable angle plus a 2-second hook. That puts a single packshot at 6â10 seconds and a six-angle shoot at 25â35 seconds. Runtime is a function of beat count, not of ambition.
A beat is one new piece of visual information â a fresh angle, a fabric detail, a colorway, or a change of wear state â and it needs 2â3 seconds on screen to be read. A loop seam is the join where the last frame meets the first, and it either matches or it jumps.
Think of a beat like a line of subtitles: it has to stay up long enough to read, and holding it longer adds nothing.
The budget below is our planning recommendation, not data from a study. It scales to what you actually own:
| Source photos | Beats available | Planned runtime |
|---|---|---|
| 1 | Front or flat lay | 6â10 seconds |
| 3 | Front, back, one detail | 15â20 seconds |
| 6 | Full angle set plus fabric and drape | 25â35 seconds |
Seam checks are the last thing to verify before export, and the fix is rarely more runtime. Compare the first and last frames side by side: if the garment has rotated, the model has shifted weight, or the crop has drifted, the join reads as a cut. Trim the final beat back to a frame that matches the opening pose, or end on a held hero frame and let the player restart on a deliberate cut. A clean seam lets a 7-second loop sit beside a 30-second product page clip without either looking like an error.
FashionUGC builds the timeline from the plates you upload â one to six photos of the same item â so angle count sets the runtime instead of a guess. Work through preparing product photos for AI fashion video first, then check the math with the video length calculator.
Which Clothing Video Length Mistakes Waste the Most Footage?
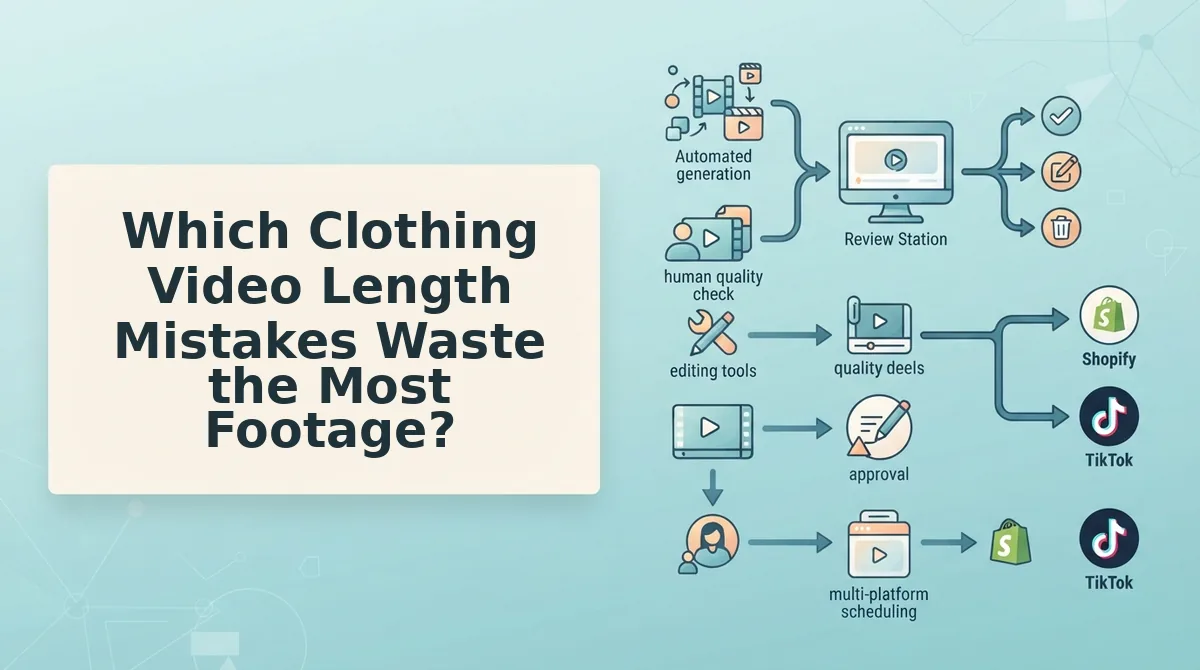
Five runtime errors destroy the most usable material, and each has a one-line fix. They are ranked by how much good footage they waste before anyone notices.
- Stretching one flat lay past 20 seconds. The same still at 8 seconds reads as a packshot reveal; at 30 it reads as frozen, because nothing has changed on screen for two-thirds of the runtime. Fix: cap a single-plate clip at 10 seconds and let the loop carry the repetition. The flat lay to fashion video guide shows where that one beat belongs.
- Cutting a dense construction to 10 seconds. Beading, structured drape, and print repeat need resolution time, and fast cuts hide exactly the detail that justifies the price. Fix: give the detail shot its own full beat and shorten the opening instead. The bronze evening gown UGC video shows how much room beadwork needs before it reads.
- Cutting to the music instead of the garment. This one is contrarian: a beat-matched edit sounds right and reads wrong, because each cut lands when the track resolves, not when the eye has finished reading the fabric. Fix: build the timeline from garment beats first, then let the audio follow the picture.
- Front-loading the hook, then idling. A strong first 3 seconds followed by 10 seconds of the same angle is the most common shape in weak apparel ads. Fix: schedule the second beat at roughly the 7-second mark so the hook hands off to new information rather than repeating itself.
- Padding the tail to look premium. Duration is not a quality signal, and a held final frame with nothing new in it reads as a slow load, not as luxury. Fix: end on the strongest frame and export shorter than you think you should.
Every item on that list is a routing decision rather than a fixed number, which is why one garment needs several exports. That routing problem is where the next question starts.
Why Does One Runtime Fail in Every Placement?
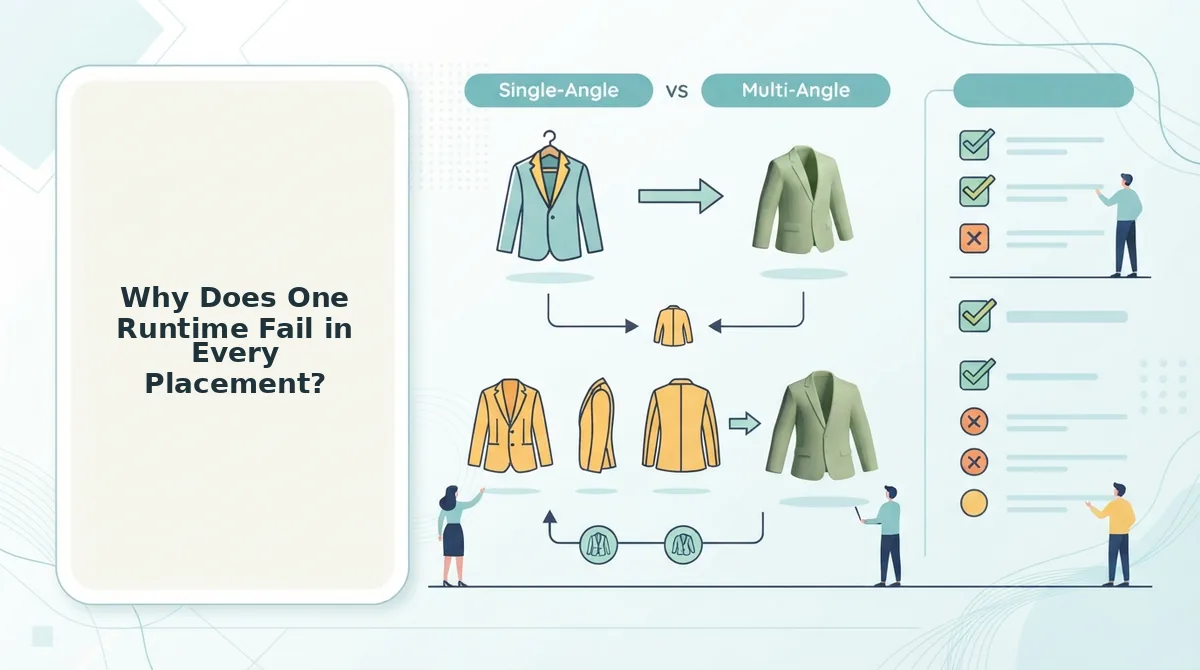
One runtime fails everywhere because each placement gives the viewer a different reason to keep watching. A feed viewer arrives with sound off and no commitment; a product-page visitor already tapped the garment and wants detail. The same 15-second cut is too thin for one and too slow for the other.
The fix is a routing decision, not a number: 6–10 seconds for silent feed autoplay, 15 seconds for cold paid traffic, 30–45 seconds on the product page. One garment, three exports.
| Export | Runtime | Viewer state | Best for |
|---|---|---|---|
| Loop | 6–10s | Scrolling, muted, no intent | Brands running organic Reels and TikTok feeds on a small SKU budget |
| Cold paid | 15s | Interrupted, one hook to earn the next second | Performance teams testing creative against CAC |
| Product page | 30–45s | Opted in, comparing before checkout | Shopify merchandisers with detail-hungry categories like denim or outerwear |
Template tools deserve credit: a fixed format is faster to ship and consistent across a catalog, and if you only traffic one placement, a single length is genuinely the right call. Multi-version only pays when you actually feed more than one surface — which is what the fashion video multi-version workflow is built around.
Is a longer video better for a product page? Yes — and worse in a cold feed. On a PDP the viewer opted in, so extra seconds buy detail: fabric movement, the back view, the hem finish. In a cold feed those same seconds buy nothing, because nobody agreed to watch them. Length earns itself from the viewer's commitment, not from the garment's quality. That is why one file cannot serve both: the PDP cut should hold an angle long enough to be studied, while the feed cut should change beats before attention drops.
Work one garment through it: flat lay → hem detail → on-body shot is three beats, which lands at 15–20 seconds. That file is your cold paid cut; trim it to the first and last matching frames for the loop export. No published maximum runtime or product-per-video limit appears in the platform materials we can point to, so do not plan around one. Build all three in the fashion UGC video generator from the same uploaded plates.
How Do You Check the Loop Seam Before Export?
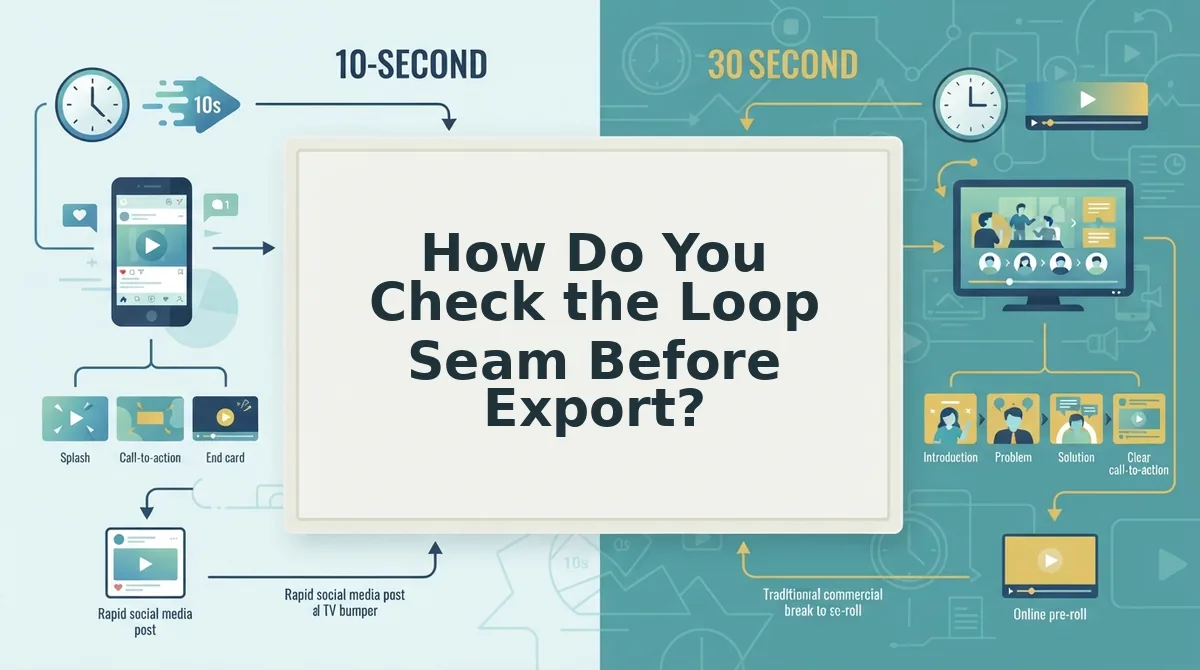
Scrub to the final frame, hold it against the first frame, and confirm the garment position and lighting match. If they don't, trim back to a matching beat before you export. The check takes under a minute.
Before you start: the generated clip open in the preview player with an active timeline scrubber. The loop seam is the frame match between the last frame and the first — a mismatch there is what produces the jump most guidance never mentions.
- Scrub to the last frame — drag the timeline handle to the final frame and stop. You should see the garment at rest, not caught mid-transition. (~10 seconds)
- Jump back to frame one — note collar angle, hem position, sleeve placement, and light direction, then compare. You should see the same pose under the same light.
- Mark the last matching frame — if the shoulder drops or the background shifts, note the final frame that still aligns with the opening pose.
- Trim the out-point to that frame — pull the end handle back, then re-preview once. You should see the clip land on the opening pose with no jump. (~20 seconds)
If it still feels slow after the seam is clean, you have a beat-count problem, not a second-count problem — cut an angle rather than shaving time. Safe-area work is a separate pass; see cropping a clothing video for TikTok.
Count the Beats, Not the Seconds
The garment was never the problem. The ratio between how much you showed and how long you showed it was — and that ratio is set by your photo count, not your ambition.
Three moves carry the whole method. Photo count sets the beat budget: each angle, fabric detail, or colorway is one beat, and each beat needs two to three seconds plus a two-second hook. Placement sets the export length, so one garment leaves as a loop, a paid cut, and a PDP version. The seam check sets the out-point, so the file ends where it began.
Start with the export you need first: upload a single item's packshots to the clothing video generator, build the 15-second cut, then trim it into the loop. When you are ready to put spend behind it, the AI clothing ad generator runs the same plates through a second pass rather than a second shoot.
Your catalog is already shot. The only variable left is how many beats you let it hold.
