

Your best-selling tee has a back, a drape, and a hem that moves. Your product page shows one of them, frozen â and muted autoplay means anything you add has to land with no sound and no click.
That gap is why clothing product page video length becomes a twenty-minute internal debate. You are not short on footage; you are short on a number.
Three things you need first:
- A front plate â the packshot you already have
- A back plate â the angle most catalogs skip
- One fabric or detail close-up for movement
A boutique operator holding exactly those three images still cannot tell whether that is five seconds of video or twenty. A flat lay carries motion but cannot invent an angle nobody shot, and a single item upload accepts 1â6 source photos â a hard ceiling on how much footage is derivable.
What follows: the default duration band, the per-shot budget that produces it, and a trim table for PDP versus Reels versus paid. One finding runs against the usual "keep it short" advice, and it lives in the numbers rather than the taste.
Start by uploading those plates to turn clothing photos into video.
So How Long Should a Clothing Product Page Video Be?
6â10 seconds is the default loop for an apparel PDP; 15â20 seconds is the extended band, and it only earns its extra runtime when you have three or more usable angles to fill it.
Short answer: A clothing product page video should run 6â10 seconds as a default loop, extending to 15â20 seconds only when three or more angles are available to fill it. The first 1.5 seconds carry the decision to stay; the rest carry detail.
Two numbers hide inside the word "short." Loop length is the total runtime of the file that restarts on autoplay. The decision window is roughly the first 1.5 seconds â the span in which a shopper chooses to keep watching or scroll past. Conflating them is why teams argue past each other about a single target that was never single.
Think of a shop window and the two steps a pedestrian takes past it. The window can be long; the decision happens in the walking.
That split is also why the popular "keep it under six seconds" rule misfires on a product page. A shopper who clicked a product link has already opted in, so a second view buys something a feed scroll never would. The most-cited YouTube product-page teardowns in this topic cover page structure and buyer psychology and none of them names a duration â which means the number has to come from your own shot inventory, covered next.
How Do You Build the Length From a Shot Budget?
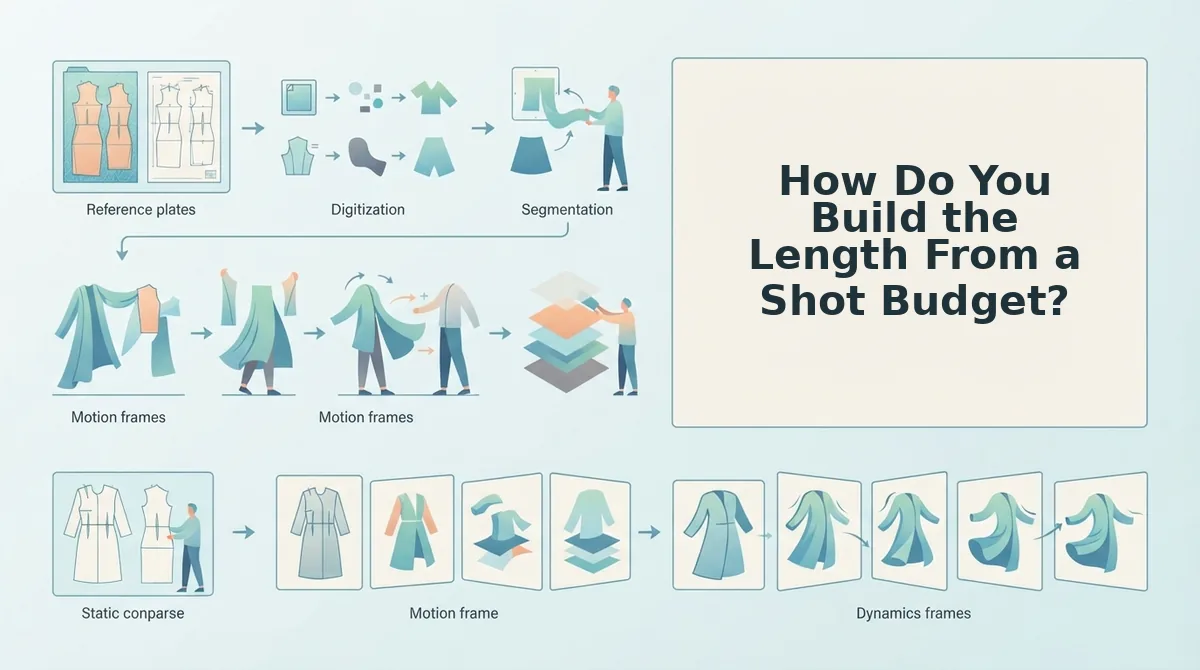
Add up the seconds of the angles you actually own: front â2 seconds, back â2 seconds, fabric or detail â2â3 seconds. The sum is your loop, trimmed to the nearest band.
You need one garment, the 1â6 photos you already hold for it, and a browser. Budget 10â15 minutes on the first item, under five on each one after.
- Inventory the plates you own. Open your catalog folder and list every angle for the item â front, back, side, on-body, flat lay, fabric close-up. You should land on a count between one and six, because six is the upload ceiling.
- Assign seconds per shot. Mark 2 beside the front, 2 beside the back, 2â3 beside the fabric or detail close-up. A side profile or on-body frame earns about 2.
- Sum the budget. Two photos land near 4 seconds. Four to six are what push a loop into the 15â20 second band.
- Trim to the nearest band. Under 6 seconds, slow each shot instead of inventing one. Over 20, cut the weakest angle â never the detail shot.
- Upload and generate. Feed the same plates to the photo-to-video generator. You should see a loop at or near your summed budget.
- Review muted at 1.5 seconds. Scrub to the opening 1.5 seconds with sound off. If the garment is not identifiable there, the opening shot is wrong â not the length.
| Source photo | Seconds | What it carries |
|---|---|---|
| Front (packshot or flat lay) | â2 | Silhouette, color, first-frame decision |
| Back | â2 | Second view, fit through shoulder and hem |
| Fabric or detail close-up | â2â3 | Drape, texture, movement |
| Side profile or on-body (if owned) | â2 | Proportion and how the garment hangs |
Pro tip: hold about 0.5 seconds of stillness at each shot boundary. Without that hold the cut reads as a jump rather than a garment turn, and viewers register it as a glitch before they register the fabric.
This is where the missing back plate resolves. With front and detail only, the budget collapses to a single moving shot and the honest answer shifts to the low end â 6â8 seconds, one angle, held longer. Which source angles can carry motion at all is set out in the flat lay to fashion video guide, and you can pressure-test any sum in the video length calculator before you generate.
With a defensible number in hand, the next question is whether stretching the loop helps or hurts.
Does a Longer Loop Hurt, or Is It the First Second?
A longer loop rarely hurts a product page video; a slow first second almost always does. Shoppers give about 1.5 seconds to decide whether to keep watching, so open on the garment, not a logo card or a fade. Past that point, length is a coverage question, not a retention one.
- Back-view and drape coverage can beat raw brevity. The shopper already opted in by clicking the product, so completion rate is the wrong single metric on this surface. Spend the extra seconds answering fit and drape objections a front-only spin cannot.
- Fabric movement needs an extra beat to read. Drape looks different at two seconds than at four; the added beat is what makes the movement legible instead of a blur. Give flowing, knit, and unstructured garments more room than structured ones.
- Photo count sets the floor. The site documents one to six source photos per item, so a six-angle upload can carry a longer sequence without padding. Match the loop to the angles you actually own.
- File weight makes length a loading constraint. Muted autoplay restarts continuously on a product page, and a heavy file stalls that restart. Compress before you extend, because a long loop that stutters reads as broken.
Does a longer loop hurt? Usually no â but the same file can behave differently store to store, because product page autoplay behavior is set at the theme level, and some themes restart muted video on scroll while others play once. That variable matters more than a few extra seconds. The site documents a one-to-six photo input range per item but states no maximum output video length, so set your own ceiling by testing the exported file inside your live template rather than assuming a cap.
How Long for a PDP vs Reels vs a Paid Ad?
The clip is the same; only the trim changes. A product page keeps the full 6â20 seconds because the shopper is already on the product, Reels and TikTok take the shortest cut with the hook in the first beat, and a paid ad takes the shortest cut again with one clear claim.
| Placement | Trim | Playback | Best for |
|---|---|---|---|
| PDP inline loop | Full 6â20 seconds | Sound off, restarts on loop | Best for catalog and merchandising teams holding six angles per item |
| Reels / TikTok | Shortest trim, hook in the first beat | Sound optional, same 9:16 file | Best for social teams repurposing a clip already on the product page |
| Paid social ad | Shortest cut, single claim | Sound off, one idea per frame | Best for performance teams testing creative against CAC |
Honest caveat: creator-shot footage still carries authenticity cues a generated clip has to earn, and studio-shot video still controls lighting more precisely. The reason to trim rather than reshoot is that all three placements share the same vertical frame, so one source file stays reusable across surfaces â the framing rules live in fashion video aspect ratios.
A fashion UGC video generator produces the master file. Export it once, then make three trims from it: this is a trimming decision, not a production decision.
Check It Worked Before You Export
Treat the export as a verification pass rather than a finish line. Four checks catch most bad product page videos before a shopper ever sees them.
- The loop restarts cleanly at the seam, with no visible jump.
- The garment reads with sound off, since that is how most PDP autoplay runs.
- The back view lands inside the decision window rather than after it.
- The file weight stays reasonable for a page that also loads a theme, images, and scripts.
The takeaway pair is the whole article: default to a 6â10 second loop, push to 15â20 seconds when you have three or more angles, and accept that brevity is not universally better. The number is derived from your photo count, not chosen in advance.
Next step: run one item's photo set through the clothing video generator, export a single master cut, and put it through the four-point check before you trim it for Reels or paid. Sellers who count their angles first end up with a duration they can defend, not one they guessed.
