

Your product page has sharp photos of a new-arrival dress and zero seconds of motion, and a model reshoot is not in this month's budget. You don't need one. A boutique clothing listing video is a short 9:16 clip for a single SKU, built from the 1 to 6 stills you already own, that shows shoppers how the garment hangs and moves.
Picture a boutique with front, back, and flat lay shots of a new dress. Those 3 stills can become its listing video without booking a studio or a model.
This guide covers which photos to use, which SKUs to animate first, and how to get from upload to product page. The prerequisites fit on one line: sharp photos of one garment, visible hems, and even lighting.
One photo matters more than the rest. Most boutiques skip it, and it decides whether the video looks real. The photo audit below shows which one it is.
Key Takeaway: Upload 1-6 existing photos of one garment, generate a short 9:16 clip, review it, then add it to the product page. Photo sharpness and visible hems decide quality.
Which Photos Do You Need for a Clothing Listing Video?
You need 1 to 6 sharp stills of one garment, and at least one of them should show the back or the hem. A boutique clothing listing video is a short vertical clip that shows how a single SKU hangs, drapes, and moves. It answers fit questions on the product page instead of promoting the store.
Most fashion video advice on YouTube focuses on store promo reels, so it helps to separate the two formats.
| Listing video | Promo reel | |
|---|---|---|
| Job | Show one garment's fit and movement | Sell the store or a collection |
| Viewer question | "How does this hang on a body?" | "Why should I shop here?" |
| Where it lives | Product page, next to the stills | Social feeds and ads |
| Leave out | Hooks, text overlays, trending audio | Nothing; these are core tools |
The 1-to-6 Photo Readiness Audit
Treat your photos like ingredients in a recipe. Each one supplies something the generator can't invent cleanly on its own. FashionUGC accepts one to six angles per item, and every slot adds information.
| Photo slot | Detail it supplies | Pass/fail test |
|---|---|---|
| Front | Overall shape | Sharp garment edges |
| Back | Rear construction | Zips, seams, and closures visible |
| Side | Fit profile | Silhouette not cropped |
| Flat lay | True color and proportions | Even lighting, no blown highlights |
| On-body | Drape and fit | Fully visible hems |
| Fabric detail | Texture, hem, seams | Weave in focus |
Ghost mannequin shots, which show a garment's 3D shape with the form removed, can fill the front or back slot. If your catalog is mostly flat lays, the flat lay to fashion video guide covers that case.
The photo most boutiques skip is the back view or the hem and fabric detail close-up. Without it, the generator has to guess what the rear construction and hem look like, and those guesses are what make motion look fake.
Resolution sets the ceiling. Low-resolution stills do not produce production-ready motion. Once your set passes the audit, you can turn clothing photos into video.
Which SKUs Should Get a Listing Video First?
Start with new arrivals in drape-heavy fabrics, because motion answers the fit question that stills leave open. Structured, low-drape basics can wait.
| New arrival | Core seller | |
|---|---|---|
| High drape (dresses, wide-leg trousers, fluid fabrics) | First batch. Best for merchandisers launching a drop. | Second batch. Best for teams refreshing proven product pages. |
| Low drape (structured, crisp basics) | Third batch. Best for stores that want complete new-arrival coverage. | Last. Best left on stills until higher priorities are done. |
How the SKU prioritization matrix works: The matrix ranks garments on two factors: how much fit and drape complexity they have, and what role they play in the catalog. High-drape pieces benefit most from motion because stills can't show how fabric falls or swings. New arrivals come before core sellers because they have no reviews or customer photos yet to answer fit questions. Combining both factors gives a four-step order, from high-drape new arrivals down to low-drape core sellers. Use one rule of thumb: if a shopper's main question is "how does it move or hang?", that SKU needs video sooner.
Stills have real strengths. A crisp structured tee or a tailored blazer often reads clearly from a good front and flat lay. A live studio shoot also captures true fabric behavior that generated motion approximates rather than records.
Say a merchandiser has a new drop of slip dresses and a restock of cotton tees. The dresses go into a fashion product video generator first, and the tees wait.
With your first batch chosen, the next step is the build itself.
How Do You Make a Listing Video From Existing Photos?
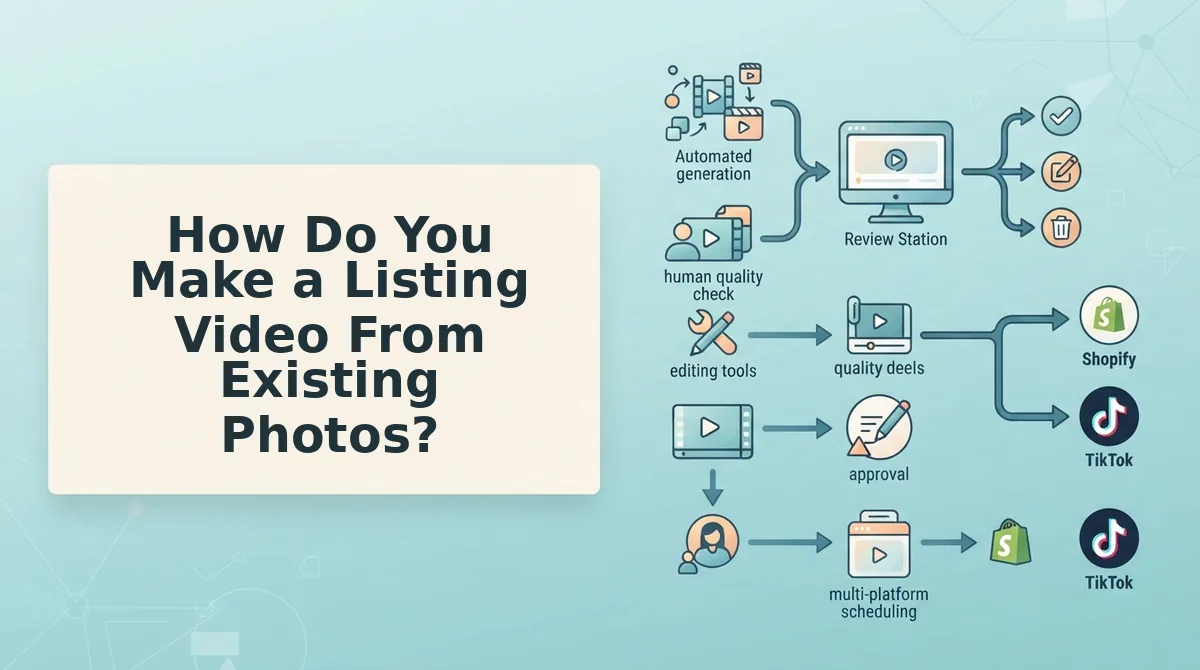
Upload one to six sharp photos of a single garment, generate a short 9:16 vertical clip, review it against the real item, then add it to the listing yourself. The process uses images you already own, so you don't need a model booking, studio time, or new footage.
Before you start: gather the garment's existing catalog photos (front, back, side, flat lay, on-body, or fabric detail). Keep the physical item or its approved flat lay nearby for color reference, and confirm you have admin access to your store's product editor.
- Audit and select 1-6 photos of one garment. Open the SKU's image folder and pick sharp, evenly lit shots of the same item in the same colorway, including one full-front angle and one fabric detail. This takes about 5-10 minutes. You should end with a shortlist where every image shows the same garment and no colorways are mixed.
- Upload the photos. Drag the shortlisted images into the FashionUGC upload area. You should see one thumbnail per image, up to six, which confirms the source set loaded.
- Generate a 9:16 vertical clip. Select the vertical 9:16 format and start generation. Keep the listing cut clean, with no hooks or trending audio, and save those for social versions. If your product page template needs a different crop, check our guide to fashion video aspect ratios. You should see a short vertical clip ready to preview.
- Review the clip for garment accuracy. Play it at least twice next to the flat lay and check the silhouette, color, hems, seams, and texture. Allow 3-5 minutes. The clip passes when nothing about the garment differs from the real item.
- Add it to the product page manually. Download the file, open the product in your store admin, and upload the video to the media section. The tool creates a file and does not publish it, so a person has to add it to the product page. You should see the video in the product gallery preview.
Reshoot vs. photo-to-video workflow
| Step | Reshoot path | Photo-to-video path |
|---|---|---|
| 1 | Book a model | Select stills |
| 2 | Book a studio | Upload |
| 3 | Shoot | Generate |
| 4 | Edit | Review |
| 5 | Add to listing | Add to listing |
Can you make a clothing listing video without a new photoshoot? Yes. If you already have catalog stills of a garment, you can turn them into a vertical listing clip without booking a model or a studio. Choose one to six sharp images of the same item and colorway, and include a fabric detail shot so the texture has a reference. Upload them, generate a 9:16 clip, and compare the result against the flat lay for color, shape, and construction. Keep the listing version free of hooks and trending audio. Once it passes review, download the file and add it to the product page yourself.

How to Check Your Listing Video Before It Goes Live
Check every generated clip against the real garment before it reaches a product page. Run these six checks in order, starting with the most visible to shoppers.
- Confirm the 9:16 aspect ratio. The clip should fill a vertical frame with no letterboxing. A wrong crop can cut off hems or necklines on mobile.
- Verify silhouette accuracy. Compare the fit and shape to the on-body or front photo. Shoppers buy the shape they see.
- Match color against the flat lay. Place the clip next to the flat lay and compare tones before uploading. If navy reads as black, regenerate the clip.
- Inspect hem and seam fidelity. Pause on the edges and stitch lines. Construction details signal quality and must match the real garment.
- Compare texture to the fabric detail shot. Knit, weave, and sheen should look like the source. Texture tells shoppers how the fabric feels.
- Reject added elements. Look for pockets, buttons, or trims the garment doesn't have. Anything invented misrepresents the product.
What FashionUGC does and doesn't do:
- It works with clothing only. Beauty and Accessories are not available yet.
- It creates a video file, and a person reviews it.
- Nothing posts automatically to TikTok or your store.
- It does not guarantee sales or ad performance.
If your catalog has photos but no motion, the clothing video generator turns one SKU's stills into a listing clip you can review.
Start With One SKU
The photos you already own are enough to start. A boutique listing video depends on three moves: audit the photos, prioritize the right SKU, and review the clip before publishing.
Pick one high-drape new arrival from the prioritization matrix, where motion shows the most. Run its photos through the Readiness Audit, generate the clip, check it against the checklist above, and add it to the listing.
That one test gives you a repeatable workflow for the rest of the catalog. Upload one SKU's photos and generate your listing video.
