

A client drops a folder of catalog packshots and asks for motion on every product page before the next collection launches. Short-form creative fatigues fast, and a reshoot per SKU does not fit the retainer.
That pressure is why agencies are building batch PDP videos for apparel catalogs from photography the client already owns. This guide gives you a repeatable, SKU-by-SKU process that turns existing packshots into reviewable PDP and short-form video files.
Most teams look for problems in the wrong place. Batches rarely fail at generation. They fail at step 1, input triage, because clear lighting, visible hems, and sharp garment plates determine output quality before any render starts.
The workflow has five stages: triage, upload sets, locked settings, generation, and QA with handoff. FashionUGC creates the video file, and a person on your team reviews it before it goes anywhere.
Before you open the generator, audit what the client sent.
What is a batch PDP video workflow and who is it for?
Agencies create PDP videos for a whole apparel catalog with a five-step loop. They triage each SKU's photos, build an upload set per product, and lock engine, ratio, and duration per placement. Then they generate SKU by SKU, QA each file, and hand it off.
A batch PDP video workflow is a repeatable production process that converts existing catalog photos into short motion files for product pages and social placements, one SKU at a time. It works like a restaurant line. Every order follows the same recipe card, so the fortieth plate matches the first.
These four terms appear throughout the workflow:
- PDP video is a short clip on a product detail page, the ecommerce page where a shopper views a single item.
- Packshot is a clean, studio-lit catalog photo of a product, usually on a plain background.
- Ghost mannequin is a photo technique where the garment is shot on a mannequin that is edited out afterward, which leaves a hollow, three-dimensional shape.
- Garment plate is a single source image of one garment view, such as the front, back, or a fabric detail.
At the simplest level, one merchandiser runs one catalog. A more complex setup has a single agency running several client catalogs, with a separate locked preset for each brand.
The workflow fits marketing agencies, ecommerce stores, Shopify fashion sellers, boutiques, and social teams that already have catalog photography and need SKU-level motion without a reshoot. It does not fit non-apparel catalogs, because clothing is the live category.
FashionUGC accepts one to six angles per item, so a single flat lay can start a SKU. See flat lay to fashion video.
How to batch PDP videos for an apparel catalog in 5 steps
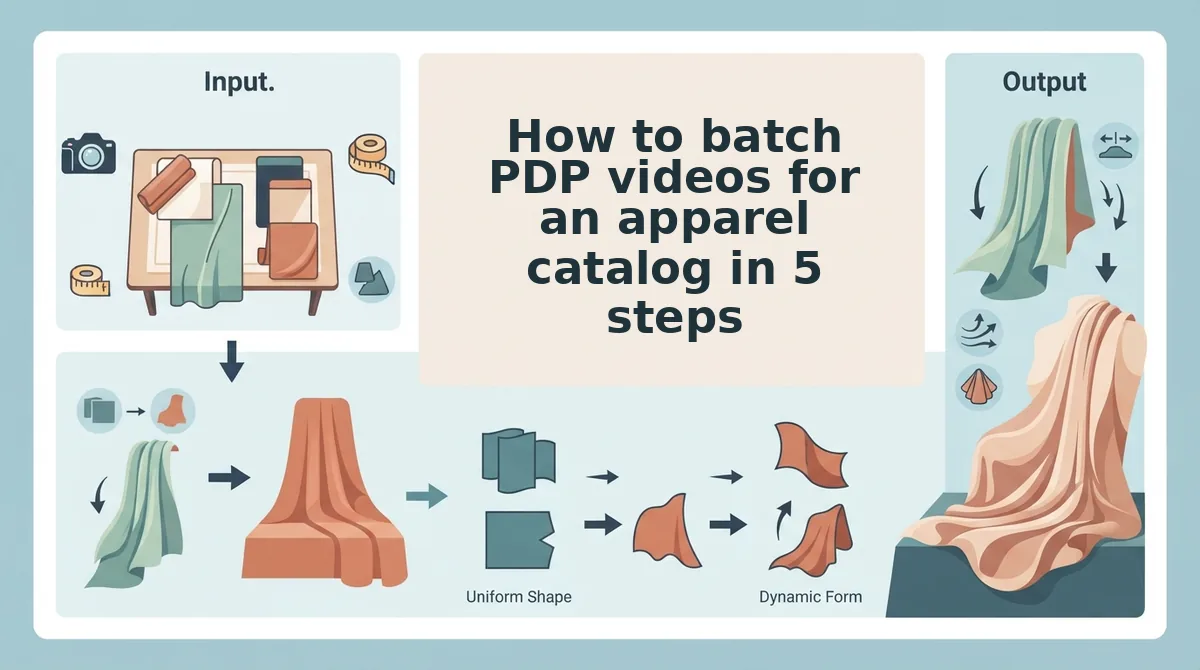
To batch PDP videos for an apparel catalog, work through five steps. Triage each SKU's photos, build an upload set of 1-6 images, and lock engine, ratio, and duration per placement. Then generate one SKU at a time and QA every file before handoff.
Before you start: gather the following.
- The client's images, sorted into one folder per SKU
- A FashionUGC account
- A placement list, such as PDP, Reels, TikTok, and Shorts
- A shared QA sheet with one row per SKU and variant
- Triage every SKU before you upload anything. Score each product on plate count, lighting clarity, visible hems, and sharp detail plates, then assign a tier. Allow a few minutes per SKU, because this is the step where most batches fail.
Tier Plate count Lighting Hems Detail plates Action Ready Two or more usable angles Even, true color Fully visible Sharp Upload now Fixable One usable angle Minor shadow or color cast Slightly cropped Soft but readable Re-crop, color-correct, or pull an archive plate Reshoot No usable angle Heavy shadow or mixed color temperature Cut off Missing or blurred Flag to the client and leave out of this batch Example: an agency receives front, back, and flat lay packshots. SKUs with sharp lighting and visible hems go to Ready. Dresses with cropped hems go to Fixable or Reshoot. Triage is done when every row in the QA sheet has a tier.
- Build the upload set for each Ready SKU. Upload 1-6 photos per product from these angle types: front, back, side, flat lay, on-body, and fabric close-up. Ghost mannequin shots work well as front and back plates because they show garment shape. Flat lays carry the full silhouette and color. The step is done when each SKU's images sit together as one product. For input guidance, see turn clothing photos into video.
Pro tip: add a fabric close-up for textured or printed garments, such as bouclé, cable knits, or florals. It gives the model a reference for weave and pattern scale.
- Lock engine, aspect ratio, and duration for each placement. Pick the settings for each placement once, then record them in the QA sheet so every SKU uses identical values. Use vertical framing for Reels, TikTok, and Shorts, and match the PDP ratio to the client's storefront theme. The full settings matrix is in the next section. The step is done when you have one settings row per placement and no per-SKU edits.
- Generate SKU by SKU with the locked settings. Run one product at a time in the fashion product video generator. Batch means repeatable settings, not one bulk render. A one-click bulk job hides a bad input until dozens of flawed files exist. A per-SKU run surfaces the problem at the first affected SKU. The step is done when each file follows the naming pattern SKU_variant_placement.
- Run the garment-fidelity QA checklist on every file. But a render isn't a deliverable yet.
To QA an AI apparel video, compare every file against its source packshot before approval. Start with color match: the garment should read as the same shade as the packshot on a calibrated screen. Next, check print and logo integrity, and confirm that patterns, text, and logos are not warped, mirrored, or invented. Then check hem and length accuracy, so a midi skirt does not become a mini. Review fabric drape realism and watch for stiff denim that moves like silk. Finally, confirm variant labeling so the navy file is not tagged black. A person reviews every file, because FashionUGC creates the video and does not publish it.
Approved files move to the handoff folder. Rejected files go back to Step 1 or Step 2.
With QA complete, the next decision is what each placement should receive.
What does a finished batch look like for each placement?
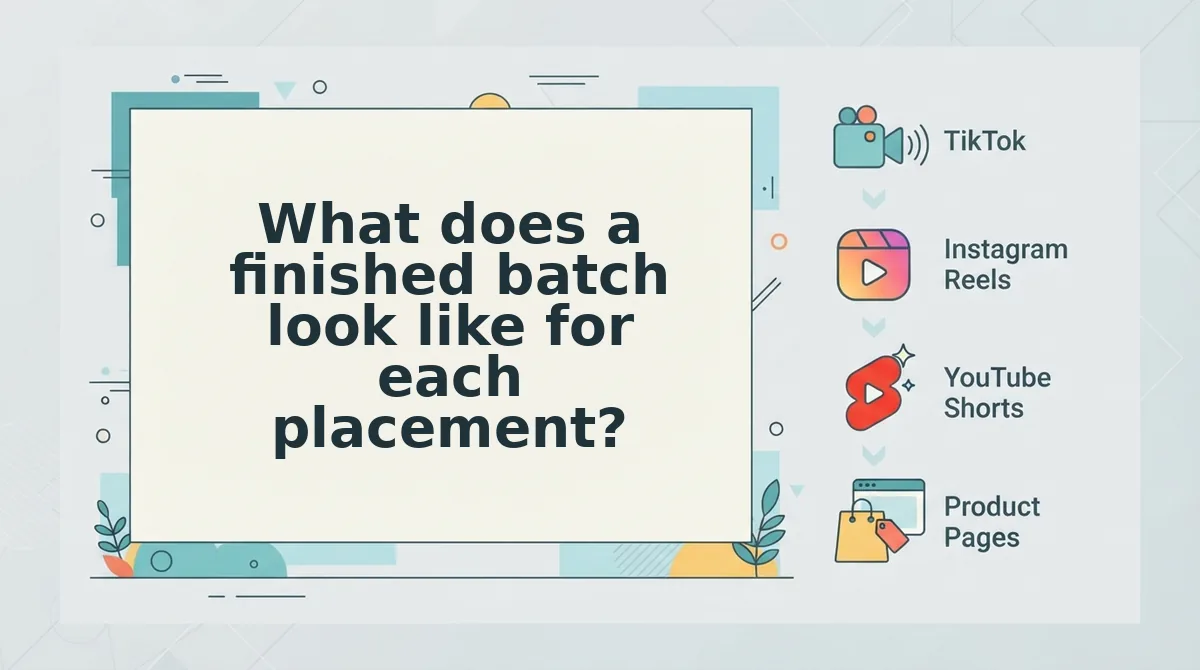
A finished batch is one video file per SKU, variant, and placement, each rendered to that placement's ratio and length. The settings depend on where the file will play, so decide the placement before you choose an engine.
| Placement | Engine choice | Ratio | Duration | Best for |
|---|---|---|---|---|
| PDP gallery | Fidelity-first motion that keeps fabric, color, and fit true to the packshot | Check the video slot in the client's PDP template. Don't assume it. | Match the template's limits | Ecommerce merchandisers refreshing product galleries |
| Reels, TikTok, Shorts | UGC-style on-body movement | 9:16 | Set per client spec and log it | Social teams filling vertical feeds |
| Paid ad | The same locked engine as social, so tests compare like for like | 9:16 for vertical placements. Confirm others in the ad brief. | Follow the media plan | Performance teams testing creative against CAC |
For ratio details by channel, see our guide to fashion video aspect ratios.
In worked example #2, the agency runs every "Ready" SKU on one locked spec per client. It logs the engine, ratio, and duration so later batches match the first one.
What does an agency hand off per SKU? It hands off one video file for each SKU, variant, and placement, and nothing is bundled or merged. Each file follows the naming convention SKU_variant_placement_ratio, for example TEE1042_black_pdp_4x5 or TEE1042_black_reels_9x16. The SKU and variant tell the merchandiser exactly which PDP and colorway the file belongs to. The placement and ratio tell them which slot it fills. Because the file name carries all of this, a client's team can upload hundreds of files without opening each one to check what it is.
Many generators publish strong sample videos, and those are a fair way to judge motion quality. What they rarely show is the handoff spec. If your bottleneck is getting files mapped to PDPs, start with the clothing video generator and your logged spec.
Where does batch generation hit its limits?
Batch generation scales the work, but it can't fix weak inputs or replace human judgment. Plan around these boundaries before you promise a client a full catalog.
- Low-resolution stills fail. Blurry or poorly lit photos will not produce production-ready motion. Triage those SKUs out before they reach the queue.
- Clothing is the only category. Beauty and Accessories are not available yet. Scope client batches to apparel SKUs only.
- Publishing stays manual. The tool creates video files, but it does not post to platforms or promise performance. Your team or the client handles distribution and testing.
- Human review is mandatory. Every file needs a reviewer before handoff. Build QA time into each batch quote.
Run your first batch on the Ready SKUs
The agencies that scale PDP video don't push every SKU through generation. They are strict about what goes in. The workflow comes down to four habits: triage the catalog, lock one spec per client, QA every file, and name each file for handoff.
In worked example #3, "Fixable" SKUs go back to the client with a specific photo request, such as a missing back view or a fabric close-up. They are not forced through generation. That one request often turns a reject into next week's Ready SKU.
Upload your first Ready SKUs to the AI fashion UGC video generator and lock the spec that every later batch will follow.
