
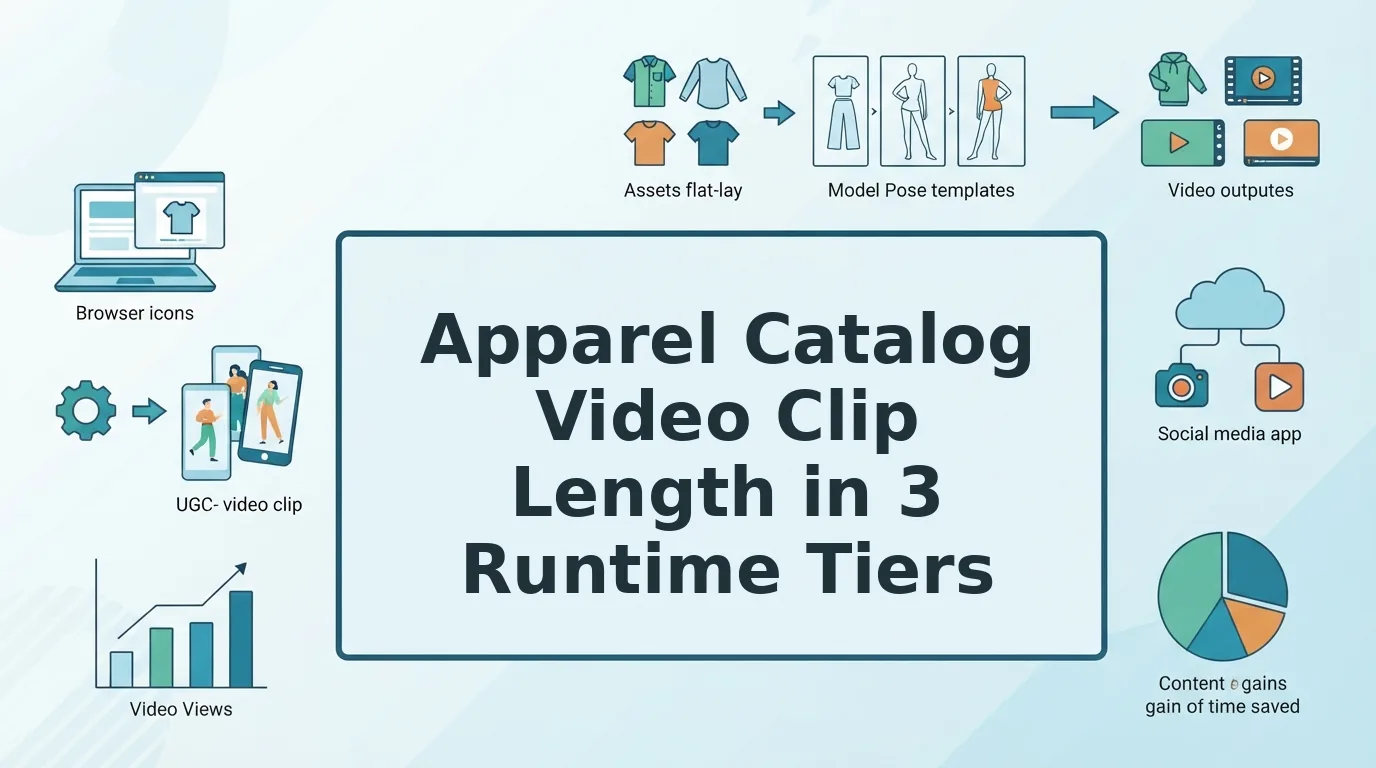

Picture a product listing grid where one dress loops briefly, the next jacket runs long, and a knit top stalls mid-motion. Multiply that across hundreds of SKUs, an illustrative scale rather than measured data, and every merchandising review becomes a runtime debate. That friction is why apparel catalog video clip length needs one catalog-level decision instead of hundreds of clip-level ones.
Short answer: Set one short Core runtime default for every SKU in the catalog. Lengthen a clip only when its source images carry more distinct garment information, such as a back view or fabric detail. Promote a SKU to a longer Hero cut only when it passes a four-question exception gate.
If your catalog grew faster than your editing calendar, this problem will feel familiar. Consider a merchandiser whose catalog is mostly ghost-mannequin and flat-lay shots. They set one Core default before batch generation, so every SKU enters review at the same length and nobody debates runtime clip by clip.
This guide shows you how to build that default, extend it by angle, and decide which SKUs earn more time. You will learn the prerequisites, a three-tier runtime matrix, and the exception rule. That rule ignores bestseller rank entirely, for reasons covered in the steps below.
What You Need Before Setting a Catalog Runtime Default
You need three inputs before choosing a runtime: a flagged SKU list, an angle inventory per SKU, and agreement on a 9:16 vertical master format.
A runtime default is the single clip length every SKU receives unless it qualifies for an exception. Think of it like a store dress code: everyone follows it, and only specific occasions justify a change.
- Hero SKU: a product that earns the longest cut.
- Master cut: the one 9:16 vertical file you trim for each placement.
- Source-angle budget: the rule that adds runtime only for each distinct photo angle.
One default gives you a uniform product detail page (PDP) grid, faster QA, and creative tests that compare like with like.
- SKU list: each product tagged with launch status and an ad budget flag.
- Angle inventory: stills available per SKU. FashionUGC accepts 1-6 photos per video, and clothing is the live category.
For every SKU in an apparel catalog, use one short Core
How to Set Clip Length for Every SKU Step by Step
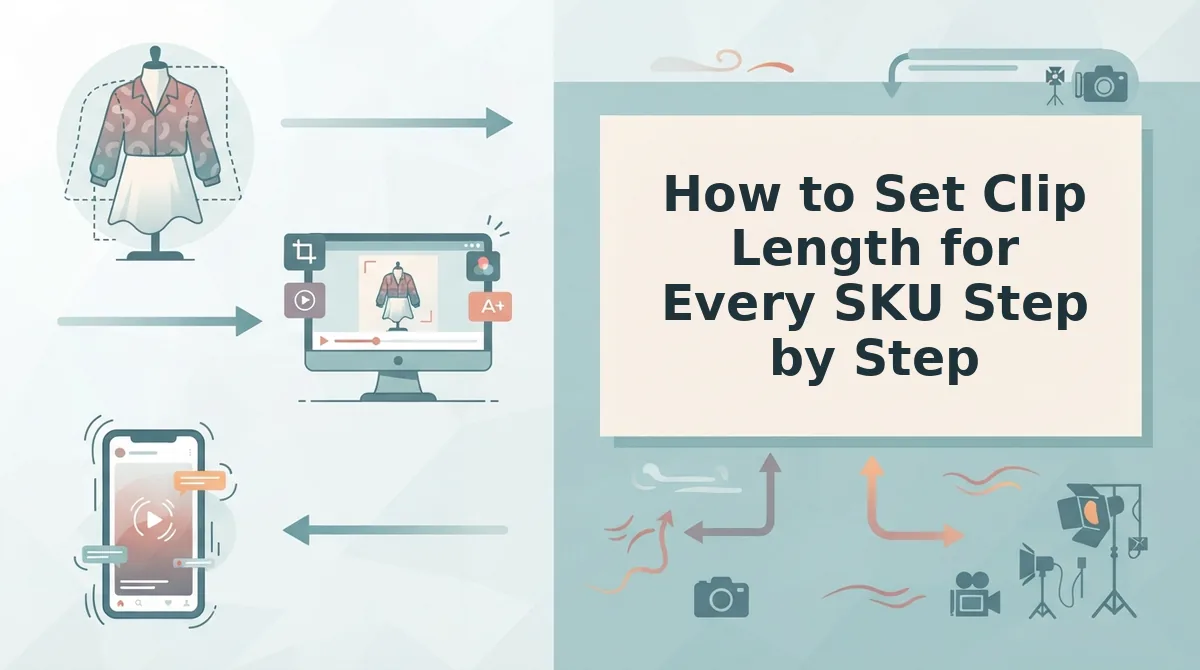
Set clip length per SKU by auditing its source angles, assigning it to a Core, Extended, or Hero tier, adding runtime only for each distinct angle, and promoting a SKU to Hero only when it passes a short gate. Then generate one 9:16 master and trim it for each placement.
Here's where most catalogs go wrong: they default every SKU to the platform maximum. Runtime should follow what your photos can actually show.
Before you start: you need a FashionUGC account (it runs in the browser), one to six still photos per apparel item, and a catalog sheet with a column for each SKU's tier.
- Audit source angles per SKU. For each SKU, list which distinct angles you own: front, back, side profile, flat lay, on-body, and fabric detail. Count only distinct angles, not near-duplicate shots. When you finish, every SKU row should show an angle count from one to six.
- Assign a tier using the Three-Tier Runtime Matrix. Treat every band below as an editorial starting point, not a platform rule. FashionUGC does not publish a fixed output duration, so tune bands to your own testing.
- Core: the largest share of SKUs. Shortest runtime band. One or two source images. Use for basics and evergreen product pages.
- Extended: a smaller share. Mid runtime band. Three or more source images. Use for variants that need a back or detail reveal.
- Hero: the smallest share. Longest runtime band. Four or more source images. Use for launches and paid ads.
- Apply the Source-Angle Budget. The Source-Angle Budget is a rule that adds runtime only for each distinct angle a SKU contributes. A second front shot adds nothing; a fabric-detail plate earns extra time. Flat-lay-heavy SKUs can follow our flat lay to fashion video guide. The expected result is runtime that matches visual content.
- Run the hero gate. Ask four questions: Is this a new-season launch? Is paid budget assigned? Does it have complex construction such as pleats, layering, or a reversible build? Does it have four or more source angles? Two or more yes answers promote the SKU to Hero.
A hero SKU should get a longer video when it has something new to show and money behind it. Extra runtime is only worth spending when distinct angles fill it: a back view, a side profile, an on-body shot, or a fabric close-up that reveals construction a front packshot cannot. Complex garments with pleats, layering, or reversible builds justify the time because viewers need to see how they move and fold. A plain tee with one photo does not. If a SKU answers yes to two of the four gate questions, give it the Hero band; otherwise keep it Extended or Core.
- Generate one 9:16 master cut and trim per placement. Produce a single vertical master, then cut versions for TikTok, Reels, and Shorts from it. Check each platform's current specs yourself rather than relying on remembered caps. You should finish with one master and a set of placement trims per SKU.
Worked example: An agency uploads front, back, and fabric-detail plates for a hero jacket. That's three distinct angles, so the angle question returns no. The jacket is a new-season launch with paid budget assigned, giving two yes answers, so it moves to Hero. Without that budget, it would stay Extended.
Ready to apply the matrix? Turn clothing photos into video from the packshots you already own, or build paid variants with the AI clothing ad generator, and review each output before it ships.
Tiers on a spreadsheet only matter if the finished clips hold up.
How to Check Your Runtime Defaults Worked
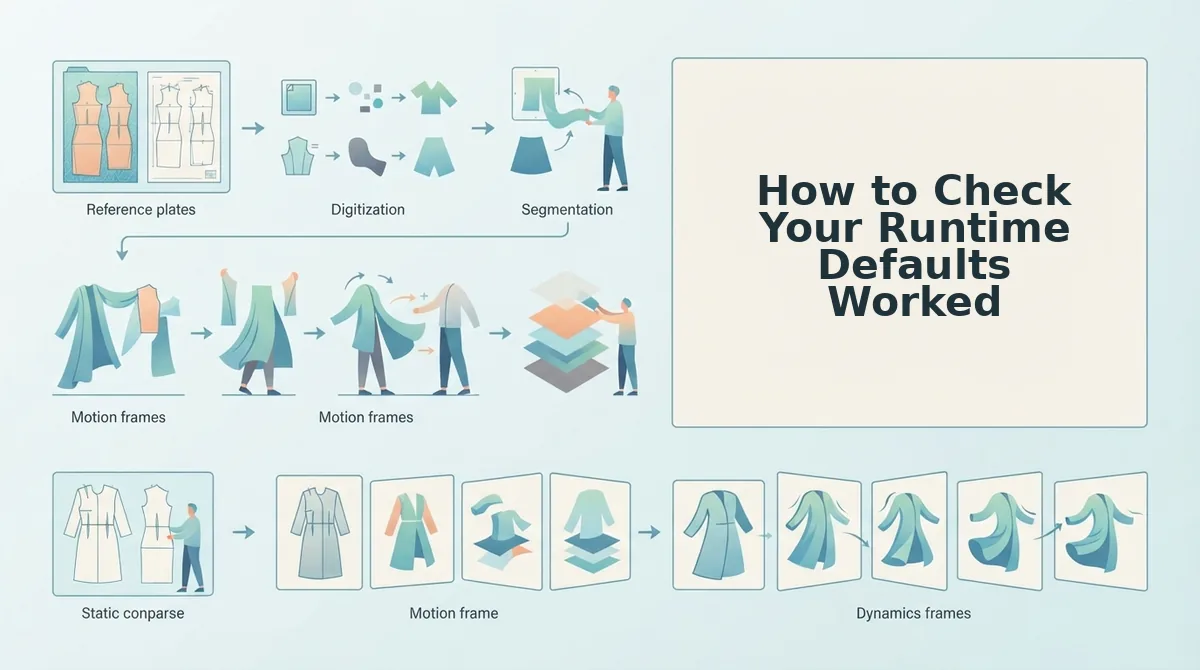
Your runtime defaults worked if every clip matches its tier, no Core clip loops, and every placement trim traces back to one master. Run these checks on each generated batch before anything goes live.
- Audit the PDP grid against tiers. Open the collection page and compare each clip's runtime to its assigned Core or Hero tier. A mismatch means the default was overridden somewhere, so fix it before shoppers see inconsistent pacing.
- Scan Core clips for visible loops. Watch each Core clip once and flag any that repeat a single packshot or visibly restart. In one batch review, a team flagged a looping Core clip, added back and detail angles, and re-ran it without changing the runtime.
- Confirm Hero segments show distinct angles. Step through each Hero clip and check that every segment introduces a new view, such as front, side, back, or fabric close-up. Repeated angles mean the clip is longer than its source photos can support.
- Trace placement trims to one master. Verify that TikTok, Reels, and Shorts cuts all come from the same 9:16 master. Separate generations drift in motion and framing, which makes later creative tests harder to compare.
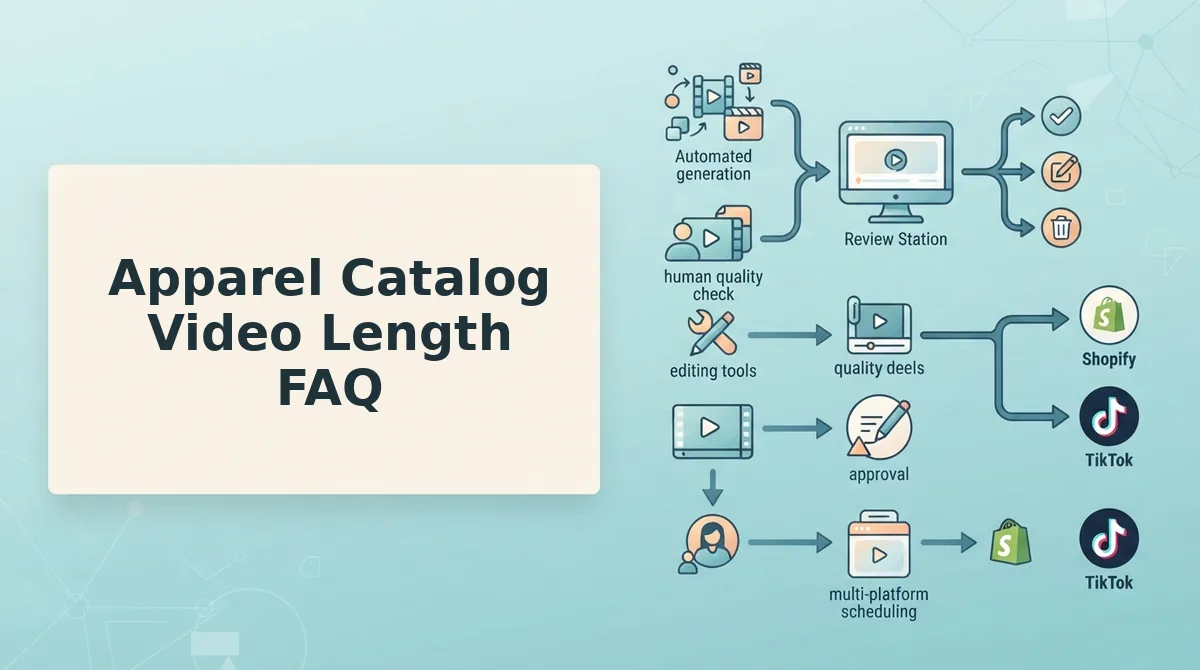
- Log human sign-off per SKU. Record who reviewed each clip and when. FashionUGC produces a video file, and a person must approve it before use.
The tool does not publish to social platforms and does not promise ad or conversion performance. Your team controls distribution and measurement.
Apparel Catalog Video Length FAQ
These answers cover the runtime edge cases that the steps above leave open.
What is the maximum FashionUGC clip length?
FashionUGC does not publish a maximum clip length on its site, so treat any figure you see elsewhere as unverified. Set your catalog defaults based on how many distinct angles each SKU has, then confirm the output in a test generation before scaling.
Can one product photo support a longer clip?
Rarely. A single still offers limited distinct motion, so longer runtimes tend to loop or repeat the same framing. Add front, back, side, flat lay, or fabric detail shots, up to the six-photo input limit, before extending runtime.
Should TikTok, Reels, and Shorts get different lengths?
Keep one 9:16 master per SKU and trim it for each placement instead of generating separate versions. Check each platform's official specifications before trimming, because duration and safe-zone rules change and differ by ad format.
Should accessories and basics share apparel runtimes?
Usually not. Basics and small accessories often have fewer meaningful angles, so they fit the Core default. Reserve longer Hero runtimes for items with construction, drape, or detail that each extra segment can genuinely show.
Lock Your Catalog Runtime Policy
Clip length is an angle budget, not a platform setting. When each extra second depends on a new photo, runtime stops being guesswork and becomes a repeatable catalog rule.
The whole policy fits on one line: one default, angle-based extension, and a two-yes Hero gate. Put it in writing so every merchandiser applies it the same way:
- Write down your Core default and apply it to every SKU.
- Tag Hero candidates only when they pass both yes checks.
- Budget source angles before generating, not after a clip loops.
Upload your existing catalog photos to the AI fashion UGC video generator and generate SKU-level motion under your new policy. Every future drop then starts with a runtime decision already made.
