

A 30-second Reel slot is long enough to expose every gap in your source images. Picture a merchant with only a front packshot of a jacket who wants a full Reel. With one view, the longer runtime keeps returning to the same side of the garment.
That problem is common, and it rarely means you need a reshoot. The useful question is how many photos for a 30 second clothing video you need, and which views they should show.
This guide gives you a clear photo count and a six-angle plan built from catalog images you already own. You need three things: one garment, between one and six photos (the range FashionUGC accepts per item), and a 9:16 output. 9:16 is the vertical format used by Reels, TikTok, and YouTube Shorts.
The guide starts with the direct answer. Next comes a step-by-step set build, followed by a readiness check before you generate. Along the way, you will find the sixth angle most catalogs skip.
One photo can produce a 30-second clothing video. Up to six distinct angles give the extra seconds something new to show. Count different views, not total files.
How many photos do you need for a 30-second clothing video?
One photo is enough to generate a 30-second clothing video. Up to six distinct angles let the extra seconds show new parts of the garment instead of repeating one view. FashionUGC accepts 1-6 photos of a single item, so aim for as many different views as you have, up to six.
Angle coverage is the number of distinct views of a garment that your source photos give the video. A view counts as distinct when it shows something the others do not, such as the back seam, the side drape, or the fabric weave.
Think of a real estate listing. Ten photos of the front door tell a buyer nothing about the kitchen. A 30-second video works the same way: every new second needs a new room to walk into.
The Repetition Test
Does uploading more photos always make a better clothing video? No. The Repetition Test is simple: before you upload, count only the views that show a different part of the garment. Six near-identical front shots, even with slightly different crops or lighting, give no more coverage than one front shot. The video still has only the front to work with, so the extra seconds circle back to the same silhouette. Swap duplicates for a back view, a side profile, or a fabric closeup, and each one adds real information the motion can show.
When you turn clothing photos into video, FashionUGC's multi-angle source image ingestion takes front, back, side, flat lay, on-body, and detail shots for the same item. A 30-second cut built this way also works in paid placements as an AI clothing ad.
| Distinct photos (planning logic) | What the extra seconds can show | What will repeat |
|---|---|---|
| 1 photo | The front silhouette only | The front view, throughout the runtime |
| 2-3 photos | Front, back, and possibly one detail | Side fit, styling, and texture gaps |
| 4-6 photos | Full coverage: silhouette, back, side, texture, styling, flat proportions | Little to nothing, if each view is distinct |
How to build a six-angle photo set step by step
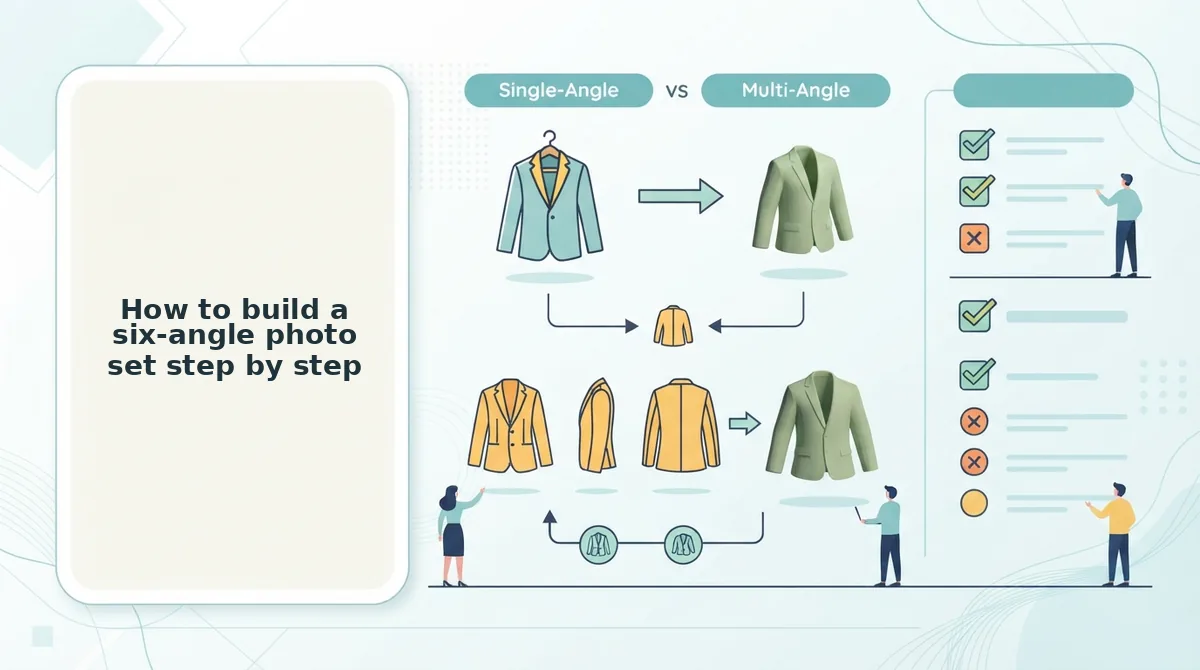
To build a six-angle photo set, pull six distinct views of one garment from your existing product detail page (PDP) images. Use a front, back, side profile, on-body shot, flat lay or ghost mannequin, and fabric detail closeup. Then remove duplicates and order the uploads.
Before you start: open the full image folder for one garment from your PDP catalog, including unused alternates. Plan for roughly 15-20 minutes per SKU, and keep the 9:16 vertical output in mind as you review crops.
A few terms help here. A reference angle is the main view the video anchors to, usually the front. A garment plate is a clean, isolated image of the item on a plain background. A flat lay is the garment photographed lying flat from above. A ghost mannequin shot shows the garment's 3D shape with the mannequin edited out.
- Pull the front and back. Select your sharpest front packshot as the reference angle, then find the matching back view in your PDP images (about 3 minutes). You should now have two slots covering silhouette and back construction.
- Add a side profile or on-body shot. Choose a side angle to show fit and drape, or an on-body image for styling context (about 3 minutes). Use both if you have them, because they fill two different slots.
- Add a flat lay or ghost mannequin shot. Pick the image that shows flat proportions most clearly (about 2 minutes). FashionUGC models flat lays with natural drape, as explained in the flat lay to fashion video guide.
- Add the fabric detail closeup. This is the sixth angle most catalogs skip: a tight shot of texture, stitching, or hems (about 3 minutes). Check the PDP for an existing hem or fabric crop before you plan any reshoot.
- Run the Repetition Test. Compare all six images side by side and swap any duplicate (about 3 minutes). For example, replace a second front shot with a fabric closeup. When you finish, every slot should show something the others do not.
- Order the uploads. Upload the front first, then back, side, on-body, flat lay or ghost mannequin, and detail (about 2 minutes). This sequence moves the viewer from silhouette to construction to texture.
| Slot | Angle | What the viewer needs to see |
|---|---|---|
| 1 | Front | Silhouette |
| 2 | Back | Back construction |
| 3 | Side | Fit and drape |
| 4 | On-body | Styling context |
| 5 | Flat lay or ghost mannequin | Flat proportions |
| 6 | Detail | Texture and hems |
Which angle should you add first if you only have a front shot? Prioritize the back view. A front packshot alone forces a 30-second video to keep revisiting one side of the garment, and the back is the largest unseen area. Adding it roughly doubles the visible surface the motion can show and reveals details shoppers often check, such as zippers, yokes, pleats, and back pockets. Look for it in your existing PDP gallery, marketplace listings, or unused alternates from the original shoot before you book a reshoot. Once the back is in place, add a fabric detail closeup next, because texture is the view most catalogs leave out.
With six distinct slots filled, the last job is confirming each image will hold up in motion.
How to check your photos are ready for video
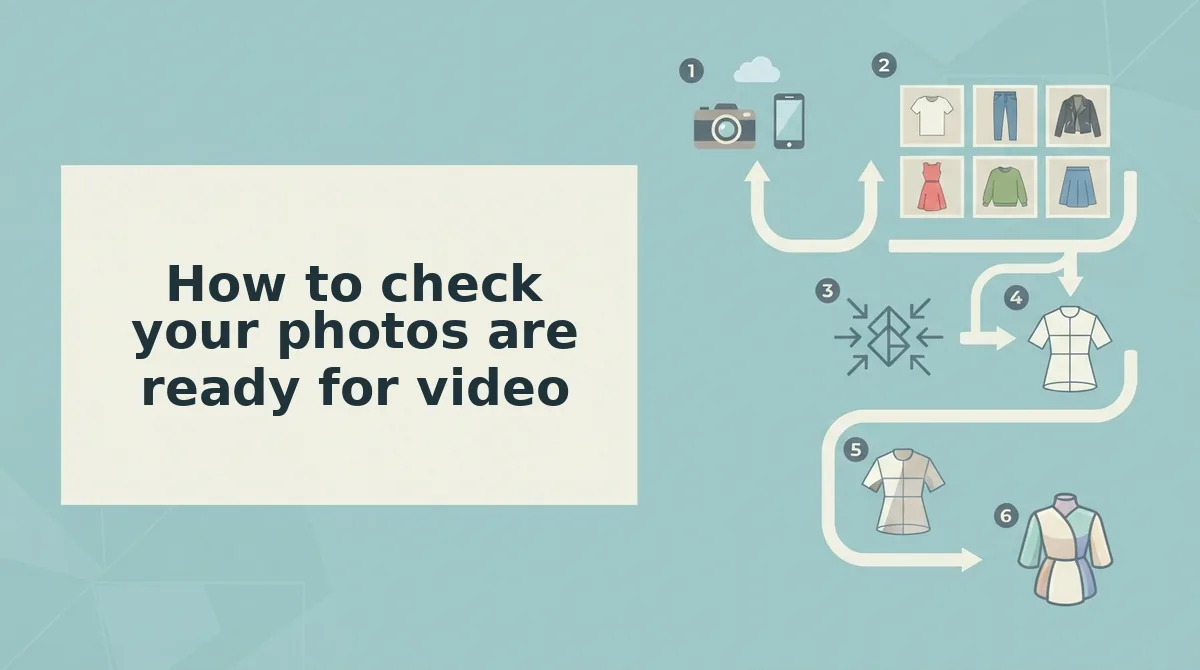
Your photos are ready when every still has clear, even lighting, visible hems, sharp garment plates, a clean background, consistent color, and a view no other image already covers. Run this checklist before you upload.
- Check for clear, even lighting. Lighting is the biggest single factor in output quality. Harsh shadows or blown highlights hide fabric texture, and the motion inherits those flaws. Reject any frame where you can't read the weave.
- Confirm hems and edges are visible. Cropped hems, cuffs, and necklines leave the generator guessing at the garment's silhouette. Full edges let it move fabric believably. Swap in an alternate frame if a hemline falls outside the crop.
- Verify garment plates are sharp. Soft focus on a detail plate turns stitching and prints into blur on screen. Low-resolution stills don't produce production-ready motion, so replace or reshoot any frame that looks soft at full size.
- Use a clean background. Clutter competes with the garment for attention and muddies its outline. A plain studio sweep or simple flat surface keeps the item as the subject.
- Match color across angles. If the back shot reads warmer than the front, the video appears to change color mid-clip. Pro tip: shoot or select detail plates under the same lighting as the front shot so color stays consistent.
- Pass the Repetition Test. Each image should show something the others don't. Duplicate angles add no coverage, so cut near-identical frames and fill that slot with a new side, a detail, or an on-body view.
Once your set passes, load it into the clothing video generator to turn those vetted angles into SKU-level motion.
Frequently asked questions about photos for clothing videos
These answers cover the remaining source-photo questions that come up most often before a first upload.
Can one photo make a 30-second video?
Yes. FashionUGC accepts a single photo. Across a 30-second runtime, though, the video keeps revisiting the same side of the garment. Adding back, side, or detail angles gives the motion new views to cut between.
Do I need on-model photos?
No. Flat lays and ghost mannequin shots work well as source images. On-body shots add styling context, such as how a garment drapes or fits, so include them when you already have them in your catalog.
Do ghost mannequin shots work for video?
Yes. Ghost mannequin images are an accepted source angle. They show the garment's three-dimensional shape and structure without a model, which makes them a strong base view for front, back, or side coverage.
Can I upload photos of different items together?
No. All one to six photos should show the same item. Mixing products blends different garments into one clip. To cover a full look, generate a separate video for each SKU.
Turn your six angles into a 30-second video
A strong 30-second clothing video depends on how many distinct views you have, not how many files you upload. Six different angles give the clip more to work with than twenty near-duplicates.
Before you book a reshoot, check your existing PDP image sets. Most catalogs already include a front, back, and detail plate that pass the readiness checklist. Fill any gaps only after you've audited what you have.
FashionUGC has a defined role in this workflow: it creates the video file. It doesn't publish to social platforms or promise performance. A person on your team reviews each output before it goes anywhere.
Your next step is to upload one to six photos of a single item and create your fashion UGC video. The catalog you've already paid for can become your next round of short-form creative.
