
Your catalog photography already cost thousands, yet every new ad placement still demands a fresh video shoot. That's the quiet budget leak most DTC apparel brands never audit. You're not wrong to feel stuck: TikTok wants vertical motion, your PDP wants clean square crops, and email wants something in between. This guide shows you how to produce one clothing video for every ad placement, a single master render that survives 9:16, 1:1, and 4:5 crops without losing collars, hems, or waistlines. You'll learn the "One Source, Five Placements" framework, the exact safe-zone math competitors never publish, and the step-by-step workflow to turn your existing clothing photos into video assets that flex across TikTok, Reels, Shorts, PDPs, and email. The surprising part? The crop behavior table in Section 3 reveals why most brands are over-shooting by 400%.
Why One Source Video Beats Five Separate Shoots
A source video is a single, high-resolution master render, typically 9:16 vertical at 1080×1920 or higher, that you crop and re-export for multiple placements instead of filming each one separately. Think of it like a master audio recording: you mix once, then bounce versions for vinyl, streaming, and radio without re-recording the band.
Here's the math most brands never run. A studio reshoot day for one apparel SKU typically involves a photographer or videographer day rate, a model, lighting setup, and post-production editing. Multiply that across five placements. TikTok, Reels, Shorts, product page, email, and you're paying for five production cycles that capture essentially the same garment. A single source video, by contrast, requires one production pass. Every additional placement is a re-render, not a reshoot.
The workflow scales from simple to advanced. At the basic level, you upload one to six still photos of a single apparel item, front, back, side, flat lay, on-body, fabric detail, and generate one 9:16 motion clip. At the intermediate level, you export that master file and crop to 1:1 for PDP thumbnails and 4:5 for feed ads.
For a Shopify seller managing 50 SKUs, the difference is compounding. Five shoots per SKU means 250 production events. One source video per SKU means 50 renders and 200 crops, a workflow that fits inside a single afternoon rather than a quarter-long production calendar.
The Placement Ratio Map for Clothing Ads
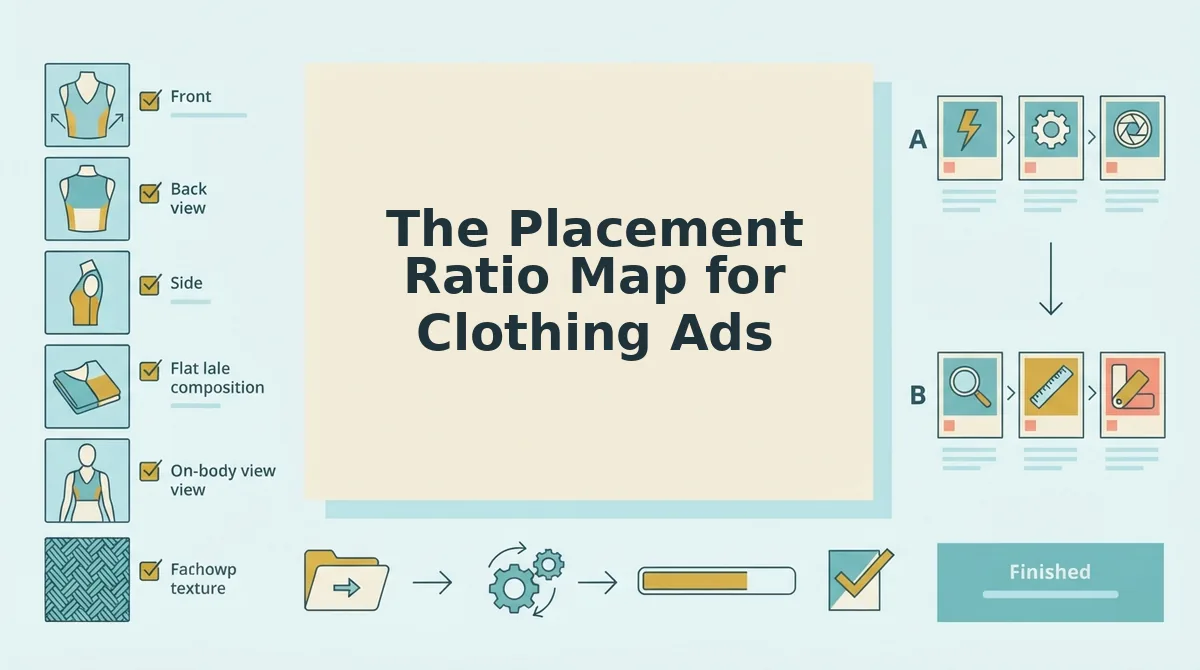
Every ad placement crops your video differently, and the aspect ratio determines which parts of a garment survive. TikTok, Reels, and Shorts use 9:16 vertical; PDP thumbnails and Instagram feed ads commonly use 1:1 square; email banners and some retargeting placements use 4:5 vertical. If your collar or hem sits outside the center safe zone, the crop will amputate it.
Here is the placement-by-placement breakdown that most video guides omit:
| Placement | Aspect Ratio | Safe Zone | Crop Behavior for Clothing |
|---|---|---|---|
| TikTok / Reels / Shorts | 9:16 | Center 60% width, full height | Minimal horizontal crop; top and bottom edges may be covered by UI overlays |
| PDP thumbnail / Instagram feed | 1:1 | Center 60% width and height | Aggressive horizontal crop; side seams and sleeves can be cut |
| Email banner / retargeting | 4:5 | Center 70% width, center 80% height | Moderate crop; hems and collars at frame edges are vulnerable |
| Stories / full-screen ads | 9:16 | Center 60% width, center 70% height | Top and bottom 15% often covered by captions or CTA buttons |
That single constraint lets a 9:16 master survive every crop in the table without losing the garment's defining details. A Shopify seller who uploads a flat lay and ghost mannequin set, renders a 9:16 clip, then crops to 1:1 for the PDP, the collar survives because it sat inside the center safe zone from the start. That's the difference between a reusable asset and a reshoot.
Competitors in the video repurposing space do offer solid general-purpose tools. CapCut and Canva handle basic cropping well, and Adobe Premiere gives you frame-accurate control. But none of them are built around apparel-specific safe zones or SKU-level batch workflows. If you're a solo founder editing three videos a month, a general tool is fine. If you're a Shopify fashion brand managing dozens of SKUs across paid social and PDPs, an AI clothing ad generator that renders from your existing flat lay to fashion video pipeline will save more hours than any manual editor.
Next, the 5-step workflow that turns one source render into five placement-ready files.
The 5-Step One Source, Five Placements Workflow
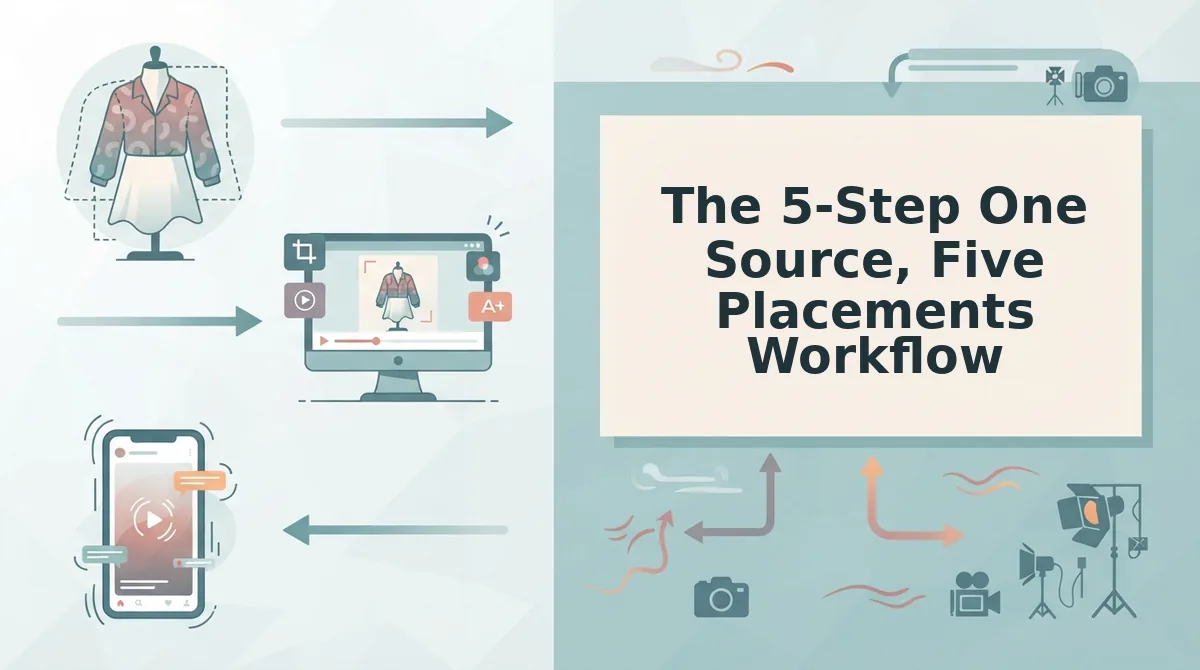
This repeatable workflow turns one prepared image set into five placement-ready exports in under 30 minutes. You need a FashionUGC account, 3-6 sharp product photos of a single garment, and a browser.
- Prepare the source image set. Select 3-6 photos of the same garment with consistent lighting, pressed hems, and no motion blur. Include at least one front, one back, and one fabric detail shot. You should see every seam and collar edge clearly defined before upload.
- Render the master 9:16 video. Upload your image set and generate the vertical master at 1080×1920. The 9:16 ratio is the master because it contains the full garment frame with headroom for cropping down to 1:1 and 4:5 without losing fabric detail.
- Crop for 1:1 and 4:5. Open the crop tool and select the 1:1 preset, then reposition the frame so the garment's hem, collar, and waistline stay inside the safe zone. Repeat for 4:5. You should see no clipped edges on any export preview.
- Adjust motion intensity by placement. Set TikTok and Reels exports to fast cuts with 0.8-1.2 second scene changes. Set the product page export to slow, detail-focused motion with 2-3 second holds on fabric texture and stitching. This placement-specific pacing is what most competitors never map.
- Export and review. Render all five files, then watch each one at full size before publishing. Check that garment proportions look correct in every ratio and that no motion artifact distorts the fabric. A human review pass is mandatory before any file goes live.
How to turn one clothing photo set into five ad placements: Start with 3-6 sharp, consistently lit photos of a single garment. Render a master 9:16 vertical video at 1080×1920, because the vertical frame preserves the full garment with headroom for cropping. Crop copies to 1:1 and 4:5, repositioning each frame so hems, collars, and waistlines stay visible. Adjust motion speed per placement: fast 0.8-1.2 second cuts for TikTok and Reels, slower 2-3 second detail holds for product pages. Export all five files and review each one at full size before publishing. This workflow takes under 30 minutes when you turn your existing clothing photos into video with a browser-based generator.

Where Most Brands Get This Wrong
Three placement mistakes silently kill clothing video performance, and most brands repeat all of them. Here is what breaks and how to fix it.
- The crop-loss trap. Cropping a 9:16 master to 1:1 without repositioning cuts off hems, collars, and waistlines. This matters because truncated garments read as broken products in feed ads. Fix it by manually repositioning the crop frame for every ratio and checking garment edges in the preview before export.
- Motion mismatch between placements. Using the same fast TikTok-style cuts on a product detail page overwhelms shoppers who are evaluating fabric and fit. This matters because PDP viewers need time to inspect stitching and drape. Fix it by rendering a separate slow-motion export with 2-3 second holds for product pages.
- Treating PDP video as an afterthought. Many brands optimize only for paid social and reuse the same file on product pages. This matters because PDP video sits at the highest purchase-intent moment in the funnel. Fix it by giving product page video its own crop, pacing, and review pass using the fashion video aspect ratios that match your theme's media container.
The fix is not to avoid cropping but to reposition the crop frame per ratio so the garment's key edges stay inside the safe zone. FashionUGC's crop tool shows a live preview of what gets clipped, so you can adjust the frame before export instead of discovering the loss after the file is live.
FAQ About One Clothing Video for Every Ad Placement
Direct answers to the four questions brands ask most about single-source clothing video workflows.
What aspect ratio should a clothing video be?
Use 9:16 as your master ratio for TikTok, Reels, and Shorts, then crop to 1:1 for feed ads and 4:5 for placements that favor taller square formats. The 9:16 master preserves the full garment frame so downstream crops lose less fabric detail.
Can one source video really work across all placements?
Yes, one master render can feed all five placements when you adjust crop framing and motion intensity per export. The key is rendering the master at 9:16 with headroom, then creating placement-specific crops rather than reusing a single file unchanged.
What happens to garment detail when you crop 9:16 to 1:1?
Reposition the crop frame manually for each ratio and check garment edges in the preview before exporting.
Do I need a separate render for product pages?
Yes. Product page video should use slower motion with 2-3 second detail holds so shoppers can inspect fabric and stitching. Fast TikTok-style cuts overwhelm PDP viewers and reduce time-on-page for high-intent shoppers.
Ready to put this workflow into practice? Your next move is building the first master render from your existing catalog photos.
Your Next Move with One Clothing Video
The placement ratio map only matters if you actually render from a single source. Most brands stall at the upload step, second-guessing whether five placements justify one workflow. They do. The math from the ratio map holds: one source video, five aspect-ratio crops, zero reshoots.
Here is the sequence that unblocks you:
- Pick one SKU with at least three existing photos, front, detail, and on-body if you have it.
- Run it through the clothing video generator and export the 9:16 master.
- Generate the placement crops, 1:1 for feed, 4:5 for paid, 16:9 for site hero, from that same render.
If you want to see the transformation before committing to a full catalog pass, the product photo to video workflow gives you a single-SKU test run with the same output logic.
One clothing video is not a compromise. It is the only production model that scales across every placement without multiplying your shoot calendar.