
You have one packshot, no reshoot budget, and ad creative that went stale weeks ago. You can still turn one clothing photo into video ad footage. Single-image video generation uses AI to animate one still product photo into a short motion clip while keeping the garment recognizable.
Quick answer: Pick a front-facing on-body or ghost mannequin shot. Check the lighting, hem, and garment edges. Upload it at 9:16 and choose front-facing motion. Review the output frame by frame, then export the file for a person to approve before it runs anywhere.
Picture a Shopify seller who has only a ghost mannequin front shot of a dress and needs a 9:16 Reel. That situation is common, and you can work with it. This guide ranks the angles that hold up on their own and walks through six steps from upload to export. One popular angle should never be used alone, and the next section names it.
Which Clothing Photo Angle Works Best on Its Own?
An on-body front shot works best on its own, and a ghost mannequin front shot is the next best choice. Both show the garment's real shape facing the camera, so the AI has the most visual information to work from.
The Angle Believability Ladder is an editorial judgment, not test data. It ranks single-photo inputs for fashion video in this order: on-body front, ghost mannequin front, flat lay, back view, and detail closeup. The top two rungs show silhouette, drape, and fit from the angle shoppers expect, so the motion looks natural, while lower rungs force the generator to invent shape it cannot see.
A packshot is a clean catalog photo on a plain background. A ghost mannequin shot removes the mannequin in editing, so the garment looks worn but hollow. A garment plate is the isolated garment image that the generator uses as its visual reference.
- On-body front. In this shot, a model wears the item and faces the camera. It shows true fit and drape, so use it first whenever you have one.
- Ghost mannequin front. In this shot, the garment holds a worn 3D shape without a model. It keeps the structure intact, so pair it with a subtle sway or a slow push-in.
- Flat lay. In this shot, the item lies flat and is photographed from above. It shows color and print but no body shape, so keep the motion gentle and follow the flat lay to fashion video guide.
- Back view. In this shot, the garment faces away from the camera. It hides the front details shoppers judge first, so use it as a supporting angle.
- Detail closeup. In this shot, a tight crop shows fabric, stitching, or hardware. Never use it alone, because the generator cannot see the full garment. Add it only alongside a full-length angle.
Before you upload, check the image for these five points:
- Even lighting with no harsh shadows
- A visible hem
- Sharp garment edges
- No cropped sleeves
- Enough resolution for a full-screen vertical frame
If you have more than one angle, FashionUGC accepts one to six photos of a single item when you turn clothing photos into video.
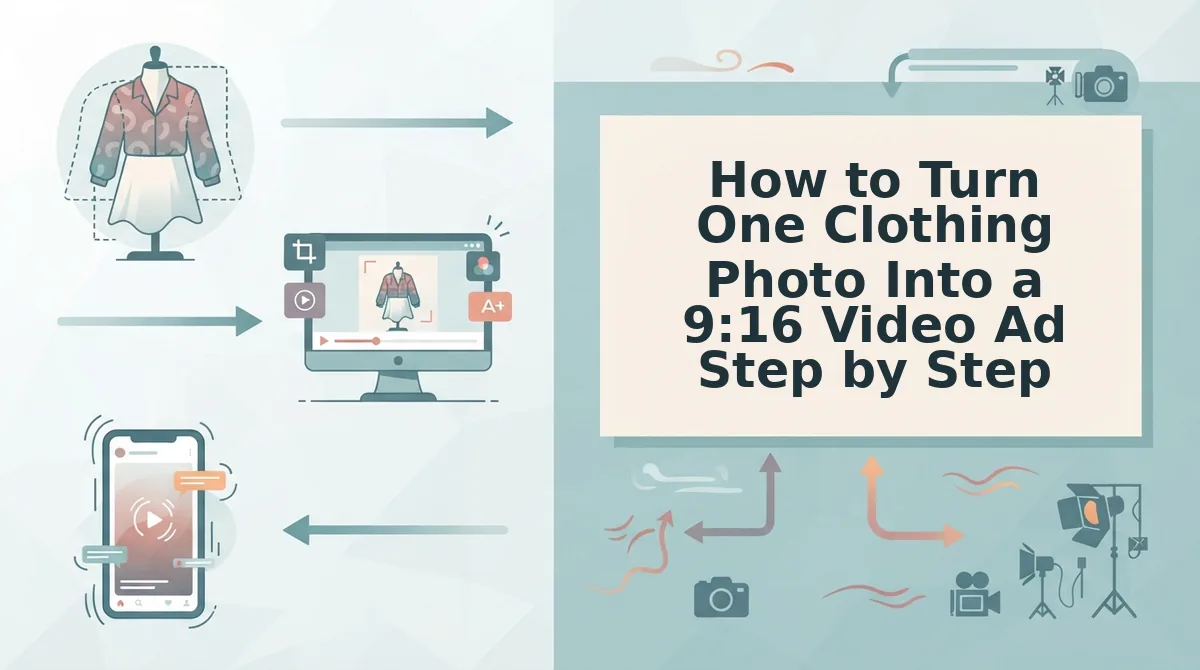
How to Turn One Clothing Photo Into a 9:16 Video Ad Step by Step
Choose your strongest angle, prep it, upload it at 9:16, pick front-facing motion, review every frame, and export the file for human approval. Each step is listed below.
You need three things: one clothing photo, a browser, and a FashionUGC account. Clothing is the only live category right now. A 9:16 vertical frame is 9 units wide by 16 units tall, which is the full-screen format for Reels, TikTok, and Shorts.
- Choose your angle (about 2 minutes). Pick the highest rung you have on the Ladder. When you finish this step, you should have one full, front-facing image of the garment.
- Prep the image (5 to 10 minutes). Run the checklist from the previous section. If anything fails, re-export the photo from your original file. When you finish this step, you should have a clean garment plate.
- Upload and set 9:16 (about 1 minute). Upload the photo and select the 9:16 aspect ratio. You should see the garment framed inside a tall preview.
- Pick a front-facing motion style (about 2 minutes). Match the motion to what the photo shows. Use a gentle turn cue for on-body shots, a sway or push-in for ghost mannequin shots, and a slow pan for flat lays. Avoid full rotations, because they force the AI to invent a back view it never saw.
- Review frame by frame (5 to 10 minutes).