

Every DTC apparel brand knows the drill: you shoot one hero video for a hoodie, upload it to TikTok, then spend an afternoon re-cropping the same clip for Instagram Reels, YouTube Shorts, and a 4:5 ad placement, only to realize the hem is cut off in every version. Ad fatigue is real, and reshoots are expensive. The task of trying to format one clothing SKU for every social feed from a single master file is where most creative teams burn hours and budget.
You're right to feel the friction. Each platform demands a different aspect ratio, and cropping ruins garment framing, collars disappear, hems get sliced, and the product stops looking like the product. But here's the contrarian fix: the solution isn't a better crop tool or a more careful editor. It's generating each ratio directly from the original stills, so no version is ever a crop of another.
In this guide, you'll learn what feed formatting actually means for apparel, the exact aspect ratio and safe zone specs for every major placement, and a workflow to turn product photos into video files that fit each feed natively. The surprising part? The most reliable path skips the master video entirely, and the reason why comes down to how clothing behaves inside a frame.
What Formatting One SKU for Every Feed Actually Means
Formatting one SKU for every feed means producing a separate, correctly framed video file for each platform's native aspect ratio, generated from the original product photos rather than cropped from a single master video. A SKU is one product variant (a specific color and size of a garment) with its own photo set. A feed format is the aspect ratio and resolution a platform expects for a given placement. A safe zone is the central area of a frame that won't be covered by UI overlays like captions, buttons, or engagement icons.
Think of it like tailoring a garment. You wouldn't buy one suit off the rack and expect it to fit every body type without alteration. Cropping a 9:16 master video to 4:5 or 1:1 is like hemming pants by cutting off the knees, the proportions are wrong, and the most important details get lost. Clothing SKUs lose hems, collars, and fabric texture when cropped from one master, because those details sit near the frame edges in a full-body shot.
The intermediate step is understanding why a single master video fails for apparel. A 9:16 vertical video frames a garment with headroom and footroom built in. When you crop that to 1:1, you're slicing away the top and bottom of the frame, which is exactly where a dress hem, a jacket collar, or a sneaker sole lives. The advanced workflow is source-image-to-ratio generation: upload the original stills once, and produce a 9:16, 4:5, and 1:1 version where each frame is composed fresh from the source photos. This is the same principle behind flat lay to fashion video conversion, the source images, not the output file, are the asset you protect.
For a single SKU with six angles, front, back, side, flat lay, on-body, and fabric detail, the goal is three output files, each framed so the garment occupies the safe zone for its target placement. No cropping. No re-editing. No lost hems.
The Aspect Ratio and Safe Zone Specs for Every Feed
The three aspect ratios that matter for apparel social feeds are 9:16 for Reels, TikTok, and Shorts; 4:5 for in-feed placements; and 1:1 for carousels and legacy tiles. Each requires a different resolution and safe zone, and most brands lose the garment when they crop a 9:16 master to 4:5 or 1:1.
Here's the full spec breakdown for clothing SKUs, including the safe zones that keep hems, collars, and details visible under platform UI overlays:
| Aspect Ratio | Resolution | Safe Zone for Clothing | Primary Placements | Best For |
|---|---|---|---|---|
| 9:16 | 1080×1920 | Central 1080×1420 | TikTok, Instagram Reels, YouTube Shorts | Full-body garment reveals, try-on motion, UGC-style transitions |
| 4:5 | 1080×1350 | Central 1080×1080 | Instagram in-feed, Facebook in-feed, Meta ads | Mid-body framing, detail close-ups, catalog-style product shots |
| 1:1 | 1080×1080 | None, garment must fill frame | Carousels, legacy tiles, product page thumbnails | Flat lays, fabric detail shots, single-angle product views |
The 9:16 spec keeps the garment within the central 1080×1420 region so captions, like buttons, and engagement icons never cover the product. The 4:5 spec reserves a central 1080×1080 square for the garment, leaving the top and bottom strips for UI elements and text overlays. The 1:1 spec has no safe zone, the garment must fill the entire frame, which is why flat lays and detail shots work best there.
Each platform's native player has its own overlay behavior, but the safe zones above are conservative enough to work across all of them. The honest tradeoff: cropping tools like Canva or CapCut can resize a master file in seconds, and they're fine for non-apparel content. But for clothing, where the product's silhouette is the message, a crop always sacrifices something. That's why the fashion video aspect ratios that perform best are generated independently, not derived from a single export.
Next: why generating each ratio from the original stills beats cropping a master every time.
Generate Each Ratio, Don't Crop a Master
Cropping a single 9:16 master video to fit 4:5, 1:1, or 16:9 almost always cuts off the bottom hem, top collar, or side seams in clothing shots. Generating each ratio from the original stills keeps the garment fully framed in every output.
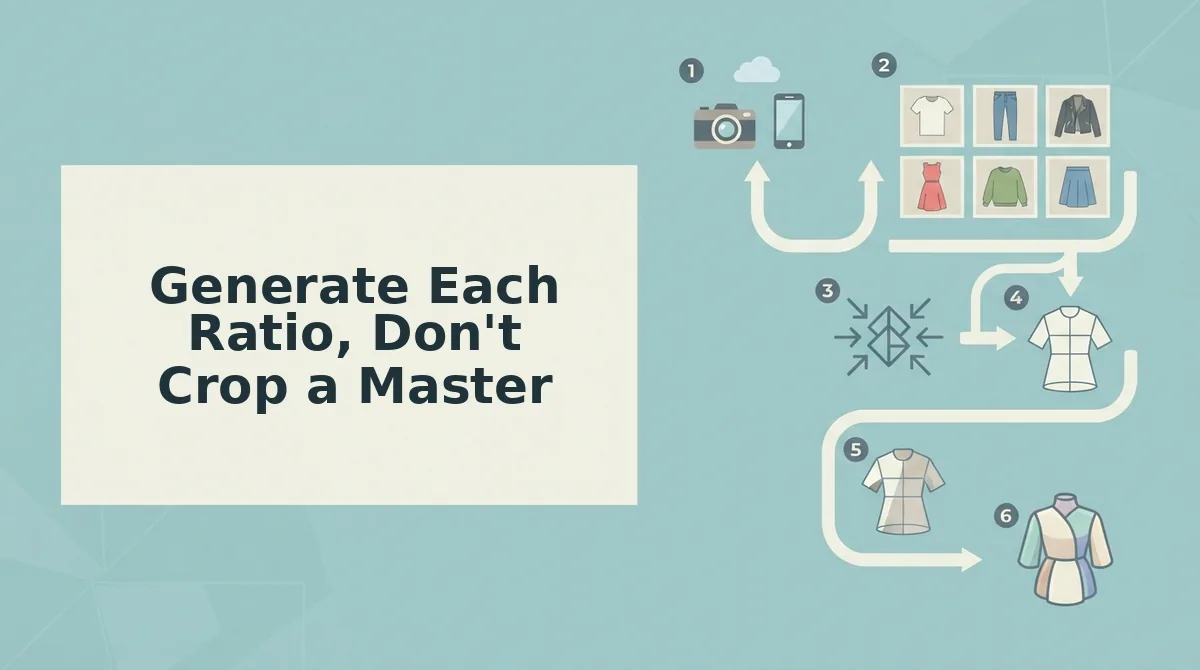
Prerequisites: You need one to six source photos per SKU (front ghost mannequin, back, side profile, flat lay, fabric detail, on-body), a browser-based clothing video generator that accepts existing packshots, and the target ratio specs from your media plan.
- Upload the original stills, not a rendered video. Open the generator's upload panel and select the same source image set for every ratio: front ghost mannequin, back, detail, and flat lay. Uploading stills instead of a finished 9:16 export gives the generator full pixel data to reframe each output. You should see all images appear as thumbnails with a green checkmark on each.
- Select the first target ratio, such as 9:16. Click the aspect ratio dropdown and choose 9:16 for TikTok and Reels. The generator should reframe the ghost mannequin front shot so the full garment, collar to hem, sits inside the safe zone. Confirm the hem is visible before moving on.
- Generate the 9:16 version, then switch the ratio to 4:5. Click Generate and wait for the render, typically 30-90 seconds per ratio. Then change the ratio setting to 4:5 and generate again from the same stills. Because the generator works from source images, the 4:5 output keeps the collar and hem intact instead of cropping them off a taller master.
- Repeat for 1:1 and 16:9 if your media plan includes feed posts or YouTube. Select each remaining ratio and generate. A ghost mannequin front shot and a flat lay can both be formatted to 9:16 and 4:5 without losing product detail, because the generator recomposes framing per ratio rather than slicing pixels.
- Review each output at full size before exporting. Open the preview and check the hem, collar, and side seams in every ratio. You should see the full garment framed correctly in all outputs. Export the files and you have one SKU formatted for every feed without a single manual crop.
A clothing video generator that accepts existing packshots and flat lays removes the crop step entirely. You upload stills once, select each ratio, and let the tool handle reframing, so the garment stays fully visible whether the video plays on a 9:16 phone screen or a 4:5 in-feed placement.
One SKU, Six Photos, Five Feeds: The Batch Workflow
The first SKU takes the longest because you are establishing the source image set and ratio sequence. The next hundred take minutes when you batch by ratio, not by SKU.
- Lock the source image set for the SKU. Use the same four to six photos for every ratio: front ghost mannequin, back, side profile, flat lay, fabric detail, and on-body if available. A consistent source set means every output frames the garment the same way, which keeps your catalog visually coherent across Shopify fashion stores and paid social.
- Generate all five feed ratios from those stills. Run 9:16, 4:5, 1:1, 16:9, and any story-specific ratio from the same upload. Generating from stills instead of cropping a master keeps hems and collars intact in every format.
- Batch by ratio, not by SKU. Generate every SKU's 9:16 version first, then every SKU's 4:5, then 1:1. Batching by ratio keeps framing consistent across the catalog and eliminates the mental switching cost of changing aspect ratios between every render.
- Reuse the same source image set for every ratio. Front ghost mannequin, back, detail, and flat lay work for all five feeds. You do not need separate photography per platform, one set of stills feeds every output.
- Review output before publishing. The generator creates the video file; a person approves it. Check hem, collar, and side seams in each ratio before the file goes to your ad manager or scheduler.
- Scale to the full catalog. Once the first SKU's workflow is set, repeat the same upload-and-generate sequence for the next SKU. The process becomes mechanical, and a catalog of 100 SKUs can be formatted for five feeds in a single working session.
Questions About Formatting One Clothing SKU for Every Feed
Formatting one clothing SKU for every feed means generating each aspect ratio from the original stills instead of cropping a single master video, so the garment stays fully framed on TikTok, Reels, Shorts, in-feed ads, and product pages.
How do I avoid re-editing the same clothing video for every platform?
Generate each ratio from the original stills instead of cropping a single master. Upload the source photos once into a AI clothing ad generator, select each target ratio, and render separately. The tool reframes per ratio, so no manual re-editing is required.
Does the same flat lay work for TikTok and Instagram?
Yes, the same flat lay works if the source image has enough resolution and the garment fills the frame with margin. A high-resolution flat lay can be reframed to both 9:16 and 4:5 without losing product detail, as long as the generator works from the original still rather than a cropped export.
What resolution do in-feed clothing ads need?
In-feed ads need at least 1080×1350 pixels for 4:5 placements and 1080×1920 pixels for 9:16 placements. Uploading source photos at or above these dimensions ensures the generator can output crisp video for every feed without upscaling artifacts.
Why does my clothing video look cropped when I resize it?
Cropping a 9:16 master to 4:5 almost always cuts off hems or collars because the narrower ratio removes vertical space from the top and bottom of the frame. Generating each ratio from the original stills keeps the full garment visible in every output.
Ready to put this into practice? Format your first SKU for every feed now.
Format Your First SKU for Every Feed Now
The fix isn't a better crop tool, it's generating each ratio from the original stills. When you crop a 9:16 master into a 1:1 square, you lose the composition, the safe zones shift, and the product detail shots become unusable. Generating natively means every feed gets a version built for its own frame.
Here's the workflow that closes the loop from your six product photos:
- Upload your product photos and generate each ratio natively with the AI clothing ad generator.
- Run the output through the clothing video generator to produce feed-specific motion for Reels, TikTok, Shorts, and product pages.
- Review each file before publishing, the platform creates the video, you make the call.
One SKU stops being a formatting bottleneck. It becomes five native assets, each framed correctly from the first frame, each pulling from the same six photos you already own. That's the difference between resizing content and producing it.
Format the feed, not the crop, generate every ratio from the source, and one SKU finally fits everywhere it needs to be.