

Your best-performing product video just got rejected by the platform, not because the creative was weak, but because the hem, the sleeve, and half the neckline were cut off in the first frame. If you've watched a promising apparel ad die in review or underperform because the garment never fully fit the frame, you've already met the real cost of apparel video cropping mistakes: wasted ad spend on creative that never had a fair shot.
You're not alone. Most apparel video cropping failures start in the source image, not the export settings. The good news is that these mistakes are predictable, preventable, and fixable before you ever hit render.
In this guide, you'll learn the 80/20 safe-zone method that keeps garments fully visible during motion, why aspect ratio must be locked before generation, and the seven specific cropping mistakes that cut off hems, sleeves, and necklines. You'll also see how an AI fashion UGC video generator can apply these framing rules automatically when converting product photos into short-form motion.
One of these mistakes is so common that nearly every brand makes it on their first batch, and it has nothing to do with the export settings you're currently blaming.
How to Stop Your Clothing Video from Cropping Off the Hem or Sleeves
This safe-zone method prevents hems, sleeves, and necklines from being clipped when static product photos are converted into video.
Before you start, you'll need one to six source photos of the apparel item, your target platform's aspect ratio (9:16 for TikTok and Reels, 1:1 for feed ads, 4:5 for most paid placements), and a video generation tool that accepts multi-angle stills. For platform-specific dimensions, review this fashion video aspect ratio guide before uploading.
- Open your source photos and check the garment's current framing. Look at each still and confirm the full garment, hem, both sleeves, neckline, and any straps, sits inside the central 80% of the image. If any edge of the garment touches the outer 20% band, the photo is already too tight for video conversion. You should see at least a visible margin of background on all four sides of the garment.
- Select your target aspect ratio before generating any motion. Open the aspect ratio setting in your video tool and choose 9:16, 1:1, or 4:5 based on where the video will run. Locking this first prevents the generator from making its own crop decisions later. You should see the preview frame update to the selected dimensions immediately.
- Upload one to six angles of the same garment. Include front, back, side, and detail shots if available. The generator uses these angles to create motion, so every uploaded still must pass the 80/20 check from step one. You should see thumbnail previews for each uploaded image.
- Run a preview render and watch the garment's edges during motion. Motion drift makes static framing fail because the garment appears to breathe when flat lay or ghost mannequin stills are converted to video. Watch the hem and sleeve edges for 5-10 seconds of the preview. You should see the garment stay fully inside the safe zone throughout the motion cycle.
- Adjust the source framing or zoom level if any edge clips. If a sleeve or hem drifts into the outer 20% band, go back to the source image and add more margin around the garment, or reduce the motion intensity setting if available. Re-run the preview. You should see the garment remain fully visible with clear background space on all sides.
The 80/20 safe zone exists because platform interfaces layer captions, buttons, and engagement icons over the outer edges of your video.
Why Choosing the Aspect Ratio After You Generate Is a Cropping Mistake
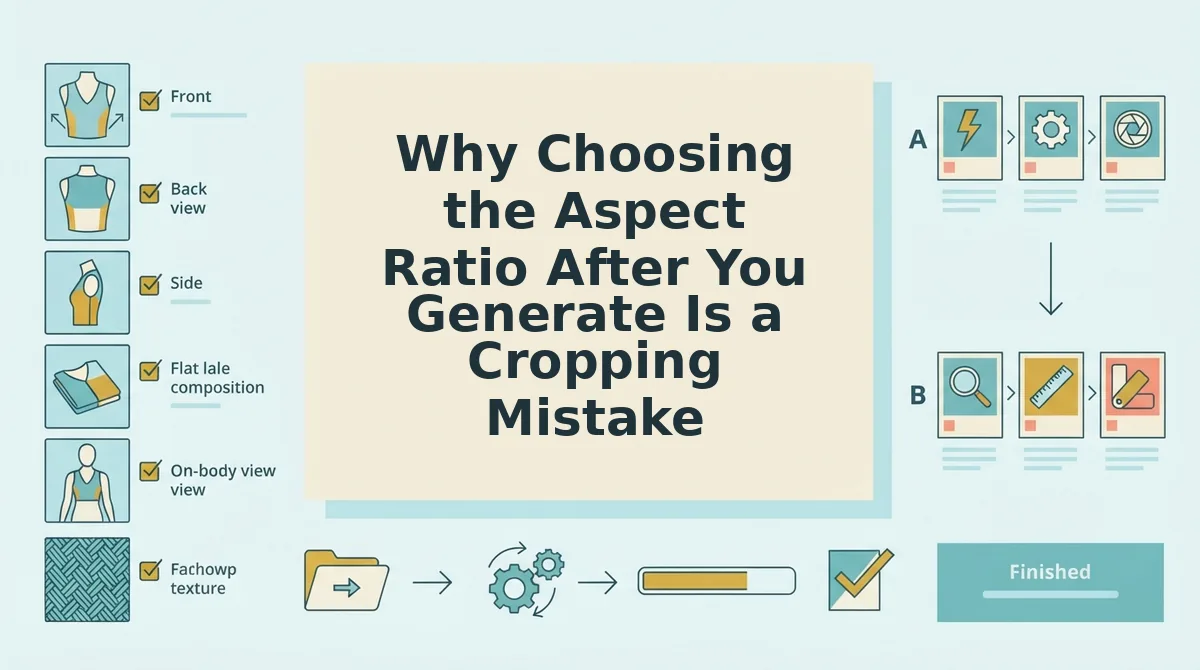
Aspect ratio is the proportional relationship between a video's width and height, and it determines how much of your source image survives the frame. Choosing it after generation forces the editing software to crop aggressively, cutting off whatever falls outside the new dimensions.
Think of aspect ratio like choosing the canvas size before you start painting. If you paint a full composition on a square canvas and then decide you need a tall, narrow one, you don't get to move the paint, you cut the sides off. The same logic applies to apparel video: generating motion in a square frame and then converting to 9:16 means the software slices the left and right edges of every frame, which is exactly where sleeves and extended hems live.
Choosing 9:16 after generation forces aggressive horizontal cropping that cuts off sleeves and hems. The generator has already composed the motion, the garment's position, and the breathing effect for the original frame. When you re-crop, you're not reframing, you're amputating. Pros crop with intent, not to fill space. They select the aspect ratio before generation because that decision tells the generator how much margin to preserve around the garment during motion synthesis.
Lock the aspect ratio first, and the generator protects the garment's edges from the start. The next section breaks down the seven specific cropping mistakes that still cut off hems, sleeves, and necklines, even when you think you've framed everything correctly.
The 7 Apparel Video Cropping Mistakes That Cut Off Hems, Sleeves, and Necklines
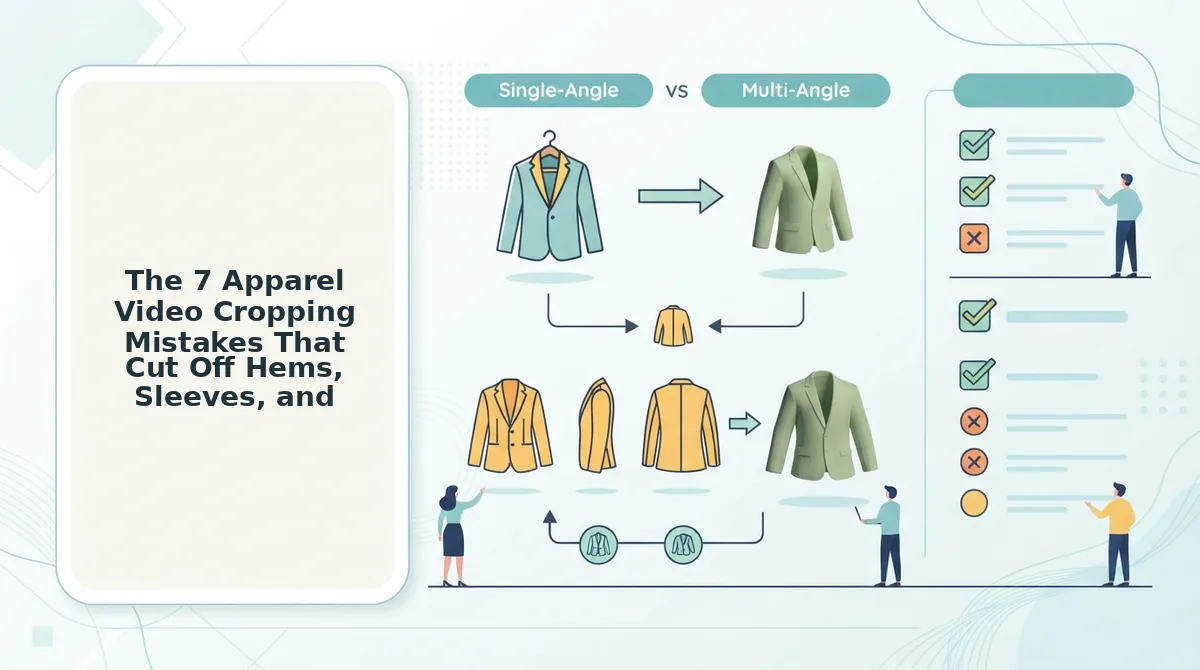
These are the seven framing failures that consistently ruin apparel videos, ranked by how often they appear in rendered output and how badly they damage the garment's sellability.
- Framing the subject too tightly at the source. When the original photo crops close to the garment edge, the AI has no pixel data to reconstruct what was cut off. This forces the generator to invent hems, sleeve ends, and necklines that never existed in the product. Always leave at least 15-20% breathing room around the garment in every source image before upload.
- Choosing the aspect ratio after generation instead of before. Generating in one ratio and then converting to another re-crops the frame, often slicing off the very edges you framed deliberately. Set the target aspect ratio as the first step in your workflow so the AI composes motion within the final frame boundaries from the start.
- Ignoring the platform's safe zone for UI overlays. TikTok, Reels, and Shorts all place captions, buttons, and engagement icons over the lower third and edges of the video. A hemline that renders perfectly in the preview can be covered by the platform's own interface. Keep all critical garment details inside the central 80% of the frame.
- Cropping ghost mannequin shots too tight. When you trim a ghost mannequin photo aggressively, the AI must invent the neckline, collar, and hem that were never photographed. The result is a warped or hallucinated garment shape that customers immediately recognize as fake. Use wider ghost mannequin crops and let the AI work with the full silhouette, or convert them properly using a ghost mannequin photos to UGC video ads workflow that preserves structural edges.
- Treating flat lays like on-body shots. A flat lay has no body inside it, so the AI has no reference for how the fabric should drape, stretch, or breathe. Cropping a flat lay tightly and expecting natural motion produces stiff, unnatural movement. Give flat lays extra margin and accept that the garment will move differently than an on-body shot.
- Cropping out the fabric detail that sells the garment. Texture, stitching, and drape are the visual proof points that justify a price tag. When you crop tightly to the garment outline, you lose the fabric context that makes the video feel real. Include at least one wider shot per angle that shows how the material falls and moves.
- Skipping the pre-render frame check. Most cropping failures are visible in the preview frame before you ever hit render. A 30-second review of the first and last frame catches 90% of hem, sleeve, and neckline cutoffs. Make the pre-render check a non-negotiable step in your production workflow.
Fix the Frame Before You Render, Not After
Every cropping mistake in this article shares one root cause: the frame was decided after the fact instead of before the generation. When you set the aspect ratio first, leave breathing room in every source image, and review the preview frame before rendering, you eliminate the conditions that produce cut-off hems and invented necklines.
Your next step is to run one product through the clothing video generator with the safe-zone framing rules applied. Review the video before you publish; a human check catches crop failures that batch exports miss. The brands that treat framing as a pre-render discipline, not a post-render fix, are the ones whose UGC videos look intentional instead of accidental.