
Your Shopify store just got a TikTok ad back from the generator, and the model's hem is sliced off at the ankle while the sleeve disappears mid-frame. If you've burned an afternoon re-running generations only to get the same amputated garment, you're not fighting the AI, you're fighting your source photos and ratio settings. Here's the uncomfortable truth: most cropping errors in apparel video generation are preventable before you ever click "generate."
You're right to be frustrated. A cropped hem on a $128 dress doesn't just look amateur, it tanks click-through because shoppers can't see the full silhouette they're buying. This guide walks you through exactly why your AI fashion videos cut off sleeves, hems, and drapes, then gives you a 7-point pre-flight checklist to avoid cropping errors apparel video generation causes before they reach your ad account.
You'll learn the three root causes behind every cut-off garment, how to diagnose which one is sabotaging your output, and the exact margins and safe zones that keep full garments in frame. Along the way, you'll see how to turn product photos into fashion videos that hold their composition. Stick around for the surprising finding in the diagnostic table, one of the three causes is almost never the AI model itself, and fixing it costs you nothing but five minutes of prep.
Why Does My AI Fashion Video Cut Off the Hem or Sleeves?
Cropping errors in AI-generated apparel video happen when the source photo's framing, the output aspect ratio, or the garment's animated motion pushes part of the clothing outside the visible frame. The fix is almost never the AI model, it's what you feed it and how you set the output.
Think of the generator like a photographer shooting through a fixed lens. If your subject stands too close to the edge of the original photo, the photographer has no room to pan or zoom without cutting something off. If you ask for a vertical 9:16 video from a square 1:1 source, the system has to crop the sides to fill the taller frame, and anything near those edges gets sliced. If the garment then animates with flowing motion, sleeves and hems swing beyond the original boundaries and vanish.
There are three distinct causes, and most troubleshooting guides never name them explicitly:
- Source photo framing: Tight crops and garments touching the photo edge leave no breathing room for motion.
- Output ratio mismatch: Generating 9:16 vertical video from 1:1 square plates forces side cropping that amputates sleeves and shoulders.
- Garment motion overshoot: During animation, sleeves, hems, and drapes extend beyond the frame boundary even when the static photo looked fine.
Here's how to diagnose which cause is sabotaging your output:
| Symptom | Most Likely Cause | Quick Check |
|---|---|---|
| Hem or sleeve cut off in the static first frame | Source photo framing | Open the original photo, is the garment touching any edge? |
| Sides of garment missing, but top and bottom look fine | Output ratio mismatch | Compare source ratio to output ratio, are they different? |
| Garment looks fine at frame one, then gets cut mid-animation | Motion overshoot | Watch the video frame by frame, does the garment swing past the boundary? |
Source photo framing is the most common culprit. When a flat lay or ghost mannequin shot fills the entire frame edge-to-edge, the generator has zero margin to work with. Any rotation, sway, or zoom immediately pushes fabric outside the visible area. The same logic applies to fashion video aspect ratios: a 9:16 output demands a taller canvas than a 1:1 input, so the system crops horizontally to compensate, and your sleeves pay the price.
Motion overshoot is the sneakiest of the three. Even a well-framed source photo can produce cut-off results if the garment has loose drapes, wide sleeves, or a flowing hem. During animation, those elements swing wider than the static photo ever showed, crossing the frame boundary mid-video. The garment was never cropped in the source, it simply moved somewhere the frame couldn't follow.
How to Avoid Cropping Errors with 7 Pre-Flight Checks
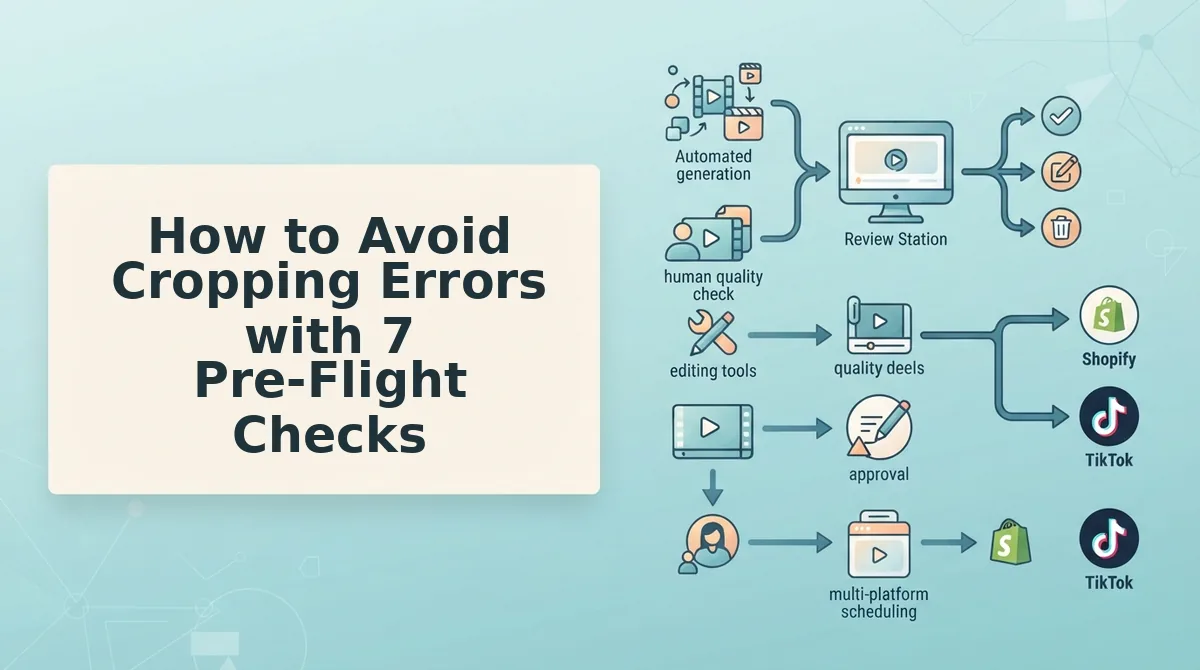
Run these seven checks on every source photo and output setting before you generate a single frame. Each one takes under a minute, and together they eliminate nearly all hem, sleeve, and drape cropping in AI-generated apparel video.
Prerequisites: Your source photos (1-6 per garment), access to your generator's output settings, and a basic image viewer that shows photo dimensions.
- Open each source photo and check the garment's distance from every edge. The garment should occupy no more than 80-85% of the frame width and height, leaving a 15-20% margin on all sides. If the hem touches the bottom edge or a sleeve grazes the side, re-shoot or re-crop the photo with more negative space. You should see clear background on all four sides of the garment.
- Verify the source photo's aspect ratio in your image viewer. Note whether it's 1:1 square, 4:5 portrait, or 3:4. This number determines how much the generator must crop when converting to your output ratio. Write it down, you'll need it for the next check.
- Select an output ratio that matches or closely matches your source ratio. If your source is 1:1 square, choose a 1:1 output or accept that 9:16 vertical will crop the sides significantly. For vertical video from square sources, expect to lose roughly 30% of the horizontal frame. Matching ratios before generation is the single highest-impact fix for side cropping.
- Position the garment within the center 80% safe zone of the frame. For 9:16 vertical video, imagine a vertical rectangle in the middle of your source that spans 80% of the width. Everything outside that zone is at risk of being cropped or cut during motion. If any part of the garment sits outside the safe zone, adjust the source photo composition first.
- Check for loose or flowing elements that will move during animation. Wide sleeves, long hems, draped fabric, and flowing skirts all overshoot their static position when animated. Give these elements extra margin, at least 25% clearance from the frame edge instead of the standard 15-20%. This is the check most people skip, and it's why motion overshoot keeps surprising them.
- Upload between three and six angles of the garment, not just one. Multiple angles give the generator more visual data to work with, reducing the chance it invents motion that pushes fabric out of frame. Include a front angle, a back angle, and at least one detail shot. For flat lays, follow the flat lay to fashion video guide for composition best practices.
- Generate a short test clip and review it frame by frame before committing to a full batch. Watch the first and last frames specifically, these are where cropping errors appear most often. If the garment stays fully in frame throughout the test, proceed with the full generation. If not, return to check one and increase your margins.
After all seven checks pass, you should see the full garment, hem, sleeves, and drape, visible in every frame of your generated video, with no part of the clothing touching or crossing the frame boundary at any point. The platform's multi-angle ingestion and ratio-aware output settings handle the technical side once your source photos meet these margin requirements. Now that your pre-flight routine is locked in, the next variable to optimize is which source photo style crops most reliably under motion.
Flat Lay vs Ghost Mannequin vs On-Body: Which Source Photo Crops Most?
Flat lay photos carry the highest cropping risk, ghost mannequin shots fail asymmetrically when the invisible form is centered instead of the garment, and on-body shots crop most predictably because the human silhouette anchors the frame. Each source type fails differently, so the right choice depends on your garment category and motion intensity.
| Source Type | Cropping Risk | Why It Fails | Best For |
|---|---|---|---|
| Flat Lay | Highest | Garment lies flat with no vertical anchor, so motion overshoot is larger. Needs 15-20% margin on all sides before generation. | Merchandisers generating bulk SKU videos from catalog flat lays who can batch-add headroom in pre-flight. |
| Ghost Mannequin | High (asymmetric) | The invisible form, not the garment, is often centered in the source frame. Crops cut one sleeve or shoulder while the other side has excess space. Learn more about ghost mannequin photos to UGC video ads. | Brands with structured garments like blazers, coats, and button-downs where shape retention matters more than motion range. |
| On-Body | Lowest | The human figure provides a consistent vertical anchor, so the AI model has a stable reference for where the garment ends. Crops still occur on wide sleeves or long hems during high-motion sequences. | Performance creative teams running paid social ads who need natural movement and can accept occasional sleeve clips on flowy silhouettes. |
| Detail Shot | Medium (texture loss) | Close-up fabric, embroidery, or trim shots lose texture areas when generated at widescreen ratios. Generate at 1:1 first, then reframe the output. | Luxury and premium brands where fabric texture, stitching, and hardware are the selling point. |
Ghost mannequin shots crop asymmetrically when the invisible form is centered instead of the garment, which is why re-centering on the garment's bounding box before upload resolves most failures. Detail shots should be generated at 1:1 then reframed to avoid losing texture areas during aspect ratio conversion.
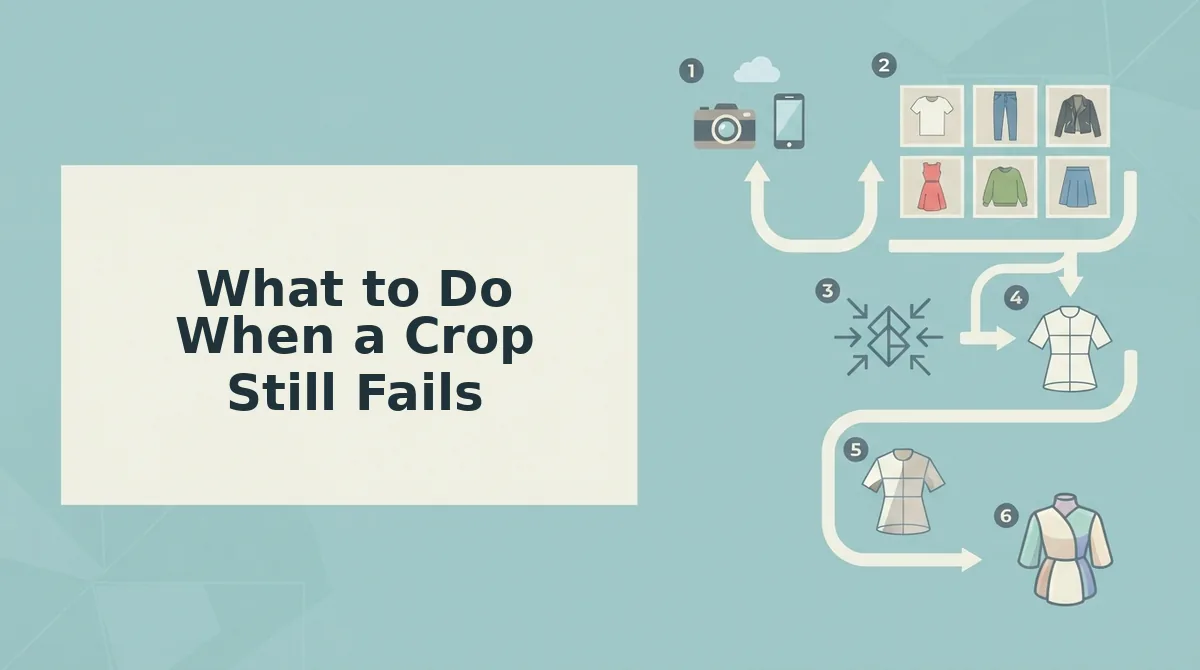
What to Do When a Crop Still Fails
When a crop still fails after pre-flight checks, apply these remediation steps in order. Each fix targets a specific failure mode, so identify the symptom first, then apply the matching rule.
- If the crop cuts a hem, re-upload with 20% bottom margin. Hem cuts happen when the garment's lower edge sits too close to the source frame boundary. Add 20% empty space below the garment in your source image, then regenerate through your clothing video generator.
- If the crop cuts a sleeve, check source aspect ratio first before re-uploading. Sleeve clips often result from a source image whose aspect ratio does not match the output ratio, forcing the model to crop horizontally. Verify the source ratio, correct it, and only re-upload if the ratio was already correct.
- If the crop cuts a logo, reframe the output instead of regenerating. Logo crops are positional errors, not generation errors. Reframing the existing output to shift the logo into the safe zone is faster and preserves the motion quality you already approved.
- If the crop is asymmetric on one side only, re-center the garment's bounding box. Asymmetric crops indicate the garment was not centered in the source frame. Crop the source image to the garment's bounding box, then regenerate.
- If texture or detail areas disappear, switch the output to 1:1 and reframe. Detail loss happens during aspect ratio conversion. Generate at square ratio to preserve the full texture area, then reframe the square output to your target ratio.
- If multiple garments from the same batch crop identically, fix the template, not the outputs. A systematic crop across a batch points to a source template issue. Adjust the template's margins once, then regenerate the batch.
- If none of the above resolves the crop, switch source type. A flat lay that keeps cropping on a flowy maxi dress may simply lack the vertical anchor the model needs. Swap to an on-body or ghost mannequin shot for that specific garment.
FAQ About Apparel Video Cropping Errors
What is the safe zone in apparel video generation?
Full bleed extends to the frame edges and risks cropping during motion. Keep logos, hems, and sleeve cuffs inside the safe zone to avoid cuts.
How much margin do flat lay photos need before video generation?
Because the garment lies flat with no vertical anchor, motion overshoot is larger than on-body shots. Add the margin in your source image, not in post-production.
Do ghost mannequin shots cause more cropping errors than on-body shots?
Yes, ghost mannequin shots cause more cropping errors when the invisible form is centered instead of the garment. The model anchors to the form's center, producing asymmetric crops. Re-center the source on the garment's bounding box before upload to reduce failures.
Why does my AI video cut off the hem but not the sleeves?
Hem cuts occur when the garment's lower edge sits too close to the source frame boundary. Sleeves may remain intact because they sit higher in the frame.
Should I regenerate or reframe when a logo gets cropped?
Reframe the output instead of regenerating. Logo crops are positional errors, not generation errors. Reframing shifts the logo into the safe zone while preserving the motion quality you already approved.
Cropping Errors Are a Discipline Problem, Not an AI Problem
Every hem cut off, every sleeve amputated mid-forearm, traces back to one of two decisions you made before generation: how you framed the source photo, or which aspect ratio you selected. The AI didn't fail. Your inputs did.
That's the contrarian truth. FashionUGC's generation engine renders what you give it. Feed it a flat lay with the garment touching the frame edge and expect a 9:16 vertical crop to preserve that hem? The math doesn't work. No model can invent fabric that wasn't in the frame.
So here's the synthesis: cropping errors are predictable, preventable, and almost entirely input-driven. Run the 7 pre-flight checks before every generation. Verify margin, ratio, and framing. When a crop still fails, adjust the source photo, not the prompt.
Your next step: regenerate the problem video using the AI fashion UGC video generator with corrected source framing and a matched aspect ratio. Expect clean hems, full sleeves, and a video that passes review the first time.
Cropping errors don't reveal AI limitations, they reveal input blind spots.