
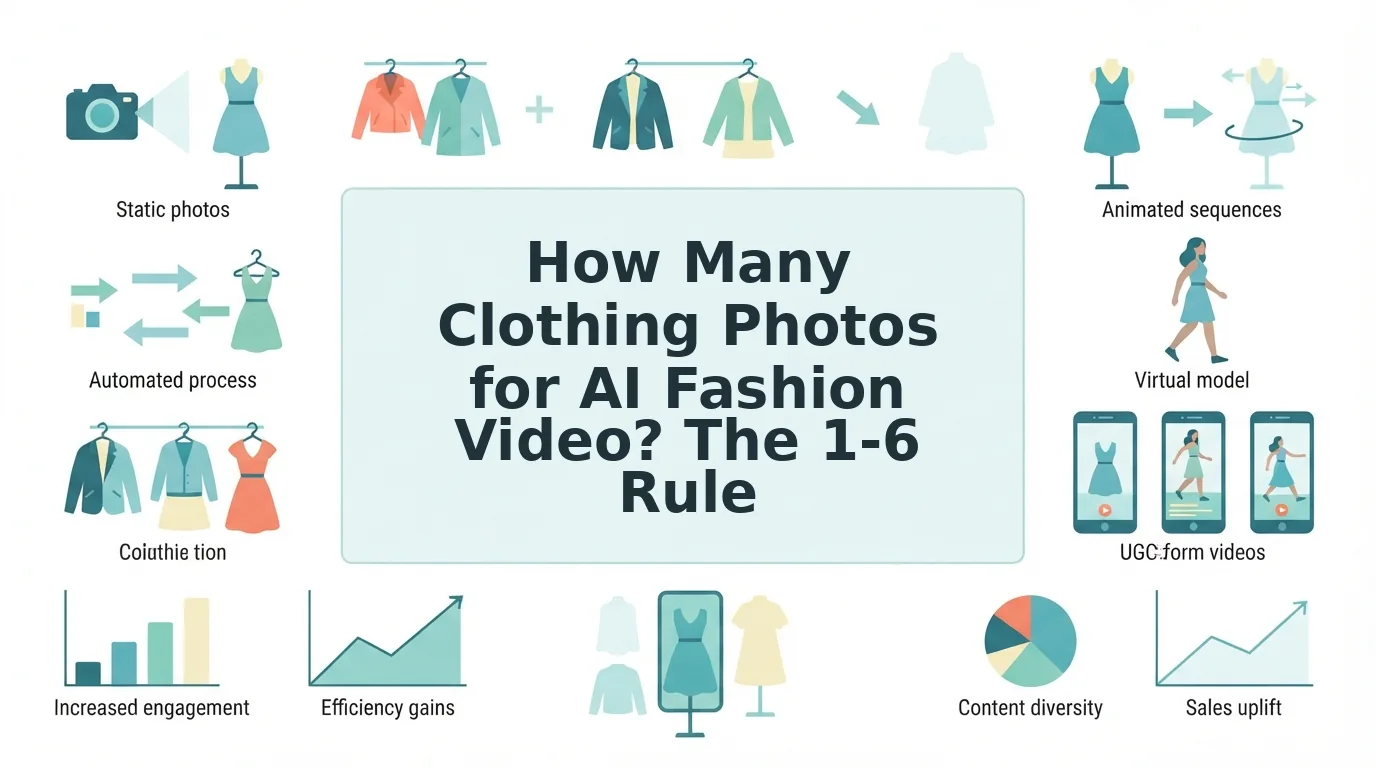
You already own the photos: catalog packshots, flat lays, maybe a folder of ghost mannequin stills. What you don't have is budget for a reshoot every time a SKU needs a Reel. So the practical question is how many clothing photos for AI fashion video you need before the output looks believable.
That's a fair concern. YouTube demos promise "one photo" and stop there. They never explain what the model has to guess when it can't see the back, the side or the fabric up close.
This article closes that gap. You'll get the minimum and ideal photo counts and a plain explanation of what each missing angle costs you. You'll also get the Coverage Ladder, a five-step order for building a photo set that leaves the model as little as possible to invent.
One photo most sellers skip decides whether the back of your garment is real or invented. The ladder names it.
Key Takeaway: Upload 1 to 6 photos of one garment. One front shot works. Front, back, side and a fabric detail close-up give the model the least to guess.
Start by pulling every existing image of a single SKU into one folder.
How Many Clothing Photos Do You Need for an AI Fashion Video?
You need between one and six reference plates of a single garment. One front shot is the minimum, and front, back, side and a fabric detail close-up is the ideal set. Each extra angle replaces a guess with something the model can actually see.
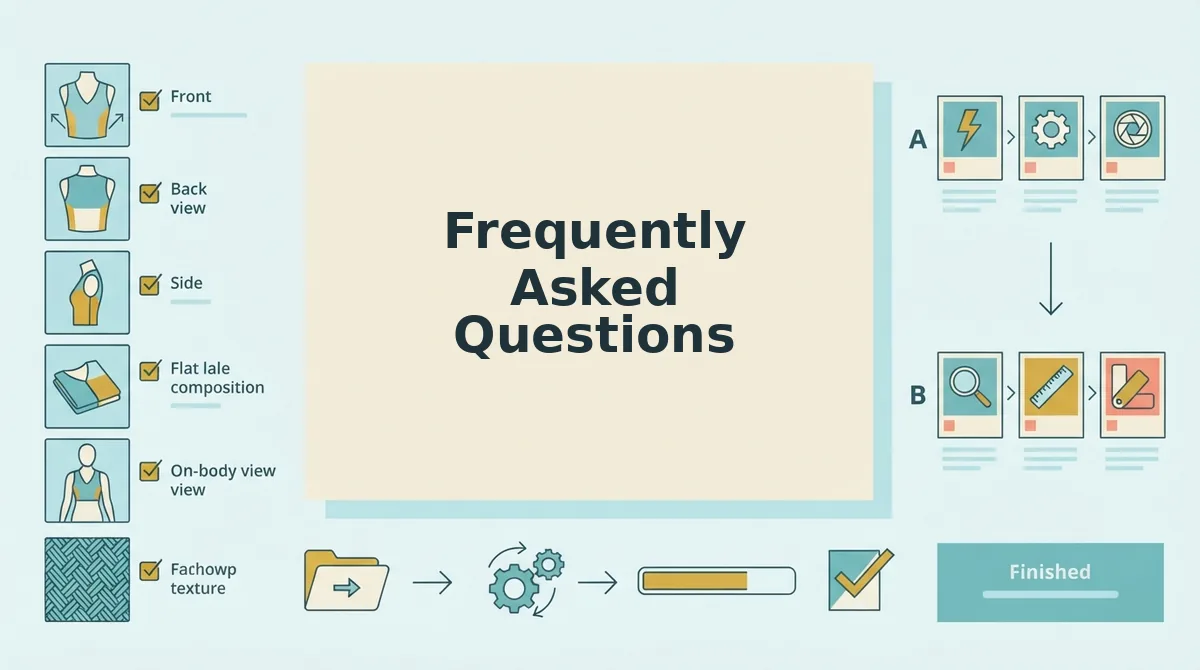
A reference plate is a still photo the generator treats as ground truth for how a garment looks. FashionUGC accepts 1 to 6 plates per item, covering front, back, side, flat lay, on-body and fabric detail shots.
The output is short-form video built for vertical feeds. 9:16 is the vertical aspect ratio, 9 units wide by 16 tall, used by TikTok, Instagram Reels and YouTube Shorts.
Does One Photo Work?
Yes, one clothing photo can produce an AI fashion video, but anything the photo doesn't show gets inferred. Take a Shopify seller with only a front packshot: the silhouette, color and print come through clearly, while the back, the side depth and the way the fabric's sheen moves are predicted by the model. Think of it like a sketch artist working from a witness who only saw a face, where the features are accurate but the back of the head is an educated guess.
For a plain tee, that guess is usually acceptable. For a back zip, pleats or a textured weave, it's a real risk.
Why Demos Skip This Trade-Off
Clothing-to-video is now an established category. The New Black, for example, offers image-to-video generation for clothing. Most demos in the space show a polished one-photo result without explaining which details were inferred.
The fix is simple: feed the model every angle you already own. With FashionUGC, you can upload your existing front, back and detail shots together and turn clothing photos into video without scheduling a new shoot.
How to Build Your Photo Set with the Coverage Ladder
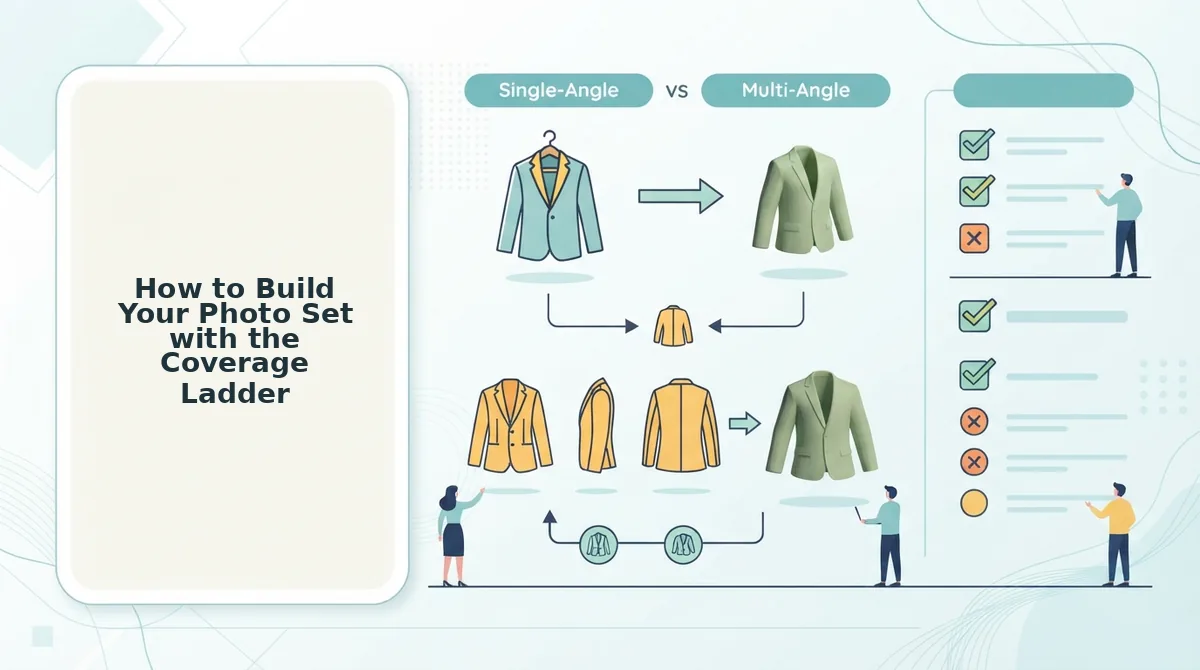
Build your photo set in this order: front, back, side, fabric detail, then flat lay or on-body. Each rung removes one specific guess the model would otherwise make. Stop climbing once your garment has nothing left to hide.
Before you start: gather one garment's existing images in a single folder. If the images already exist, allow 5 to 15 minutes per SKU.
Three terms you'll see below:
- A flat lay is a garment photographed lying flat from directly above.
- A ghost mannequin shot is a garment photographed on a mannequin that is edited out afterward, leaving a hollow 3D shape.
- Drape is how fabric falls, folds and swings under gravity and movement.
- Upload a front shot first (about 2 minutes). Choose an uncropped image that shows the full garment edge to edge. This plate locks in silhouette, color and print. You should see the complete outline with no clipped hems or sleeves.
- Add a back shot, the photo most sellers skip (about 2 minutes). Pick an image where closures, back seams, yokes and labels are visible. Without it, the back of the garment is invented. You should see the zip, buttons or seam lines clearly.
- Add a side shot (about 2 minutes). Use a profile view to show fit and drape depth. This removes the guess about how far fabric sits from the body. You should see the garment's thickness and how it hangs.
- Add a fabric detail close-up (about 3 minutes). Select a sharp, well-lit crop of the weave, knit or surface. This removes the guess about texture and how sheen behaves in motion. You should be able to count stitches or see individual sequins.
- Add a flat lay or on-body shot (about 2 minutes). Use it as a proportion and fit reference. You should see true garment length relative to width. Our flat lay to fashion video guide covers this input in more depth.
Garment-Type Matrix (Recommended Practice)
This matrix reflects recommended practice, not measured data.
| Garment type | Recommended plates | Inference removed |
|---|---|---|
| Plain tees | Front, back | Back seams, neckline |
| Pleated skirts | Front, back, side | Drape depth |
| Outerwear | Front, back, side | Drape, closures |
| Textured knits | Front, back, fabric detail | Texture in motion |
| Sequins | Front, back, fabric detail | Sheen in motion |
Ghost mannequin photos work well as reference plates because they show a garment's 3D shape without a model's body hiding seams or closures. A boutique with only ghost mannequin stills can upload the front and back images as its first two plates, which covers silhouette, color, print, closures and back seams in one step. For a textured knit, that boutique should add one sharp fabric detail close-up so the model sees the real stitch pattern instead of inventing a smooth surface in motion.
If your catalog already holds these angles, the clothing video generator turns them into SKU-level vertical video for review before anything goes live.
Next, check your photos before and after upload.
How to Check Your Photos Before and After Upload
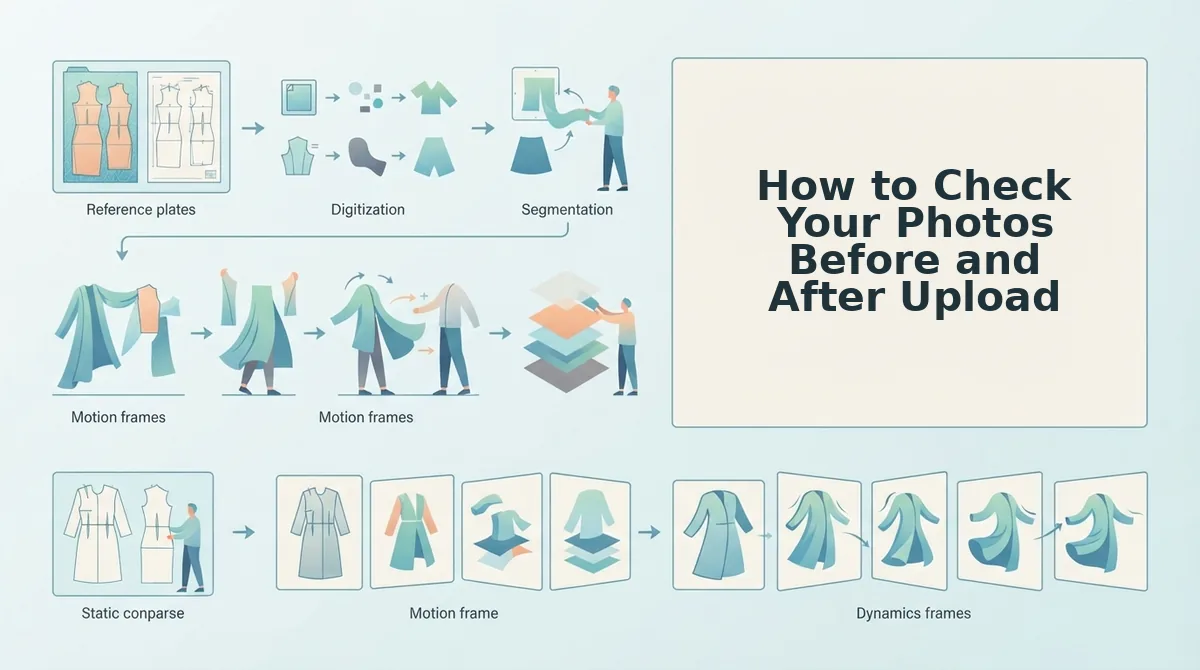
Before upload, confirm that every photo shows the same garment in the same colorway under even light. After generation, review the video before it goes anywhere. More photos do not always help, because mixed lighting, color shifts, or low resolution across plates give the generator conflicting references.
| Pre-upload check | What passes |
|---|---|
| Even lighting | No harsh shadows or mixed warm and cool sources across plates |
| Visible hems | Hemlines, cuffs, and edges fully in frame |
| Sharp garment plates | Fabric texture and seams in focus at full size |
| One SKU | Every photo shows the same item |
| One colorway | No shade or wash variants in the set |
- Audit the colorway first. A color mismatch is easy to miss in a folder and hard to hide in motion, because the video may blend two shades. For example, an agency batching SKUs compares each set side by side and drops a mismatched plate before upload.
- Cut low-resolution stills. Low-resolution photos will not produce production-ready motion. One soft plate can also undercut the sharper ones, so upload fewer, cleaner images instead.
- Confirm one SKU per set. Similar styles from the same collection can easily slip into one folder. Check style numbers or labels so every plate describes the same garment.
- Review the output before use. Compare the finished file against your original photos for drape, hem behavior, and color accuracy. Then approve, regenerate, or discard it.
FashionUGC creates the video file. It does not publish to social platforms and makes no performance promises. A person reviews every output, whether it goes to a product page or into the AI clothing ad generator workflow for paid creative.
Frequently Asked Questions
These answers cover the edge cases the steps above leave open: resolution, colorways, product categories, and mixed photo styles.
Can I use low-resolution photos for an AI fashion video?
You can upload them, but low-resolution stills will not produce production-ready motion. The generator can only animate the detail it can see, so soft plates produce blurry fabric and seams. Pull the highest-resolution originals from your catalog before uploading.
Can I mix different colorways in one photo set?
No. Use one colorway per set so every plate gives the generator a consistent reference. Mixing navy and black versions of the same shirt risks color drift in the finished video. Build a separate set for each colorway instead.
Does FashionUGC work for accessories or beauty products?
Not yet. Clothing is the live category, and Beauty and Accessories are not available. Upload apparel items such as tops, dresses, outerwear, and bottoms. Bags, jewelry, and cosmetics fall outside the current scope.
Can I combine on-model and flat lay photos in one set?
Yes. One set can include flat lays, on-body shots, and detail close-ups of a single item, up to six photos in total. Keep lighting and colorway consistent across both styles so the plates read as the same garment.
Start with One Front Shot and Climb the Ladder
You need one to six photos of a single garment, and consistency matters more than count. A clean three-photo set gives the generator a better reference than a mismatched six-photo set.
Upload your front shot today. Add the back shot next, because it is the angle most sellers skip. Then add side and detail shots based on garment type: drape for dresses, texture for knits, and hardware for outerwear.
Before each upload, audit the set for one SKU, one colorway, and even lighting. Review every output before it ships.
Open the AI fashion UGC video generator and upload your first front shot. Each angle you add turns photos you already own into the motion your catalog has been missing.