
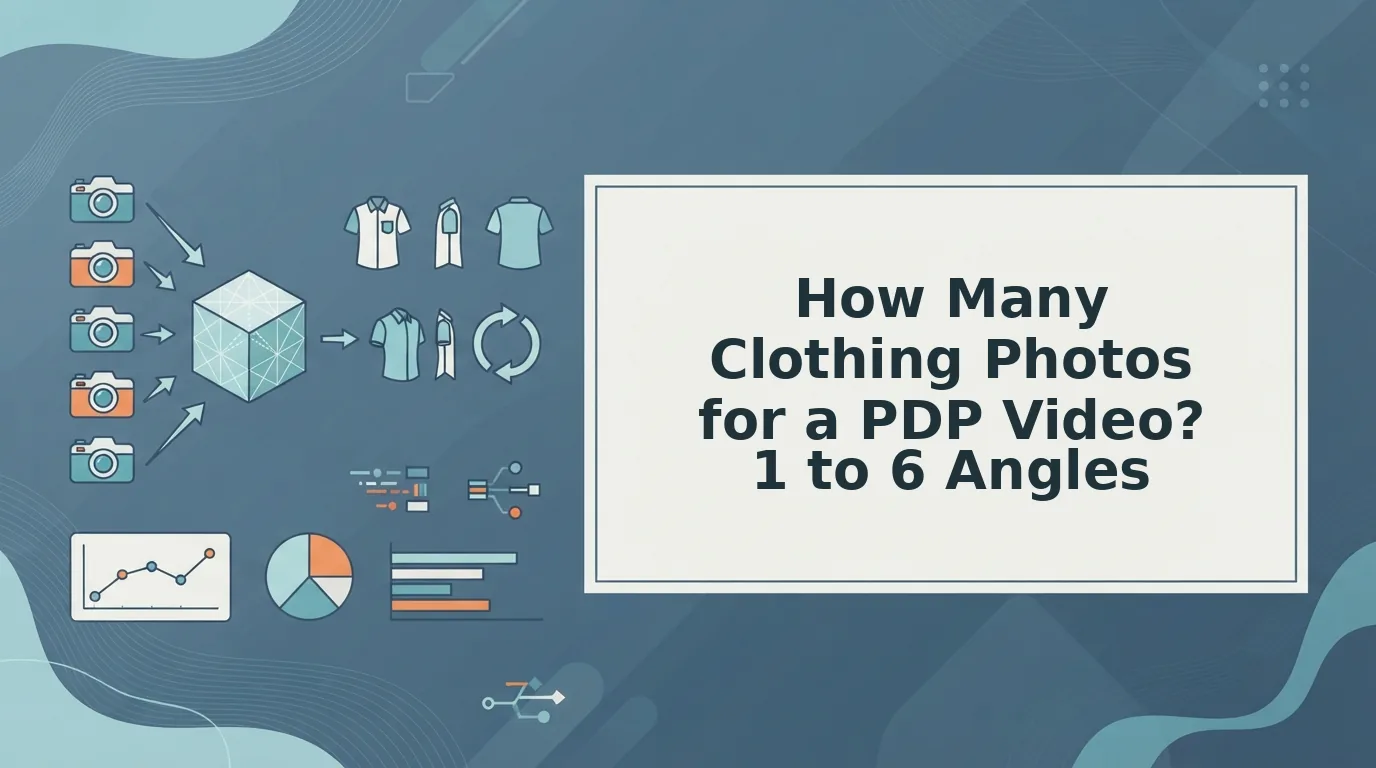
Your catalog is full of packshots and flat lays. Your product detail page needs motion, and there is no budget for a reshoot, so the real question is how many clothing photos for PDP video you need and whether the ones you own are enough.
A PDP video, a short motion clip on the product detail page, needs 1 to 6 sharp stills of a single garment, which is exactly the range FashionUGC accepts. The core set is front, back, side, and a fabric detail closeup. Quality outweighs count, so four clean angles beat six soft ones.
More photos feel safer, and that instinct makes sense when every SKU carries risk. This guide ties the count to what the video must show. It covers which angle drives which motion, how to choose and upload your angles, how to check the output, and how to fix gaps.
One angle matters more than most merchandisers expect, and it is the one most often skipped. Gather every existing still for one SKU into a single folder, then read on to find out which angle it is.
How Many Clothing Photos Do You Need for a PDP Video?
You need 1 to 6 stills of one garment, built on four core angles: front, back, side, and fabric detail. FashionUGC accepts front, back, side, flat lay, on-body, and fabric detail shots, but quality outweighs count.
A PDP video input set is the group of stills a generator uses as its only visual source for one garment. Think of it like a witness statement: the video can only describe what the photos saw.
A flat lay is a garment shot lying flat from above. A ghost mannequin shot is taken on a mannequin that is removed in editing, so the garment keeps its shape without a model. A reference plate is one clean still of a single angle that the video draws from.
For an AI-generated PDP video, upload 1 to 6 stills of the same garment. Start with front, back, side, and fabric detail angles before adding flat lay or on-body shots. Every still needs sharp edges, even lighting, visible hems, and true color, because low-resolution stills do not produce production-ready motion, and the video cannot reveal any detail that is absent from every uploaded photo.
Check that each set meets these prerequisites before you upload:
- One garment per set, with no mixed SKUs
- Sharp edges, with no soft focus or heavy compression
- Even lighting, with no blown highlights
- Visible hems and cuffs
- True color that matches the physical item
Worked example: a seller has only a front packshot and a flat lay. The resulting video can show the front face, color, and silhouette. It cannot show the true back construction or how the garment drapes on a body, because the video only shows what the photos show.
If your catalog is mostly flat lays, read the flat lay to fashion video guide. It shows how to use multi-angle upload to build a stronger set from images you already own.
How to Choose and Upload the Right Angles, Step by Step
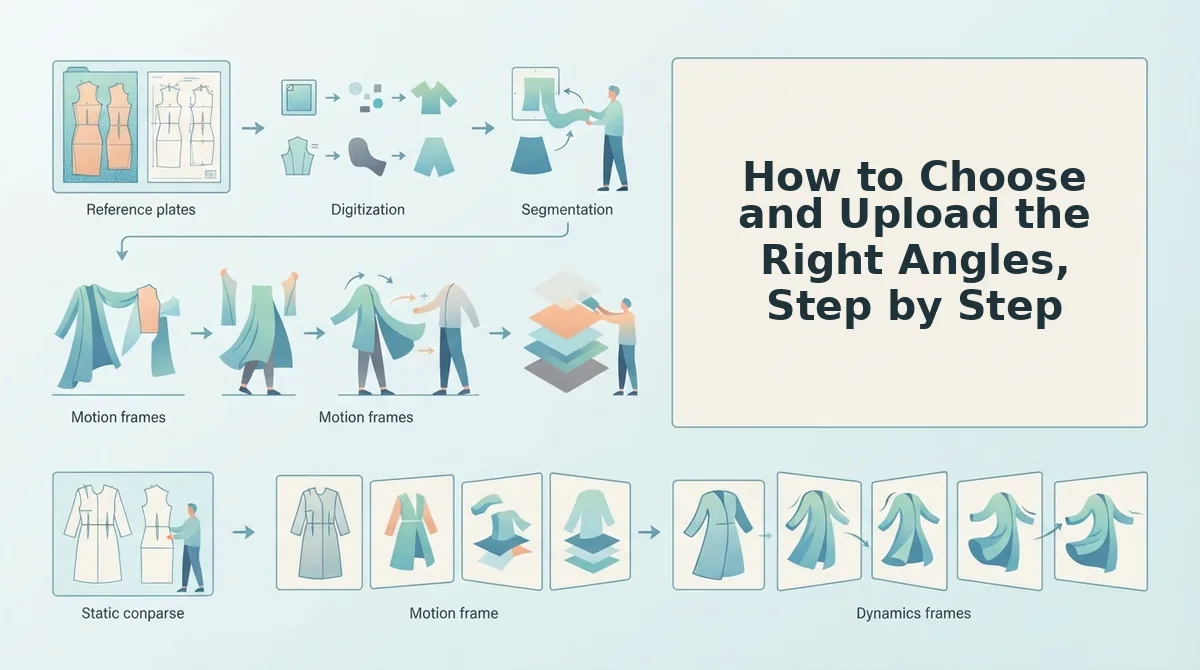
Upload one to six sharp photos of a single garment. Start with the front, then add back, side or on-body, and fabric detail plates until every motion you want has a matching source angle.
Before you start: Gather your existing catalog shots for one SKU. These can include front, back, side profile, on-body, flat lay, ghost mannequin, and fabric close-ups. Set aside any blurry files.
The Angle-to-Motion Map is a lookup that links each motion in a video to the photo angle it needs:
- Turn: needs a back plate.
- Walk: needs a side profile.
- Close-up: needs a fabric detail shot.
- Drape: needs an on-body shot.
Here's where most uploads go wrong: people add more of the same angle instead of the missing one.
- Pick a sharp front plate. Choose your cleanest straight-on shot, or shoot one. Every other motion builds from this anchor.
- Add the back plate. Any turn needs it. With a back plate, the garment can rotate without the model guessing what is behind it.
- Add a side profile or on-body shot. A side view lets a walk read correctly. An on-body shot shows how the fabric drapes.
- Add a fabric detail close-up. This plate gives close-up frames real texture, so weave and finish match the item.
- Decide your tier and stop. Duplicate angles and soft images add nothing. Upload the set and move to review.
These coverage tiers are guidance, not a performance promise. The core four are front, back, side, and detail.
- 1 photo (front only): Shows front-facing motion. Turns, walks, and texture close-ups are missing.
- 3 photos (front, back, detail): Shows turns and close-ups. Walk and drape are missing.
- 4â5 photos (core four plus on-body or flat lay): Shows turn, walk, and close-up, plus drape if you add an on-body shot. The plate you skip is the gap.
- 6 photos (full set): Covers every row of the map.
Ghost mannequin shots keep the garment's shape without a model, which helps with proportion. Flat lays show the full shape but carry less drape information. If drape matters, pair a flat lay with an on-body shot.
Worked example: A catalog holds one ghost mannequin front shot per SKU. To upgrade it, the team adds a back view, a side profile, and a fabric detail close-up for each item, which takes every upload from 1 photo to 4. Each set now covers the turn, walk, and close-up rows of the Angle-to-Motion Map. Our guide to ghost mannequin photos for video covers this setup in more depth.
Do these angles already exist in your catalog? Turn clothing photos into video with FashionUGC. Upload one to six stills of a single item and get a UGC-style video file for Reels, TikTok, Shorts, or your product page that you review before it goes anywhere.
Once the file renders, the next job is to confirm it shows the garment you actually sell.
How to Check the Video Matches the Garment
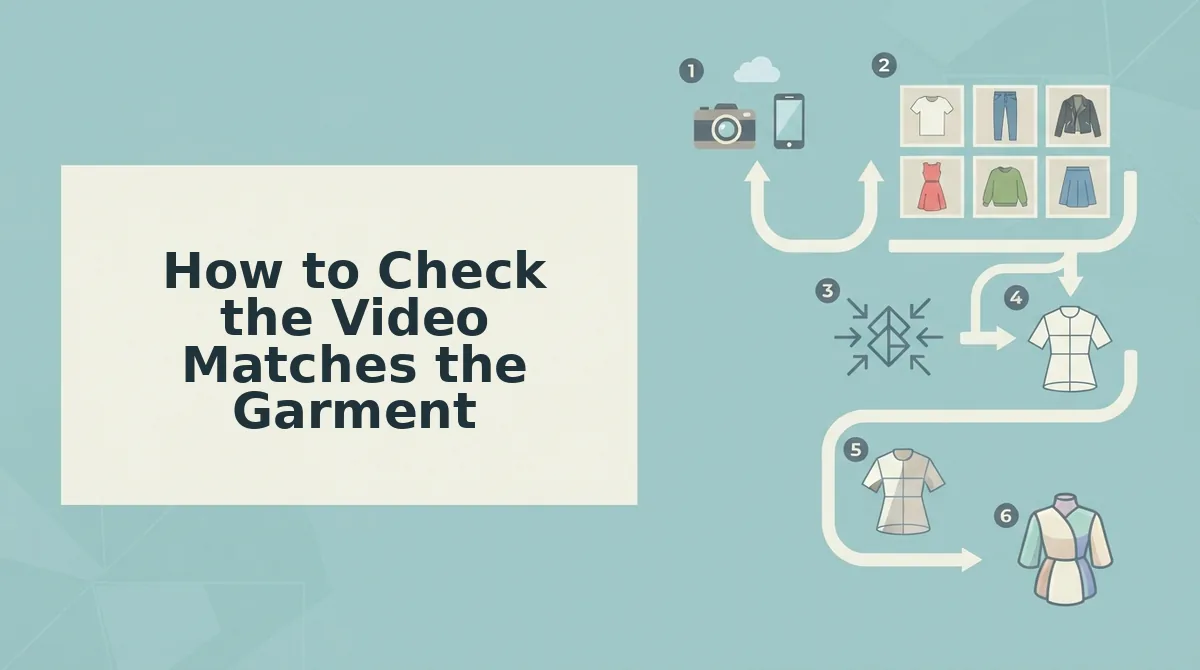
Check every clip against the physical garment at four checkpoints: hems, construction details, drape, and color fidelity. When one fails, the fix is usually a missing or weak source photo, not a different setting.
A person reviews every output before it goes anywhere. Use this table during that review.
| Symptom | Likely cause | Photo to add |
|---|---|---|
| Back panel looks invented | No back angle was uploaded | A clean back shot |
| Texture looks smooth or plastic | No surface information | A fabric detail closeup |
| Hem or length looks off | Hems cropped out of frame | A full-length shot with visible hems |
| Color drifts between frames | Uneven or color-cast lighting | A true-color, evenly lit replacement plate |
| Proportions or drape look wrong | Only flat or front views | An on-body or side shot |
Most video errors trace back to the photo set, so you can match the symptom to the missing photo. An invented back panel means no back shot was uploaded. Smooth, plastic-looking fabric means the set has no fabric closeup. A wrong hem or length means no full-length shot shows the hemline. Color that shifts across frames means at least one photo has uneven or tinted lighting and needs a true-color replacement. Distorted proportions or stiff drape mean the generator never saw the garment from the side or on a body. Add the one missing plate and regenerate before you try anything else.
Worked example #3: A dress with a lace-up back is uploaded without a back shot. The generator cannot show construction it has never seen, so the back comes out plain. Add that single back plate and regenerate.
For lighting and framing specs, see our guide to product photos for AI fashion video.
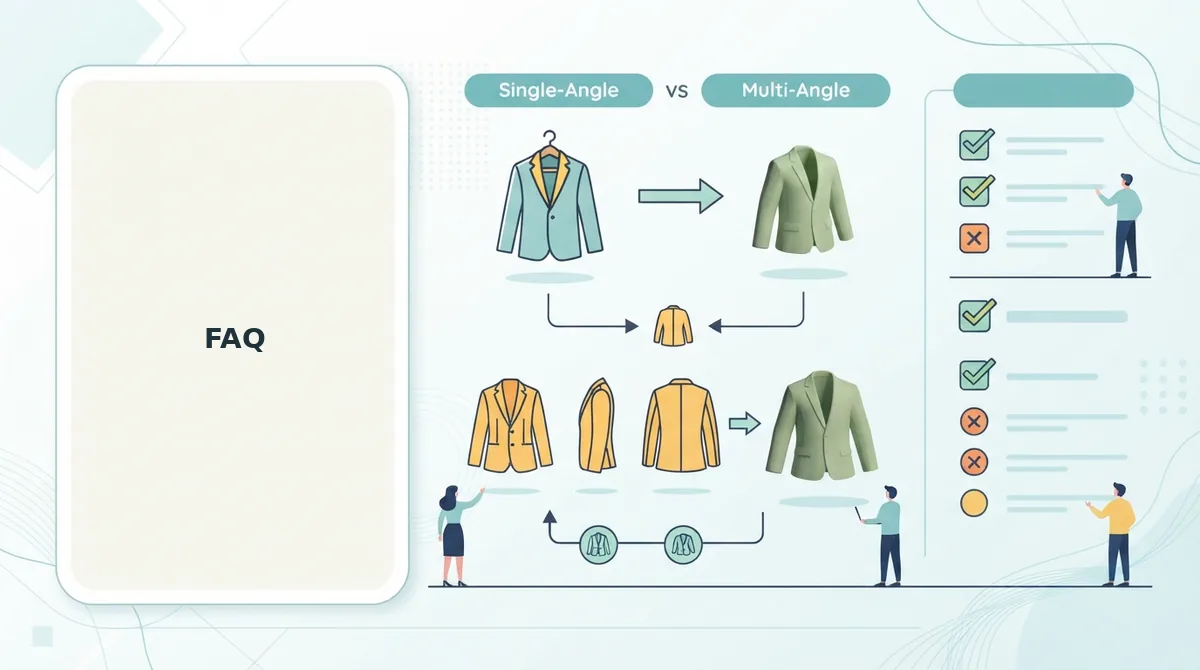
FAQ
These answers cover the limits that the sections above leave open.
Can I make a PDP video from one photo?
Yes, but the video can only show what that photo shows. A single front plate produces believable front-facing motion. Any back, side, or texture detail outside the frame has to be inferred, so it may not match the real garment. For a full turn, add more angles.
Should I upload six photos every time?
No. Duplicate or soft images add nothing, and one sharp front plate beats six blurry ones. Upload only the distinct angles the garment needs, such as a back shot for back details or a closeup for textured fabric. Then stop.
Does the tool publish the video to my store?
No. The clothing video generator creates a video file only. It does not post to TikTok, Reels, Shorts, or your Shopify PDP, and it does not promise performance. A person reviews the output and decides where it goes.
Can I use this for beauty or accessories?
Not yet. Clothing is the only supported category. The angle guidance and quality checks in this article are built around apparel construction, including hems, drape, seams, and fabric texture. They do not transfer cleanly to cosmetics, jewelry, or bags.
Build Your Photo Set and Generate
The answer to "how many photos" is the smallest set that covers what a shopper needs to see. More uploads do not improve a clip, but the right angles do.
- Audit each SKU for the core four angles: front, back, side, and detail. Fill the back-plate gap first, because it causes the most invented output.
- Swap every soft, cropped, or color-cast image for a sharp, evenly lit plate.
- Choose the tier that fits the garment. A simple tee needs fewer angles than a lace-up dress.
Then upload your set to the fashion product video generator. It produces a video file that a person reviews before it goes live, and nothing is auto-published.
A catalog you already own can become SKU-level motion, one well-chosen photo set at a time.