
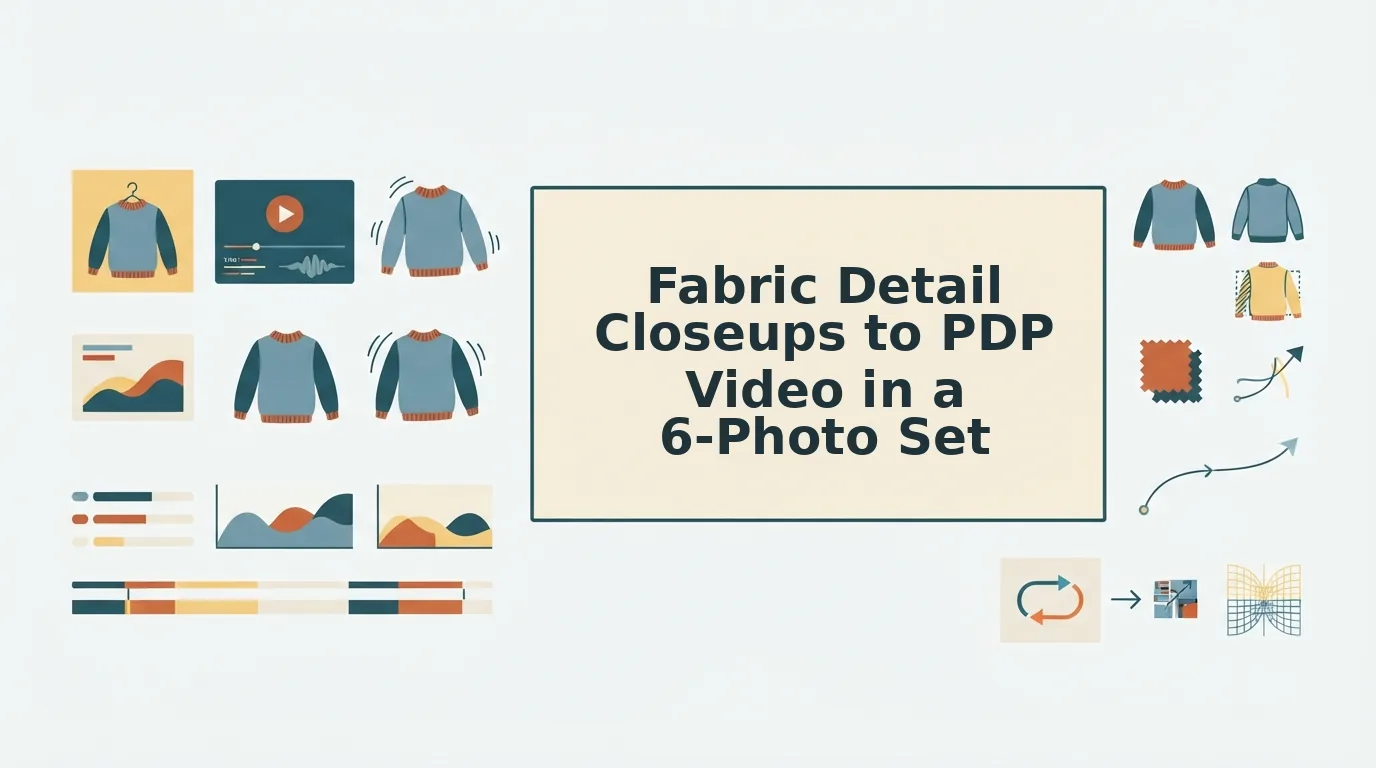
Your product page already proves the weave exists, but only inside a zoom tile shoppers have to hunt for. They see a still image of a knit and never watch the fabric move. Turning fabric detail closeups to PDP video closes that gap: one short clip whose source set carries texture without losing fit or angle.
You likely have everything you need already. A source set is the 1-6 photos you upload to generate one video in FashionUGC. Your existing catalog plates (front, back, and a flat lay or ghost mannequin) plus one or two detail shots can fill it, with no reshoot required.
Say a merchant already has a catalog detail shot of a knit cuff. They add it to the upload set alongside the hero plates and generate. FashionUGC produces a video file and publishes nothing, so a person reviews the clip before it goes live.
Below, you will learn what a closeup can show, how to budget your slots, and how to choose the right detail shot. That choice matters, because the closeup most brands upload first is often the wrong one.
What Can a Fabric Detail Closeup Show in a PDP Video?
Add 1-2 sharp fabric closeups to a source set that already covers front, back, and a flat lay or on-body angle, then light the closeups like your hero plates. The generator reads texture and color from the closeup. It reads construction and drape from the full-garment angles.
A fabric detail closeup is a tight photo of a garment's surface that resolves material information a full-frame plate cannot show.
Texture vs. Drape
Texture is surface information: weave, knit, sheen, and hand-feel cues such as nap or slub. Drape is how the garment behaves: how it falls, folds, and hangs.
A closeup supplies texture but not drape. Think of a paint chip versus a painted room: the chip shows the exact color and finish, but only the room shows how light moves across the walls. Flat lays, ghost mannequin plates, and on-body angles are the room. They show silhouette, seam placement, and fall, which the generator needs to keep fit consistent in motion. If your catalog leans on flat lays, the flat lay to fashion video guide explains how those plates translate into movement. FashionUGC accepts front, back, side, flat lay, on-body, and fabric detail shots in one upload, so each plate can do one job well.
Which Shot Carries the Fabric Story?
Use this matrix as photographic logic: identify the selling point, then give the slot to the shot that shows it best.
| Fabric type | Shot that carries the story | Why |
|---|---|---|
| Structured denim | Fabric closeup | Twill and stitching are the selling point. |
| Fluid satin | On-body or flat lay | Sheen and fall depend on movement. |
| Chunky knit | Closeup plus flat lay | Stitch scale and silhouette both matter. |
How to Add Fabric Closeups to Your Source Set Step by Step
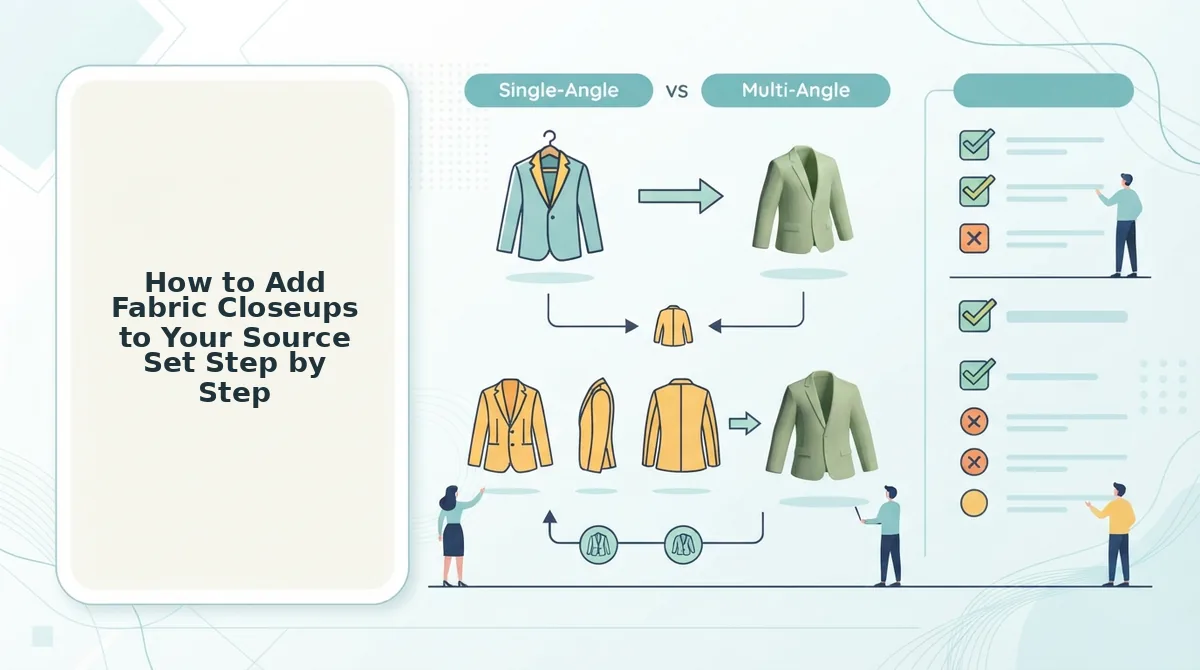
Audit your catalog plates, budget your six upload slots, pick one closeup that shows what full plates cannot, match it to the hero plates, then upload and generate. Plan roughly 20 minutes per SKU when the plates already exist.
Before you start: gather one SKU's existing catalog plates (front, back, flat lay or ghost mannequin) and any detail shots from the same shoot. You need only a browser and FashionUGC.
- Audit your catalog plates (5 minutes). Open the SKU's image folder and list every angle you have. You should end with an inventory showing which construction angles are covered and which are missing.
- Allocate slots with the 6-Slot Source Budget (2 minutes). Map your inventory to the table below, filling construction slots first. You should see at most two slots left for texture.
- Pick the one closeup that shows what full plates cannot (5 minutes). Choose the macro that resolves weave, knit, or stitching invisible at full frame. You should have a single detail shot that adds new information.
- Check the closeup against the hero plates (5 minutes). Compare focus, lighting direction, color, scale cues such as a visible button, and seam placement side by side. The closeup and the front plate should read as the same garment at a glance.
- Upload and generate (a few minutes). Upload the full set as one generation. You should receive a video file to review; nothing publishes automatically.
| Slot | Shot | Job |
|---|---|---|
| 1 | Front (ghost mannequin or on-body) | Fit and silhouette |
| 2 | Back | Rear construction |
| 3 | Side or on-body | Depth and drape |
| 4 | Flat lay | Shape and proportion |
| 5-6 | One or two fabric closeups | Texture and color |
Worked example: combine a ghost mannequin front, a back, a flat lay, and one weave macro into a 4-photo set. Add a side angle or a second detail, such as a seam or hem, only if the set still covers construction.
Pro tip: shoot or select the closeup under the same lighting as the hero plates so color and sheen read as one garment.
Which fabric closeup should you upload first? Usually not the one most brands reach for. The wrong first closeup is a soft-focus or differently lit texture shot that duplicates information instead of adding it. Stacking texture shots also creates a trade-off: every extra macro uses a slot the generator needs for construction and angle. Two near-identical weave shots cost you a back or side plate and add nothing new. Choose one sharp closeup lit like your hero plates, and spend remaining slots on angles.
If your catalog is mostly packshots, the turn clothing photos into video workflow applies this budget to any SKU. For mannequin-heavy catalogs, see ghost mannequin photos to PDP video.
Next, confirm the closeup did its job before the clip reaches your PDP.
How to Check That the Closeup Worked Before Publishing
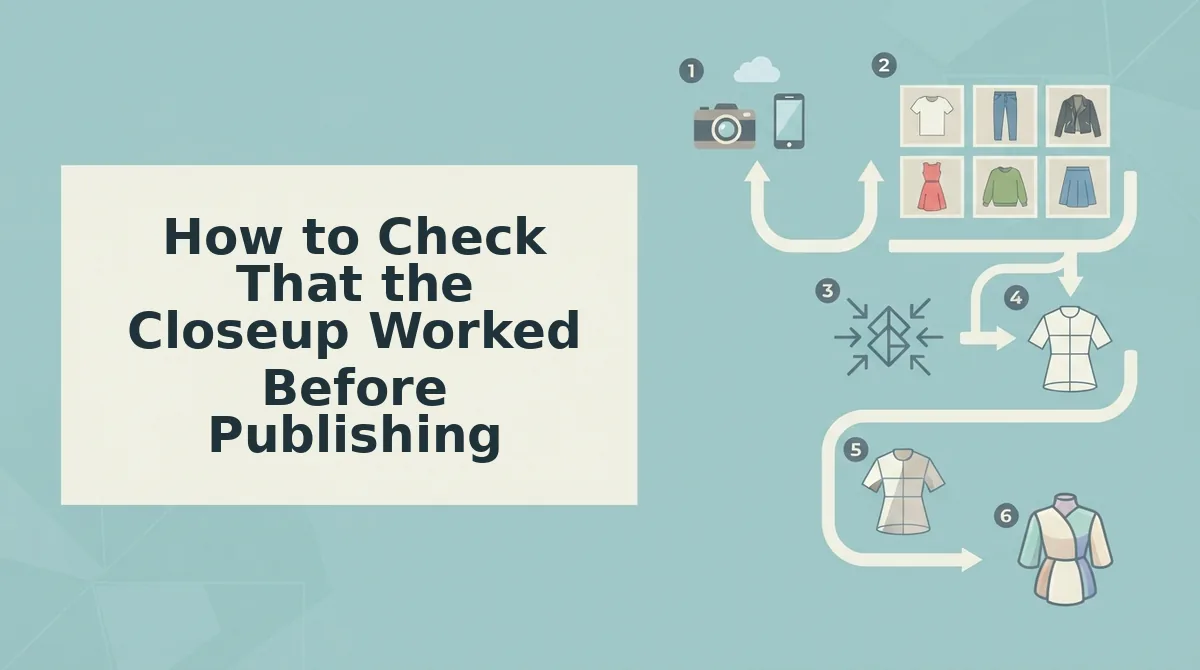
Check it in two stages. First, run a pass/fail Closeup Readiness Checklist on your inputs. Then review the generated video against the physical garment, because FashionUGC creates the file but does not publish it.
- Compare the output to the physical sample. Hold the garment beside your screen and check weave, sheen, and color frame by frame. This is the final gate, since a mismatch here misrepresents the product on the PDP.
- Confirm focus is sharp across the weave. Zoom the closeup to 100% and look for crisp individual threads, not just a sharp center. Soft inputs give the generator less texture to carry into motion.
- Match lighting to the hero plates. Compare the direction, softness, and color temperature of the light against your front and back shots. Mismatched lighting can make the video read as two different garments.
- Verify color is true to the garment. Check the closeup against the sample under neutral light. Fix color drift at the input stage, before it shows up in every frame.
- Keep seams and hems visible. Make sure at least one input shows stitching and finished edges clearly. These details signal construction quality that a flat front shot cannot show.
- Reject heavy retouching. Skip any closeup where smoothing or frequency separation has flattened the texture. Over-retouched fabric looks synthetic once it moves.
- Preserve full-garment coverage. Confirm the remaining slots still cover the front, the back, and the drape. A closeup should add detail, not replace the angles shoppers need for fit.
- Check that PDP framing keeps the detail. Preview the video in your product page layout and its crop ratio. Make sure the texture moment is not cut off at the edges.
If the texture smears or the color drifts, swap the weakest input and re-run. For example, replace a soft-focus closeup with a sharp one, regenerate in the fashion product video generator, and repeat the output review.
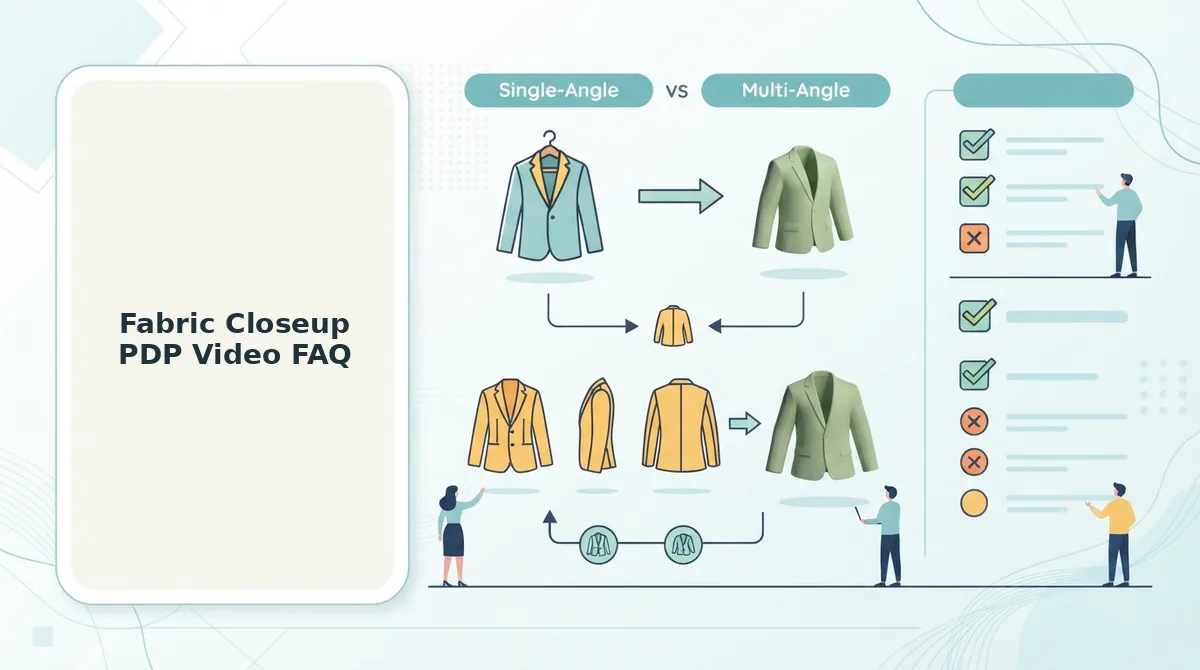
Fabric Closeup PDP Video FAQ
These answers cover common questions about source photos, reshoots, and publishing.
How many photos do I need to make a product video?
You need between one and six photos of a single apparel item. A balanced set uses four to six images, with one or two fabric closeups and the rest covering the front, back, and drape. This mix gives the generator both full-garment context and texture detail.
Do I need new photography for fabric closeups?
Usually not. Existing catalog detail angles work well when they are sharp across the weave and lit like your hero plates. Review your current shoot files first, and reshoot only when no closeup passes the focus and lighting checks.
Can I use a closeup from a different shoot?
Only if the lighting and color match your hero images. A closeup shot under a different setup can shift tone or contrast. When that happens, the video can read as two separate garments instead of one product.
Does the generator publish the video to my PDP?
No. FashionUGC creates the video file, and you review it before uploading it to your product page or social channels yourself. This keeps a person in control of texture and color accuracy before shoppers see the video.
Build Your Closeup Source Set Now
Start with one SKU and treat your six slots as a budget. The finding from earlier holds: one or two of the right closeups beat four redundant ones.
Fill most slots with front, back, and drape angles. Then add the single sharpest closeup that matches your hero lighting. A second closeup earns its place only if it shows a different detail, such as a seam or hem.
Upload the set to the clothing video generator, generate the video, and review it against the physical garment. Once that first SKU passes, use the same set structure for the rest of your catalog.