
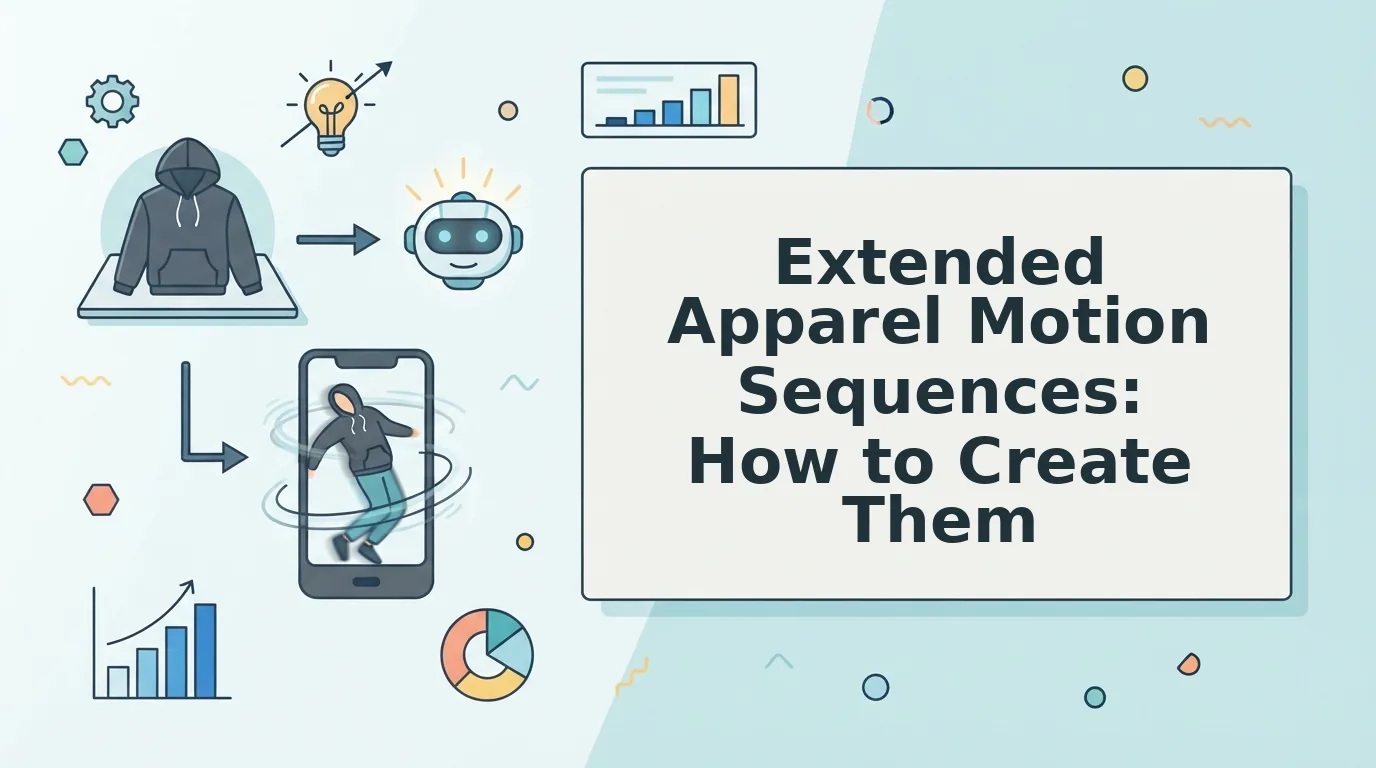
Apparel creative fatigues faster than any other vertical because fashion is trend-driven, a winning ad from last month can look stale by next Tuesday. You already know the fix: more video variations, more angles, more motion. But producing extended apparel motion sequences for every SKU in your catalog has traditionally meant booking models, renting studios, and burning through production budgets that would make your CFO wince.
Here's the promise: you can build longer, fatigue-resistant video ads from product photos you already own, no reshoots required. This guide walks you through what extended apparel motion sequences actually are, the five-part architecture that makes them work, and how your source images determine how long a sequence can run.
Along the way, you'll see how an AI fashion UGC video generator turns static packshots into multi-shot motion, and why one specific sequencing decision matters more than any other for paid social performance.
What Is an Extended Apparel Motion Sequence?
An extended apparel motion sequence is a single continuous video that strings together multiple shot types, hero angles, transitions, fabric close-ups, and lifestyle context, into one narrative arc, rather than repeating one motion on a loop. Think of it like a camera moving through a lookbook: each shot answers a different shopper question, and together they tell a complete product story in 10 to 30 seconds.
A loop repeats the same motion; an extended sequence strings together multiple shot types into one continuous narrative. The distinction matters because each format solves a different problem. Use a loop for product page thumbnails where shoppers need a quick sense of drape and fit. Use an extended sequence for paid social ads where creative fatigue is the main threat, the algorithm gets more visual variation to test, which delays the performance cliff that forces you back into the creative production cycle.
Here's the progression. At the simple level, you take two photos, front and back, and let motion carry the eye from one to the other. At the intermediate level, you add a detail shot: stitching, fabric texture, or hardware that signals quality. At the advanced level, you sequence five or more shot types with deliberate pacing, so the video reads like a mini brand film rather than a slideshow with transitions.
The key difference between an extended sequence and a loop is structural. A loop is one clip repeating; an extended sequence is a chain of distinct visual moments, each sourced from a different photo, each answering a different objection, fit, fabric, detail, context, and recognition.
The Sequence Architecture Framework
The Sequence Architecture Framework is a five-shot structure. Anchor, Transition, Detail, Context, Return to Anchor, that turns static apparel photos into a fatigue-resistant extended motion sequence. Each shot type has a specific job, and each pulls from a specific source image in your catalog.
Before you start, gather one to six photos per product: a hero front shot, at least one secondary angle (back or side), a fabric or hardware close-up, and a flat lay or lifestyle image. You'll also need a tool that converts stills to motion, an AI fashion UGC video generator handles this directly from your existing product photography.
- Set the Anchor Shot. Upload your hero product image, the front-facing packshot or on-body shot that best represents the garment. This opens the sequence and establishes product recognition within the first second. You should see the garment centered and motion beginning immediately, not fading in from black.
- Add a Transition Shot. Select a secondary angle, back, side profile, or three-quarter view, that moves the eye across the garment. This shot answers the "what does it look like from behind" question and creates visual momentum. Expect the transition to take roughly 2 to 3 seconds.
- Insert a Detail Shot. Upload a close-up of fabric texture, stitching, buttons, or zippers. This is where perceived quality gets communicated. The detail shot should hold for 2 to 4 seconds, long enough for the viewer to register the texture, short enough to maintain pacing.
- Place the Context Shot. Use a flat lay or lifestyle image that shows the garment in use or styled. This answers "how would I wear this" and broadens the sequence's appeal. If you're working from a flat lay to fashion video workflow, this is where that image earns its place.
- Return to Anchor. Close on the hero image from step one. This reinforces product recognition and gives the sequence a clean ending that loops naturally if the platform replays it. The final frame should match the opening frame for a seamless loop-back.
Each shot type answers a specific shopper objection: the anchor establishes what the product is, the transition shows its full silhouette, the detail proves quality, the context demonstrates wearability, and the return to anchor locks in recognition. Together, they give the algorithm five distinct visual moments to test against your audience, which is precisely what delays creative fatigue.
Next, we'll look at how your source photo inventory determines how long a sequence can realistically run.
How Source Photos Determine Sequence Length
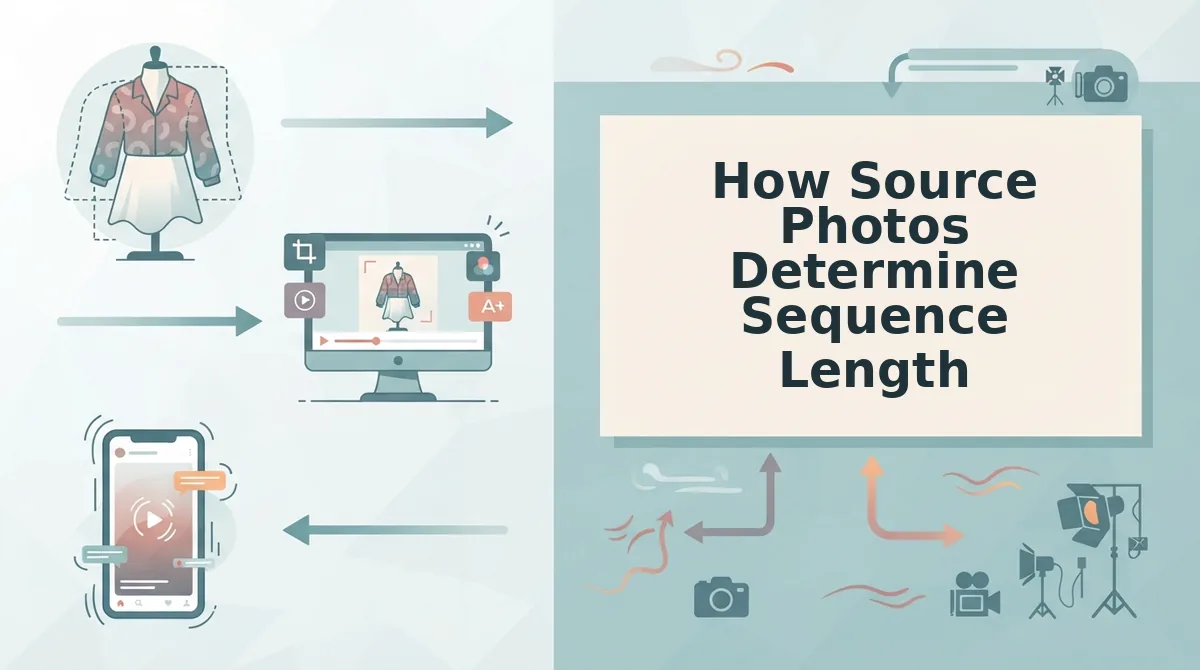
Source photo count is the hard ceiling on how long an extended apparel motion sequence can run before it visibly repeats or stalls. Think of source photos like ingredients in a recipe: one onion and one tomato make a garnish, but a full pantry lets you cook a multi-course meal.
At the simple end, 1-2 photos produce short loops of up to 10 seconds. The generator can only pan, zoom, or subtly animate between two frames before the motion cycles back on itself, which reads as a GIF-like loop rather than a narrative video.
With 3-4 photos, you unlock mid-length sequences of 15-25 seconds. A front angle, back angle, and one detail shot give the product photo to video engine enough visual variety to build a beginning, middle, and end without repeating a frame.
At the advanced tier, 5-6 photos enable extended sequences of 30-45 seconds. This is where context shots, a fabric close-up, an on-body angle, a flat lay, let the sequence breathe across multiple shot types. The extra frames act like chapters in a short story, each one carrying the viewer forward instead of looping back.
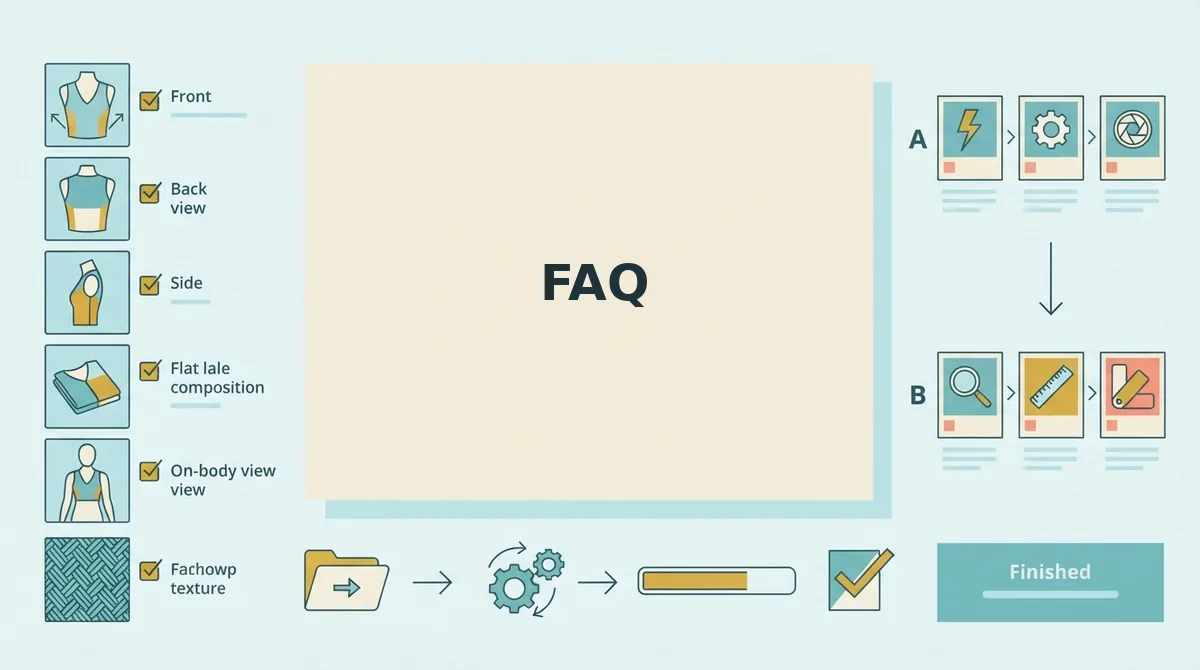
If you are planning a 30-second ad, upload at least five source photos. The platform's multi-angle ingestion accepts up to six stills per apparel item, so you can mix front, back, side, flat lay, on-body, and fabric detail shots to give the sequence enough raw material to sustain its length without visual fatigue.
Length by Funnel Stage
Extended sequences are not one-size-fits-all; the right length depends on where the viewer sits in your funnel. Media buyers should match sequence duration to the job the ad needs to do at each stage.
| Funnel Stage | Recommended Length [est.] | Sequence Structure | Best For |
|---|---|---|---|
| Top-funnel (prospecting) | 15-20 seconds | Single Anchor + one Transition | Performance creative teams testing cold audiences on TikTok and Reels |
| Mid-funnel (consideration) | 25-35 seconds | Anchor + Transition + Detail | DTC brands retargeting engaged shoppers who viewed a product page |
| Retargeting (bottom-funnel) | 30-45 seconds | Full Sequence Architecture with Context and Return to Anchor | Shopify merchants closing cart abandoners and warm lookalikes |
Honest note: shorter top-funnel cuts often outperform longer ones on cold traffic because they respect shrinking attention spans. The extended 30-45 second format earns its place in retargeting, where the viewer already has context and needs deeper product proof. For placement-specific guidance, see clothing video duration by ad placement.
Motion Budget: Why Longer Isn't Automatically Better
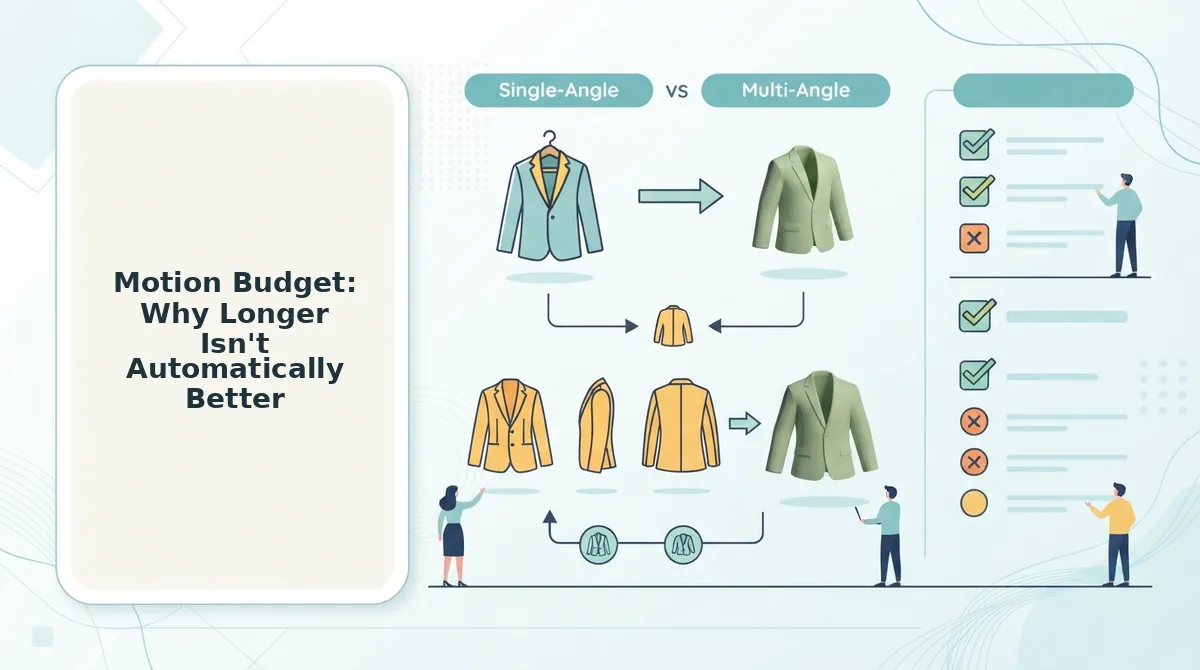
Motion budget is the total amount of visual change a viewer can track before attention drops, and it is finite regardless of sequence length. Think of it like a dinner plate: you can pile on more food, but the plate only holds so much before things spill over the edge.
The simple mistake is treating a 45-second sequence as one long, continuous pan across a garment. That burns the entire motion budget in the first 15 seconds, leaving the remaining 30 seconds feeling static even though the camera is technically still moving.
The intermediate approach distributes motion across shot types. A slow push-in on the front angle, a quick cut to a fabric detail, a lateral drift across the back, each shot spends a small portion of the budget, and the cuts themselves reset viewer attention.
The advanced workflow uses the fashion UGC generator to assign different motion intensities to different source photos. Detail shots get slow, deliberate movement; context shots get faster transitions. This keeps the total visual change under the viewer's tracking threshold while making the sequence feel longer than its runtime.
Next, we will apply this exact logic to a real 45-second build.
Building a 45-Second Sequence: A Worked Example
A 45-second extended sequence follows the same architecture as shorter cuts, but gives each shot room to breathe. This worked example uses a single denim jacket flat lay as the source, with five photos total.
Prerequisites: Five source photos (front flat lay, back flat lay, side profile on hanger, cuff-and-button detail close-up, on-body or lifestyle context shot), a FashionUGC account, and a 9:16 output preset selected.
- Upload your five source photos. Drag the front flat lay, back flat lay, side profile, detail close-up, and context shot into the upload panel. You should see five thumbnails appear with a green checkmark on each, confirming the generator read the image dimensions and detected the garment edges.
- Open the Sequence Builder and order your shots. Click Sequence Builder, then drag shots into this order: Anchor (front flat lay) to Transition (side profile) to Detail (cuff-and-button close-up) to Context (on-body shot) to Return to Anchor (front flat lay from a slightly different crop). The generator uses the flat lay proportions to establish drape physics, so the front flat lay must sit in position one.
- Set per-shot duration. In the timeline, click each shot and set duration: Anchor 10 seconds, Transition 8 seconds, Detail 12 seconds, Context 10 seconds, Return to Anchor 5 seconds. You should see the total read 45 seconds in the timeline footer.
- Adjust motion intensity per shot. Select the Detail shot and set motion intensity to Low so the fabric weave and stitching stay legible. Set the Transition shot to Medium for a natural turn. Set the Context shot to High for UGC-style handheld energy. The preview panel should show motion that matches each intensity setting without warping the garment silhouette.
- Review the drape simulation. Click Preview and watch the Anchor shot. The generator interprets the flat lay's proportions to simulate how the jacket fabric falls when lifted or rotated. If the drape looks stiff, open Fabric Settings and increase Drape Weight by one increment. You should see the hemline settle more naturally on the next preview pass.
- Export the 45-second file. Click Export, select 1080×1920 at 30fps, and confirm. The render typically completes in under two minutes. You should see a download-ready MP4 with a file size between 20-40 MB, ready for manual review before publishing.
For more on preparing flat lay source material, see our guide on flat lay to fashion video.
FAQ
How long should an apparel video ad be?
Apparel video ads perform best between 15 and 45 seconds, depending on funnel stage. Top-of-funnel awareness ads work well at 15-20 seconds, while retargeting and product-page videos can hold attention for 30-45 seconds when the sequence includes detail shots and context footage.
Can I use the same source photos for a 15-second and a 45-second version?
Yes. The same five to six source photos can generate both lengths. A 15-second version compresses each shot to 2-4 seconds and may drop the context shot. A 45-second version extends per-shot duration and adds the return-to-anchor beat for a complete narrative arc.
Why do my extended fashion videos feel choppy?
Choppy extended videos usually result from too few source photos or mismatched motion intensity. When the generator stretches a single photo beyond 8-10 seconds, motion loops become visible. Upload five to six distinct angles and set motion intensity per shot to eliminate visible repetition.
What's the difference between a loop and an extended sequence?
A loop repeats the same motion cycle seamlessly, often from a single photo, and works best for product-page thumbnails or background video. An extended sequence strings together multiple distinct shots with a narrative order, anchor, transition, detail, context, return, and is built for paid ads and social feeds.
The Architecture Is the Advantage
Extended apparel motion sequences are not longer versions of short clips. They are structured narratives built on a five-beat architecture: Anchor, Transition, Detail, Context, Return. Length is a byproduct of giving each beat the time it needs to land.
The brands that win with 45-second creative are not the ones with the most footage. They are the ones who upload five to six deliberate source photos and let the sequence framework do the work. Every extra second earns its place or gets cut.
Your next step is to run the worked example with your own product photography. Upload five source photos for one SKU into the AI fashion UGC video generator, build the sequence in the order above, and export both a 15-second and a 45-second version from the same source set. The architecture scales, your creative testing will show you exactly where.