

Most brands upload 12, 15, even 20 photos of a single garment into AI video tools, and then wonder why the output looks worse, not better. The real question isn't "how many clothing photos for ai fashion video" can I cram in; it's which photos actually change what the AI can do. The answer sits between one and six, and the right number depends entirely on what you need the video to show.
You're not wrong to think more input equals better output. That logic holds for almost every other creative tool you use. But here's the thing: AI video generation from product photos works differently, and over-uploading creates noise, not fidelity. By the end of this article, you'll know exactly how many photos to upload for front-facing motion, rotation, drape accuracy, and full 360° texture, and why the six-photo ceiling exists in the first place.
We'll walk through the short answer, then break down what each photo count unlocks, and finish with a decision matrix so you never second-guess an upload again. If you're already sitting on a catalog of product photos ready to turn into video, the platform's multi-angle ingestion handles one to six source images per garment, and one specific count produces results most brands never discover because they never try it.
The Short Answer: One to Six Photos Per Garment
Upload between one and six photos per garment. One front-facing photo produces basic motion; three photos, front, back, and side, unlock rotation and drape accuracy; six photos add fabric texture and detail closeups. Anything beyond six adds processing time without meaningful output improvement.
A source image is a still photograph of a clothing item used as reference for AI video generation. The AI reads each source image as a data point about the garment's shape, color, drape, and construction, not as a frame in a sequence. This distinction matters because it explains why photo count behaves more like a dial than a volume knob.
Think of it like giving directions to a tailor. One photo says "make it look like this from the front." Three photos say "here's the front, the back, and how it hangs from the side." Six photos say "and here's the fabric weave up close, the collar detail, and how the hem falls." Each additional photo adds a dimension of information, but only up to the point where the tailor already understands the garment. After that, you're repeating yourself.
The platform ingests front angles, back angles, side profiles, flat lays, on-body shots, and fabric detail closeups. For most apparel items, three well-chosen angles cover the geometry the AI needs to simulate natural movement. Six angles add the texture fidelity that makes close-up shots believable. The key isn't quantity, it's coverage of distinct visual information.
If you're deciding between uploading two photos or four, ask what the video needs to show. A simple front-facing sway for a TikTok ad needs one. A rotating product showcase for a PDP needs three. A hero video with fabric closeups needs up to six. The number follows the output requirement, not the other way around.
What Each Photo Count Actually Unlocks
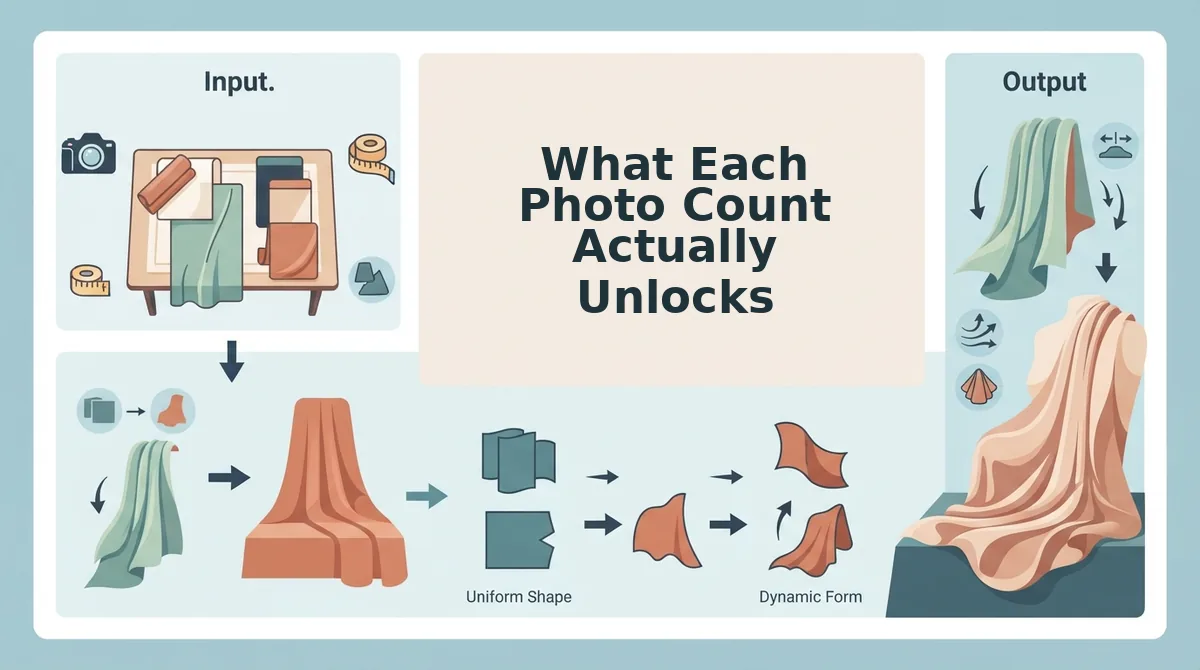
Each photo count tier unlocks a specific set of video capabilities. One photo gives you front-facing motion only. Two photos add front-to-back rotation. Three photos introduce drape, side profile, and fit simulation. Four to six photos deliver full 360° rotation with fabric texture and detail closeups.
This progression isn't arbitrary, it maps directly to how the AI reconstructs garment geometry from reference images. A single front photo gives the model enough to animate what it can see. A back photo lets it interpolate the space between front and back. A side profile teaches it how the garment hangs off a body. Detail shots teach it what the fabric actually looks like when it moves.
| Photo Count | What It Unlocks | Best For |
|---|---|---|
| 1 photo | Front-facing motion, subtle sway, basic UGC-style energy | Quick TikTok/Reels tests, single-SKU social ads |
| 2 photos | Front/back rotation, limited angle interpolation | Simple product showcases, carousel-to-video conversion |
| 3 photos | Drape accuracy, side profile, fit simulation, natural rotation | PDP videos, mid-funnel ads, lookbook motion |
| 4-6 photos | Full 360° rotation, fabric texture, detail closeups, on-body realism | Hero product videos, premium ad creative, fabric-forward brands |
Competitor tools that accept unlimited uploads aren't necessarily better, they're often just less opinionated. The six-photo ceiling here is a design decision, not a limitation. It forces you to curate your best angles instead of dumping an entire photoshoot into the upload field. Brands that shoot consistently against the six-angle garment photo workflow get more predictable output than brands that upload 14 inconsistent shots.
That said, if you already own a large photo set per SKU, the extra images aren't wasted, they're selection material. Pick the six that cover distinct visual information: front, back, side, flat lay, on-body, and fabric detail. Skip near-duplicates. The AI doesn't benefit from three nearly identical front shots, and neither does your render time.
Next, the decision matrix breaks this down by output goal so you can match photo count to video type without guessing.
The Photo Count Decision Matrix
Use this three-question workflow to convert your video goal into an exact photo count before you open FashionUGC. You need your product photos, a clear idea of which garment angles matter for the creative, and about two minutes.
- Ask whether back-of-garment motion is required. If the video only needs front-facing movement, upload 1-2 photos and skip to step 3. If the creative must show the back neckline, rear drape, or a 360-degree turn, plan for 3 or more photos. You should end this step with a yes/no answer written down.
- Ask whether fabric drape accuracy matters for this garment. For woven dresses, wide-leg trousers, or anything where fabric movement sells the product, select a side profile shot from your catalog and add it to the upload set. If drape is irrelevant, for example, a structured tee or rigid denim, proceed without it. You should now have a photo count of 1-3.
- Ask whether detail closeups need to appear in the video. If stitching, texture, or hardware must be visible, add 4-6 photos total, including at least one fabric detail or macro shot. If closeups are not part of the creative brief, finalize at your current count. You should now have a final number between 1 and 6 that maps directly to the upload field.
When Fewer Photos Fail: Troubleshooting Common Input Problems
Low photo counts save time but introduce predictable failure modes. Here are the seven most common input problems, ranked by how often they ruin an otherwise usable fashion video.
- Flat lays of structured garments produce warped shoulders. Blazers, button-downs, and tailored jackets photographed flat lack the internal structure that gives shoulders their shape on a body. The generator interprets the flattened silhouette literally, so the motion output shows collapsed or asymmetrical shoulder lines. Use an on-body or ghost mannequin shot as your primary angle instead.
- Ghost mannequin shots with clipped hems create floating garment artifacts. Catalog photography often crops the bottom hem or sleeves to fit a template. When the AI animates these images, the missing edges become visible as floating fabric or abrupt cutoffs mid-garment. Check every source photo for full hem and cuff visibility before upload.
- Single front-only photos cannot show back necklines. A one-photo upload gives the generator no data about the rear of the garment, so any turn, spin, or back-angle motion in the output will be guessed rather than rendered. If your video brief includes a back view, you must upload at least one rear or three-quarter angle.
- Mixed lighting across photos causes visible seams in motion. When a front shot is lit warm and a back shot is lit cool, the AI blends both into a single animated garment, and the transition reads as a color shift. Standardize white balance across all uploads or follow the lighting consistency for garment photos workflow before generating.
- Low-resolution detail shots blur during zoom sequences. A 400-pixel fabric closeup looks acceptable as a static thumbnail but falls apart when the video zooms or pans across it. Upload detail shots at the same resolution as your primary angles to keep texture crisp in motion.
- Busy backgrounds confuse garment edge detection. Photos shot on patterned or cluttered surfaces force the AI to guess where the garment ends and the background begins, producing wobbly outlines. Use clean, contrasting backgrounds for every photo in the set.
- Inconsistent framing across angles causes scale jumps. If the front shot fills 80% of the frame and the side shot fills 40%, the generated video will show the garment growing and shrinking between cuts. Crop all uploads to similar framing before you start, or use the flat lay to fashion video guide for framing standards.
FashionUGC accepts up to six photos per garment specifically so you can avoid these failure modes without reshooting your catalog.
How to Prepare Your Photos Before Upload
Photo preparation takes under five minutes per garment and prevents most generation failures. You need your original image files and any basic photo editor.
- Open each photo and check sharpness at 100% zoom. Confirm the garment edges, seams, and fabric texture are crisp, not soft. You should see clean edge definition with no motion blur before proceeding.
- Standardize lighting and white balance across all photos in the set. Match exposure and color temperature so the front, back, and side shots look like they came from the same session. You should see consistent garment color when flipping between images; for a deeper walkthrough, see the lighting consistency for garment photos guide.
- Crop every photo to a matching aspect ratio and similar framing. Use 4:5 or 1:1 for most social outputs, and keep the garment occupying roughly the same percentage of each frame. You should see the garment centered with consistent margins in every image.
- Upload the prepared set to FashionUGC and confirm all photos appear in the preview. You should see each image in the order you selected, ready for generation.
With your photos prepared, the next step is understanding what the generator can and cannot fix, starting with the most common questions below.
FAQ
One photo produces a basic motion clip, but three to six photos unlock natural garment movement, angle transitions, and fabric detail that make AI fashion videos feel like authentic UGC.
Can I use just one photo for an AI fashion video?
Yes, one photo works, but the output will be limited to subtle motion like fabric sway or camera drift. The AI has no alternate angles to transition between, so the result reads more like an animated still than a true UGC clip. For paid ads, three or more photos deliver noticeably stronger creative.
Do flat lays work as well as on-body shots?
Flat lays work, but they produce a different output style. On-body shots give the AI a human form to animate naturally, which creates more convincing UGC-style motion. Flat lays generate product-focused clips with fabric movement and styling transitions. Mixing both types in one upload produces the most versatile results.
What happens if I upload more than six photos?
The platform accepts a maximum of six photos per garment. Additional uploads are ignored or prompt you to select the six best frames. Six photos already cover front, back, side, detail, and flat lay angles, so exceeding that limit adds processing time without meaningful output improvement.
Do I need a ghost mannequin shot?
No, ghost mannequin shots are not required. They work well for showing garment structure and interior details, but standard packshots, flat lays, and on-body photos are sufficient. If you already have ghost mannequin images in your catalog, include one as a supporting angle rather than a primary input.
Why does my AI fashion video look stiff with only two photos?
Two photos give the AI only one transition point, which limits motion variety. The model interpolates between the two frames repeatedly, creating a looping effect that reads as stiff or mechanical. Three to four photos provide multiple transition paths and more natural, varied movement throughout the clip.
Start With Three, Scale to Six
The one-to-six photo range is not a limitation; it is a creative dial. One photo gets you motion. Three photos get you a believable UGC clip. Six photos get you a video that holds up against human-shot content on TikTok and Reels. The right count depends on your garment's complexity and your creative testing goals.
Run a quick experiment: upload the same garment with three photos, then again with six. Compare hook rates, watch time, and cost per click on your next paid campaign. The data will tell you whether extra angles justify the added prep time for your specific catalog.
Your next step is to open the clothing video generator, upload three photos of one best-selling SKU, and review the output before you scale the workflow across your catalog. The fastest way to learn your ideal photo count is to see the difference with your own product photography.
